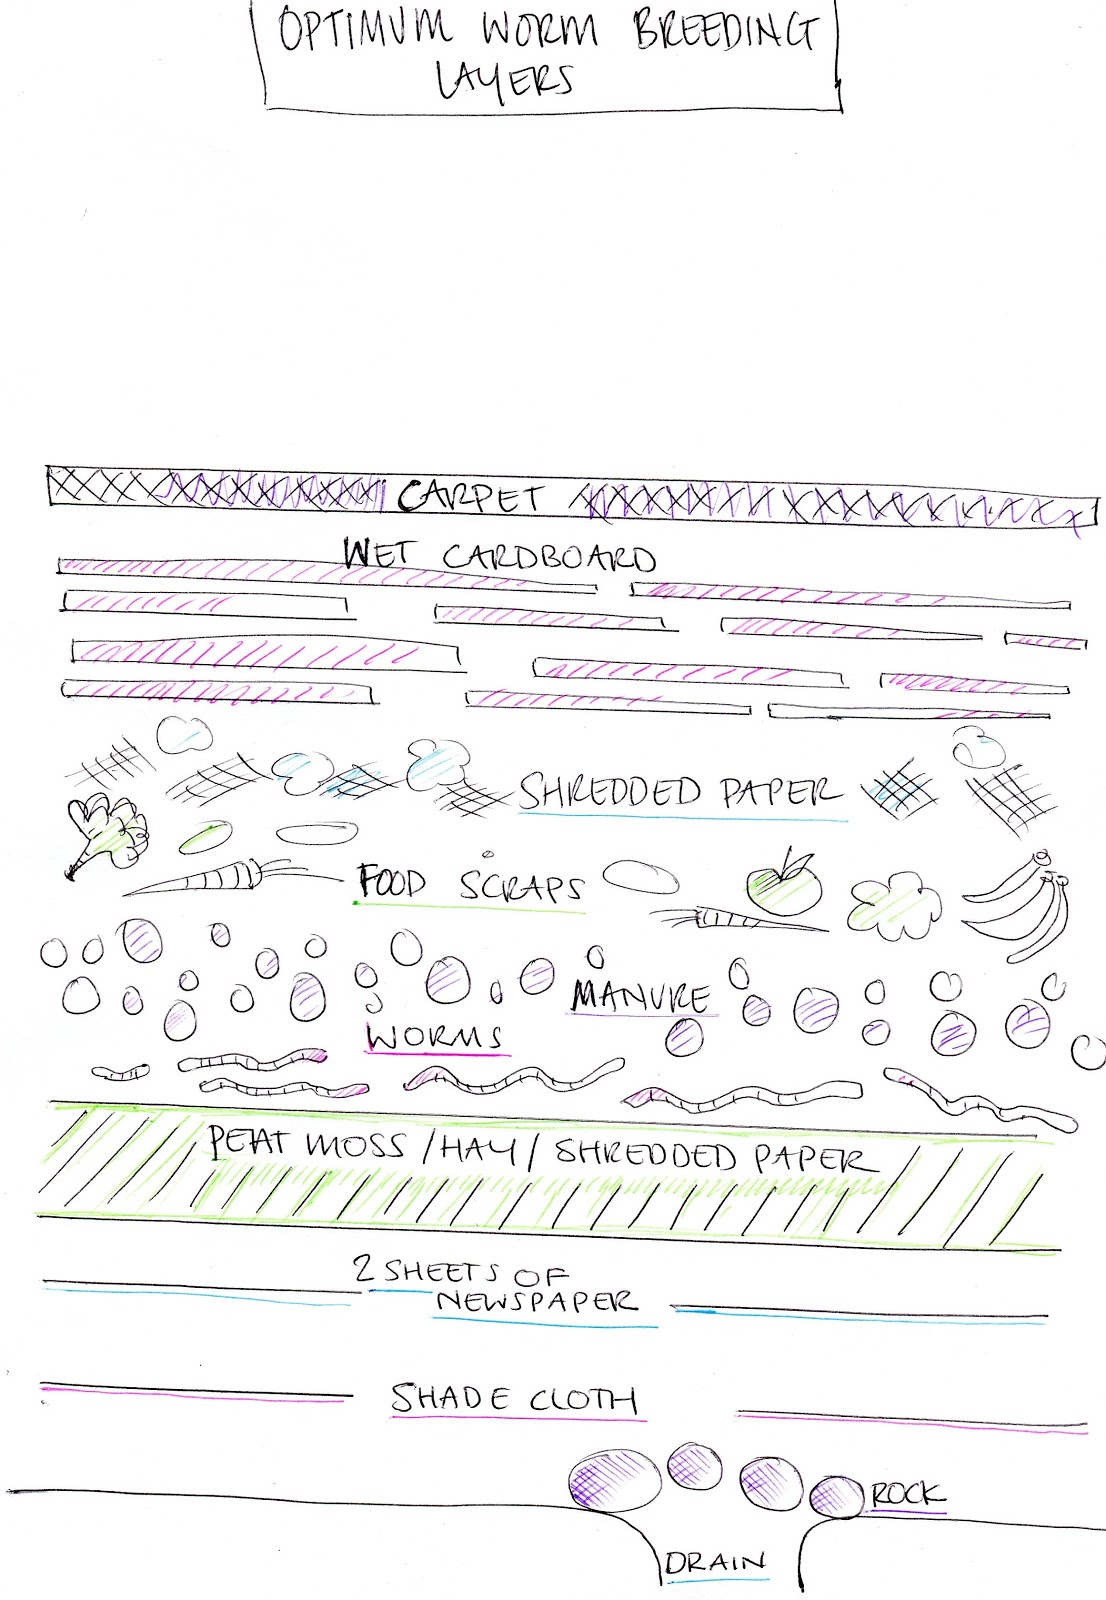
Living System Example, Above Ground Variety (Mound):
Basic Construction of a Living System:
Give Abundantly to your living fertility systems, both love and matter!!
note: you do not need specific ingredients to construct a living system. you can use what you have on hand and you can do it over a period of time. For example you could have a hole in your back yard and put all your organic food waste, old clothing, some tin and metal (avoid aluminium where possible), your own manure – if you are vegan and want to, (meat eaters excrement has toxins and different bacteria in it), all paper (ripped up, or scrunched to create air pockets for worms), cardboard, newspapers etc (put it in vertically so worms and organisms have somewhere to go if it gets wet), old broken furniture, bits of wood, grass clippings, what ever you have in it, cover it with a board until you fill it up (so you don’t fall down it) and when a few inches from the top cover it with a thick layer of wood chip, put an optional decorative stump, log or rock on top of it and let the primary recovery organisms do their wonderful thing. You could also have little holes all over the place and put your household waste in it.
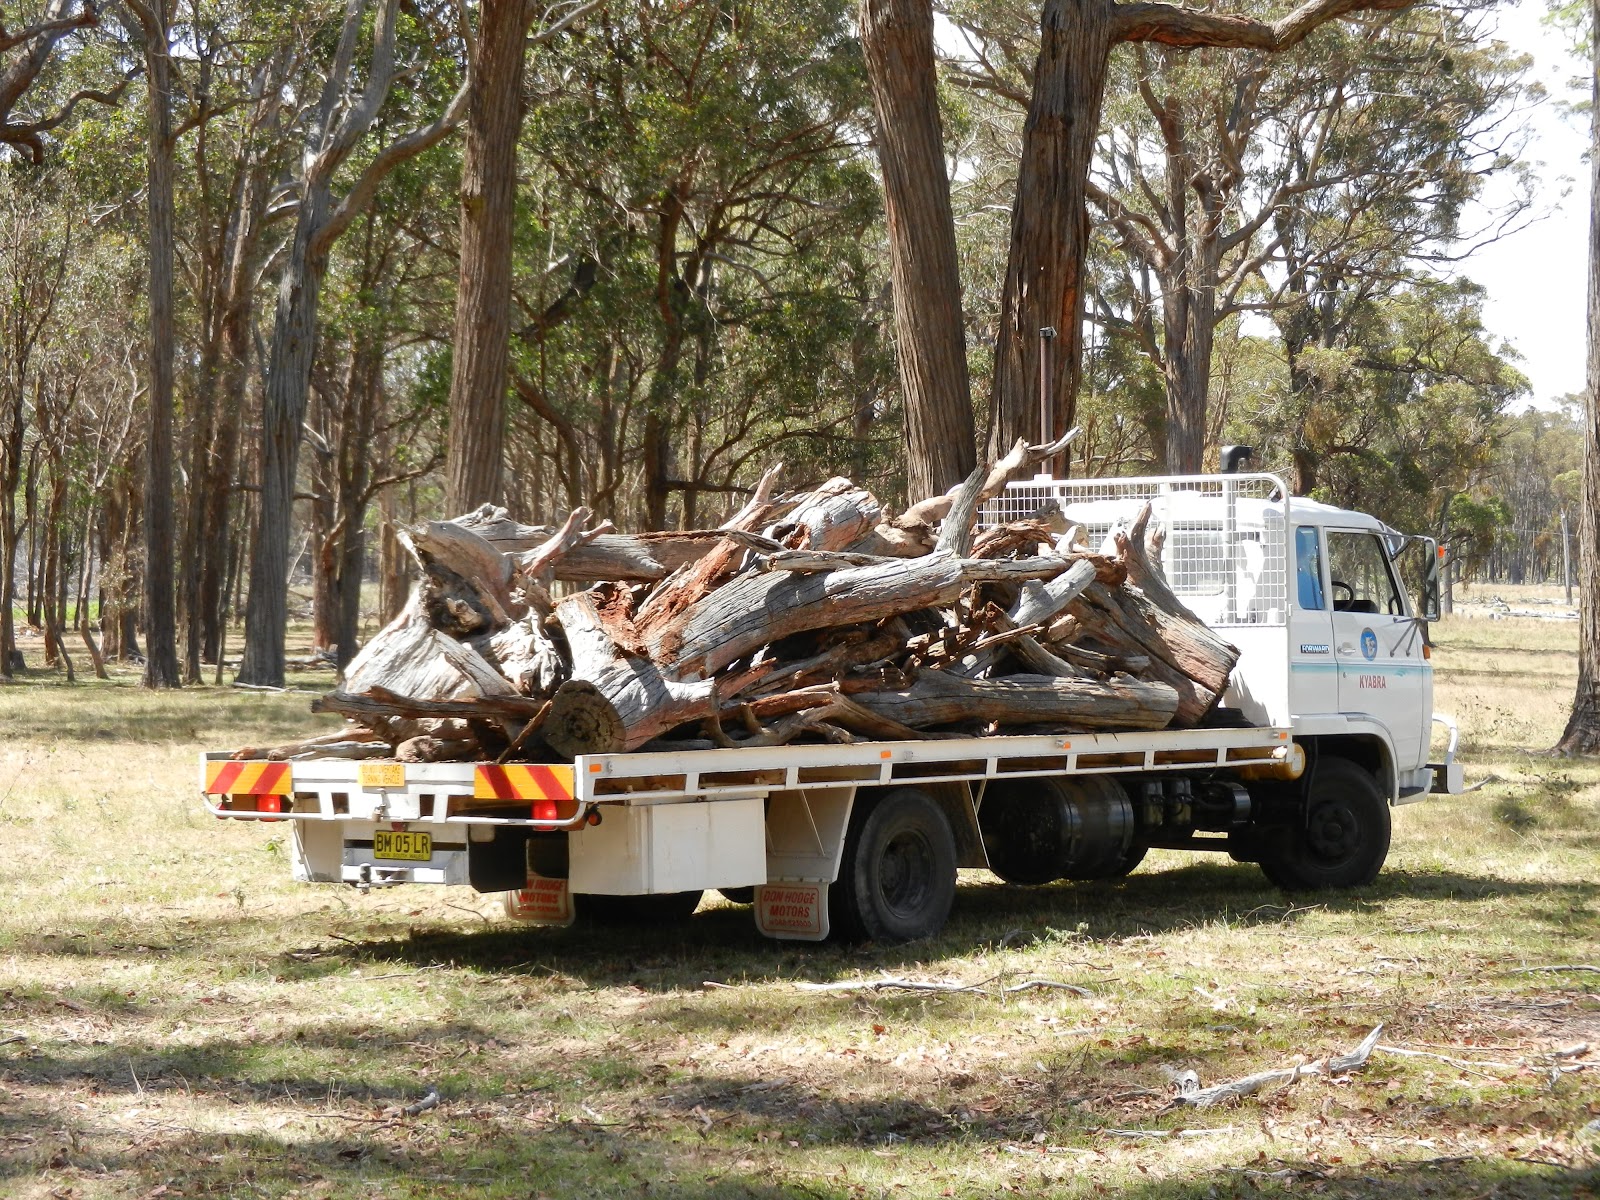
If you do have access to fallen branches, dead trees (these need to be covered and have as much surface area contact with the ground as possible to encourage decomposition and so that the organisms can eat them without being open to attack, hay, debosia, manure, etc etc, use that!
Below Ground Variety:
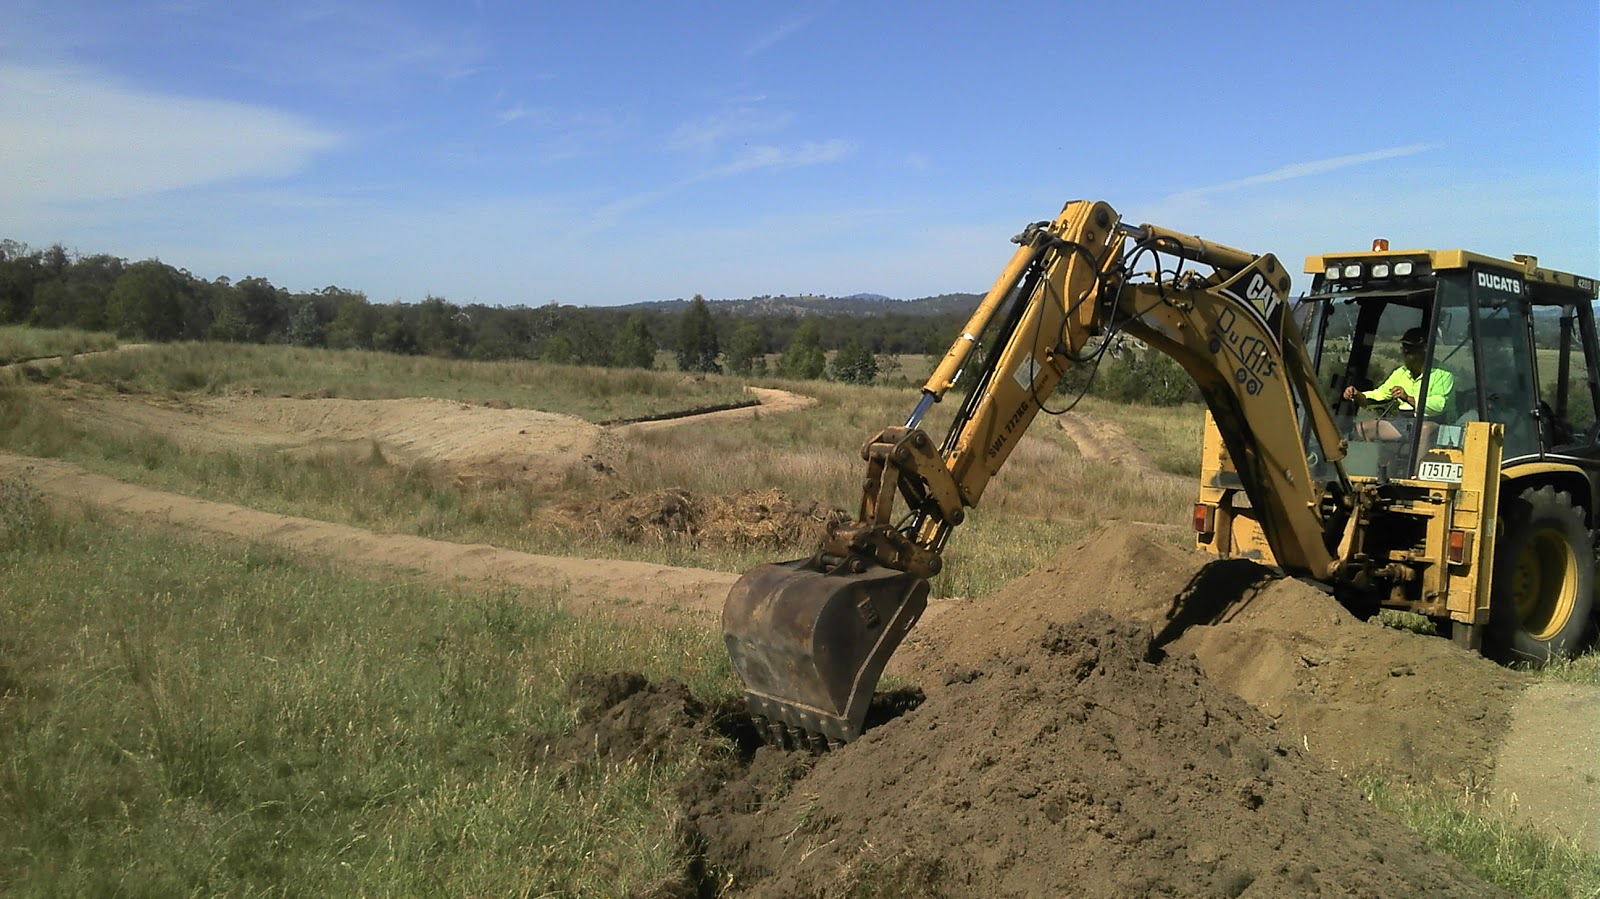
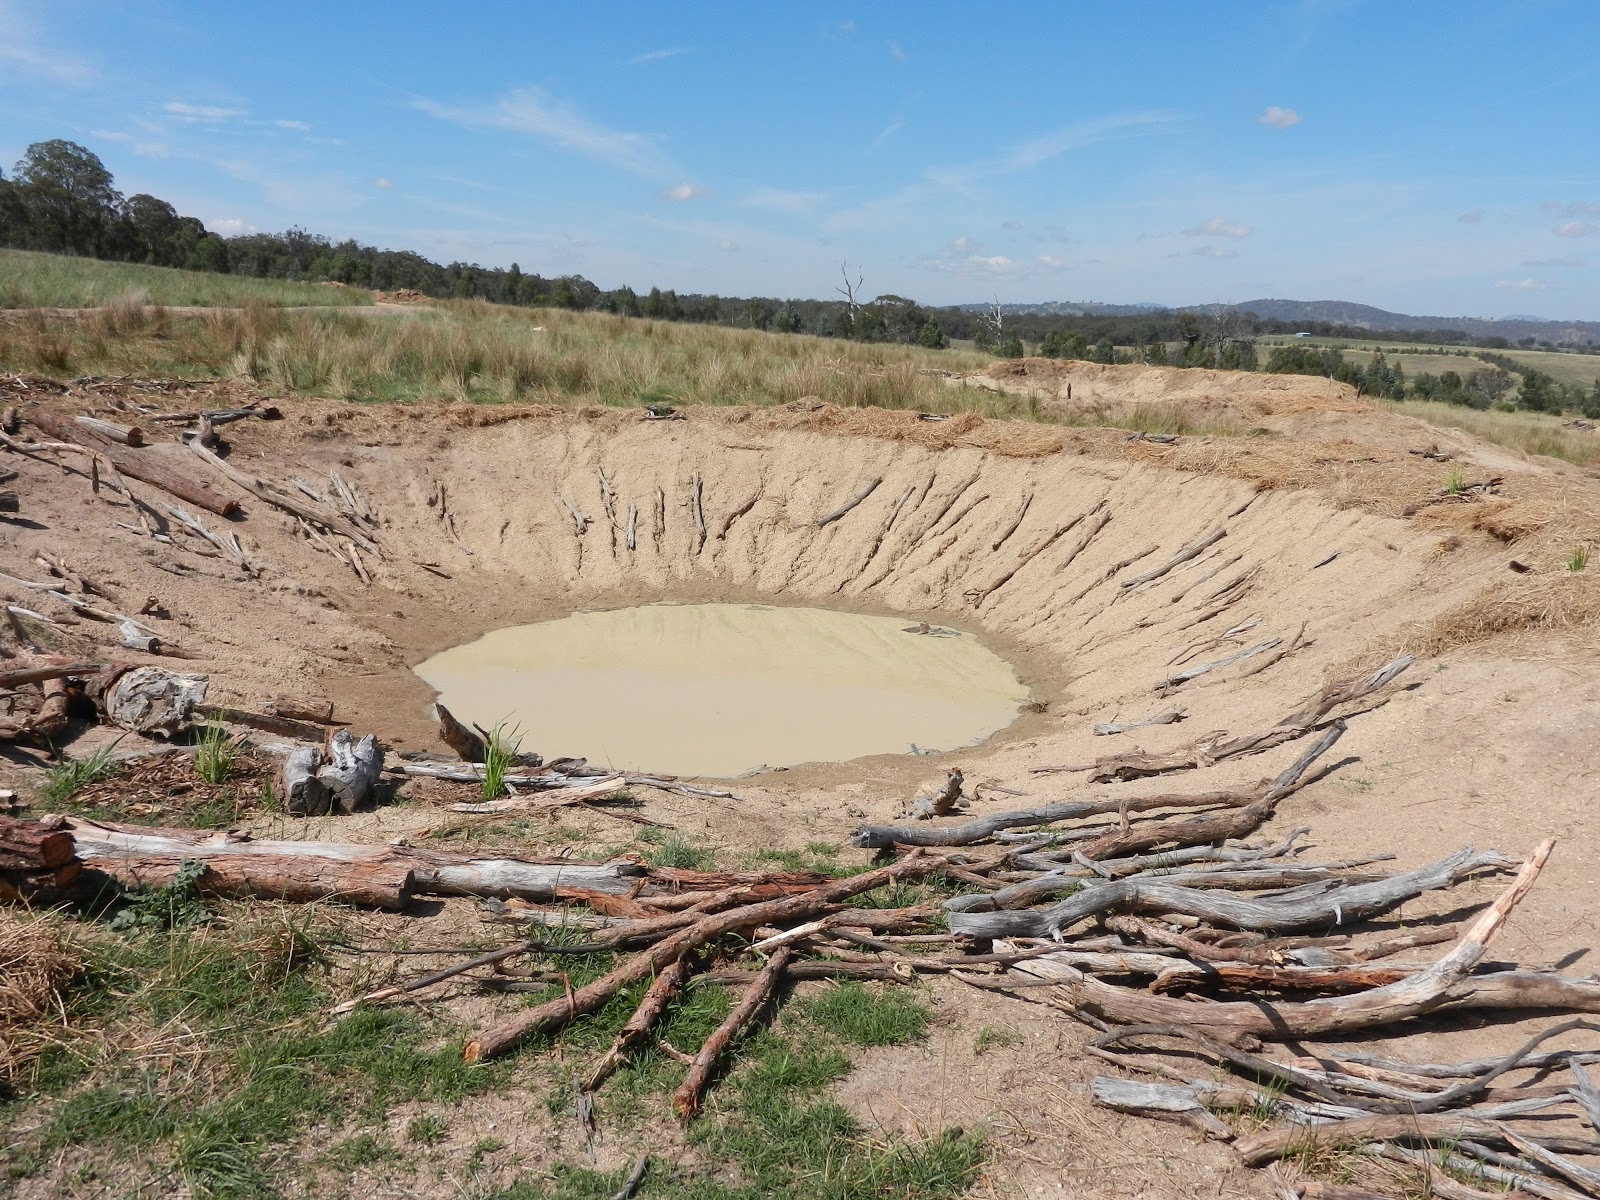
Dig a hole:
This can be very large to small depending on the scale of your project and how much matter you have to put in it.
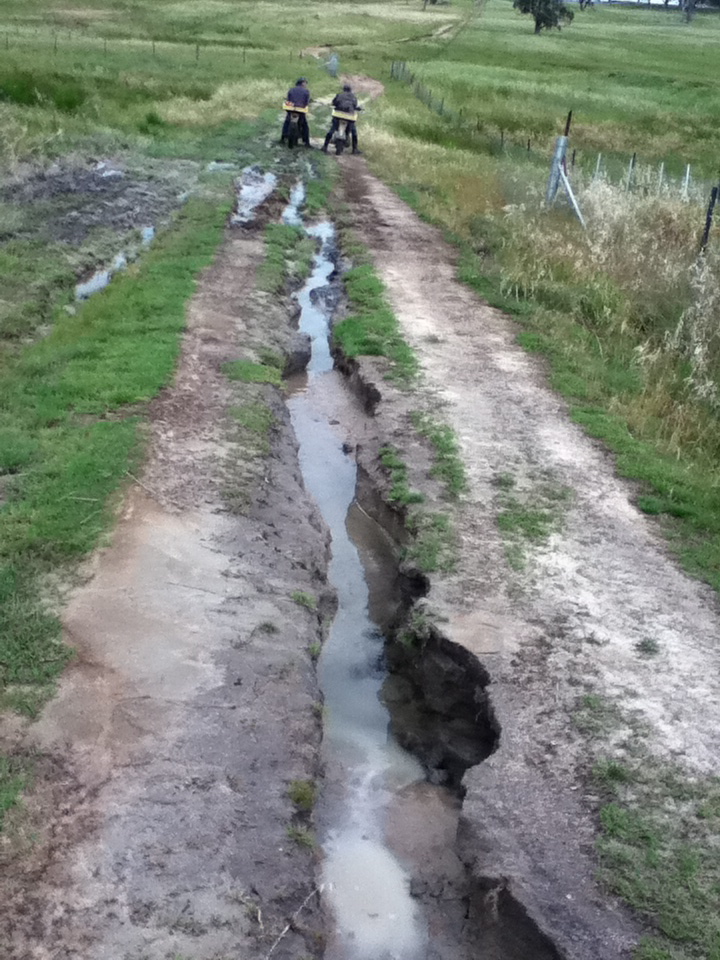
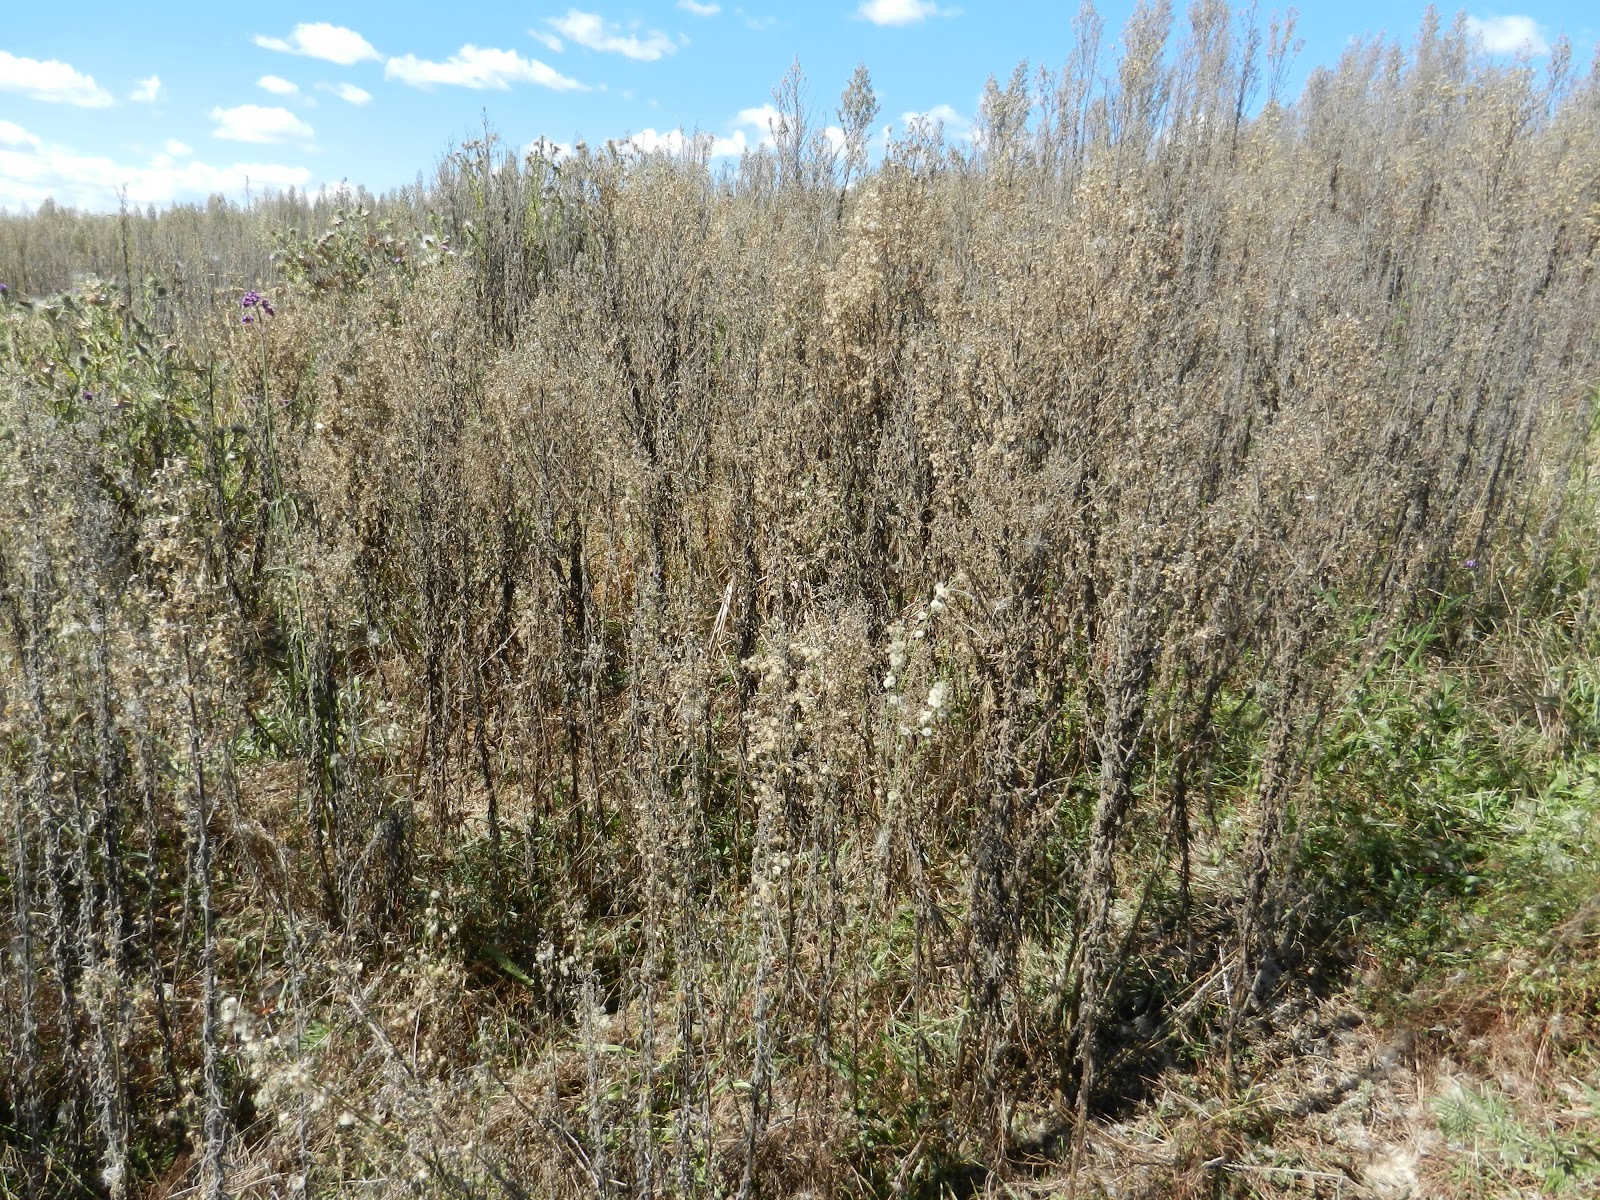
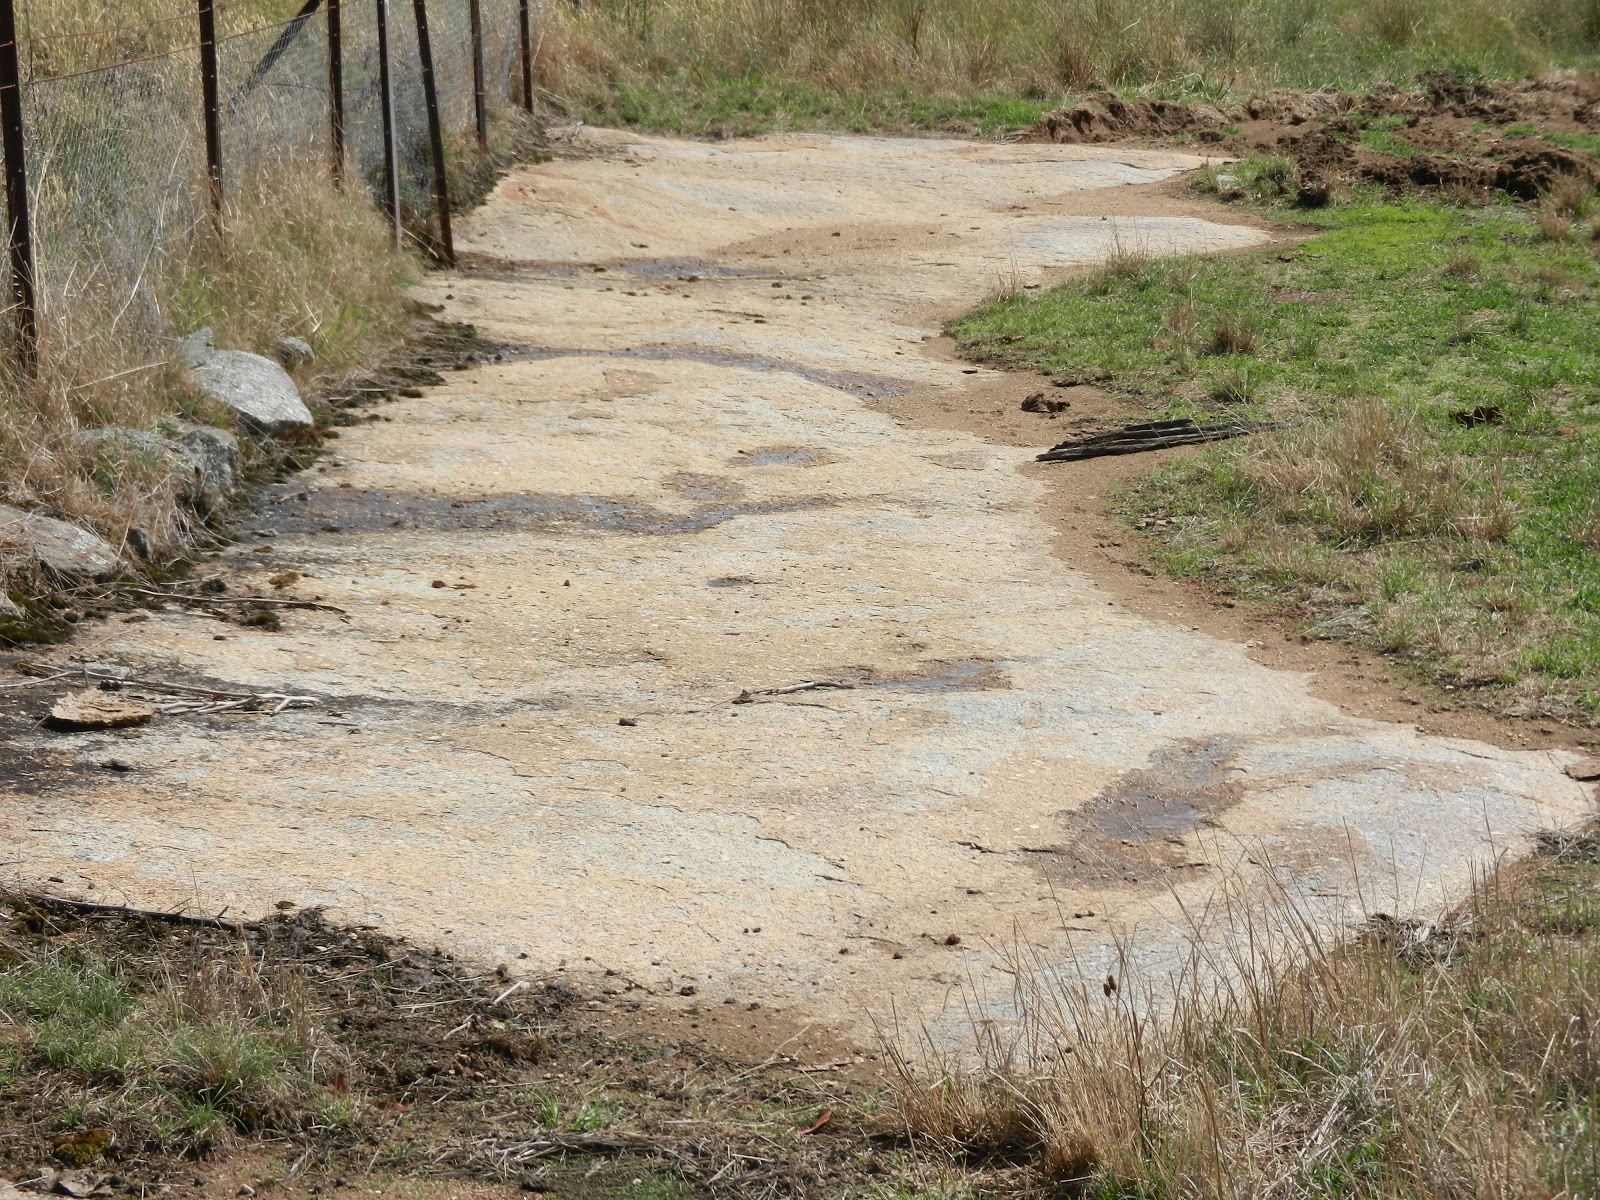
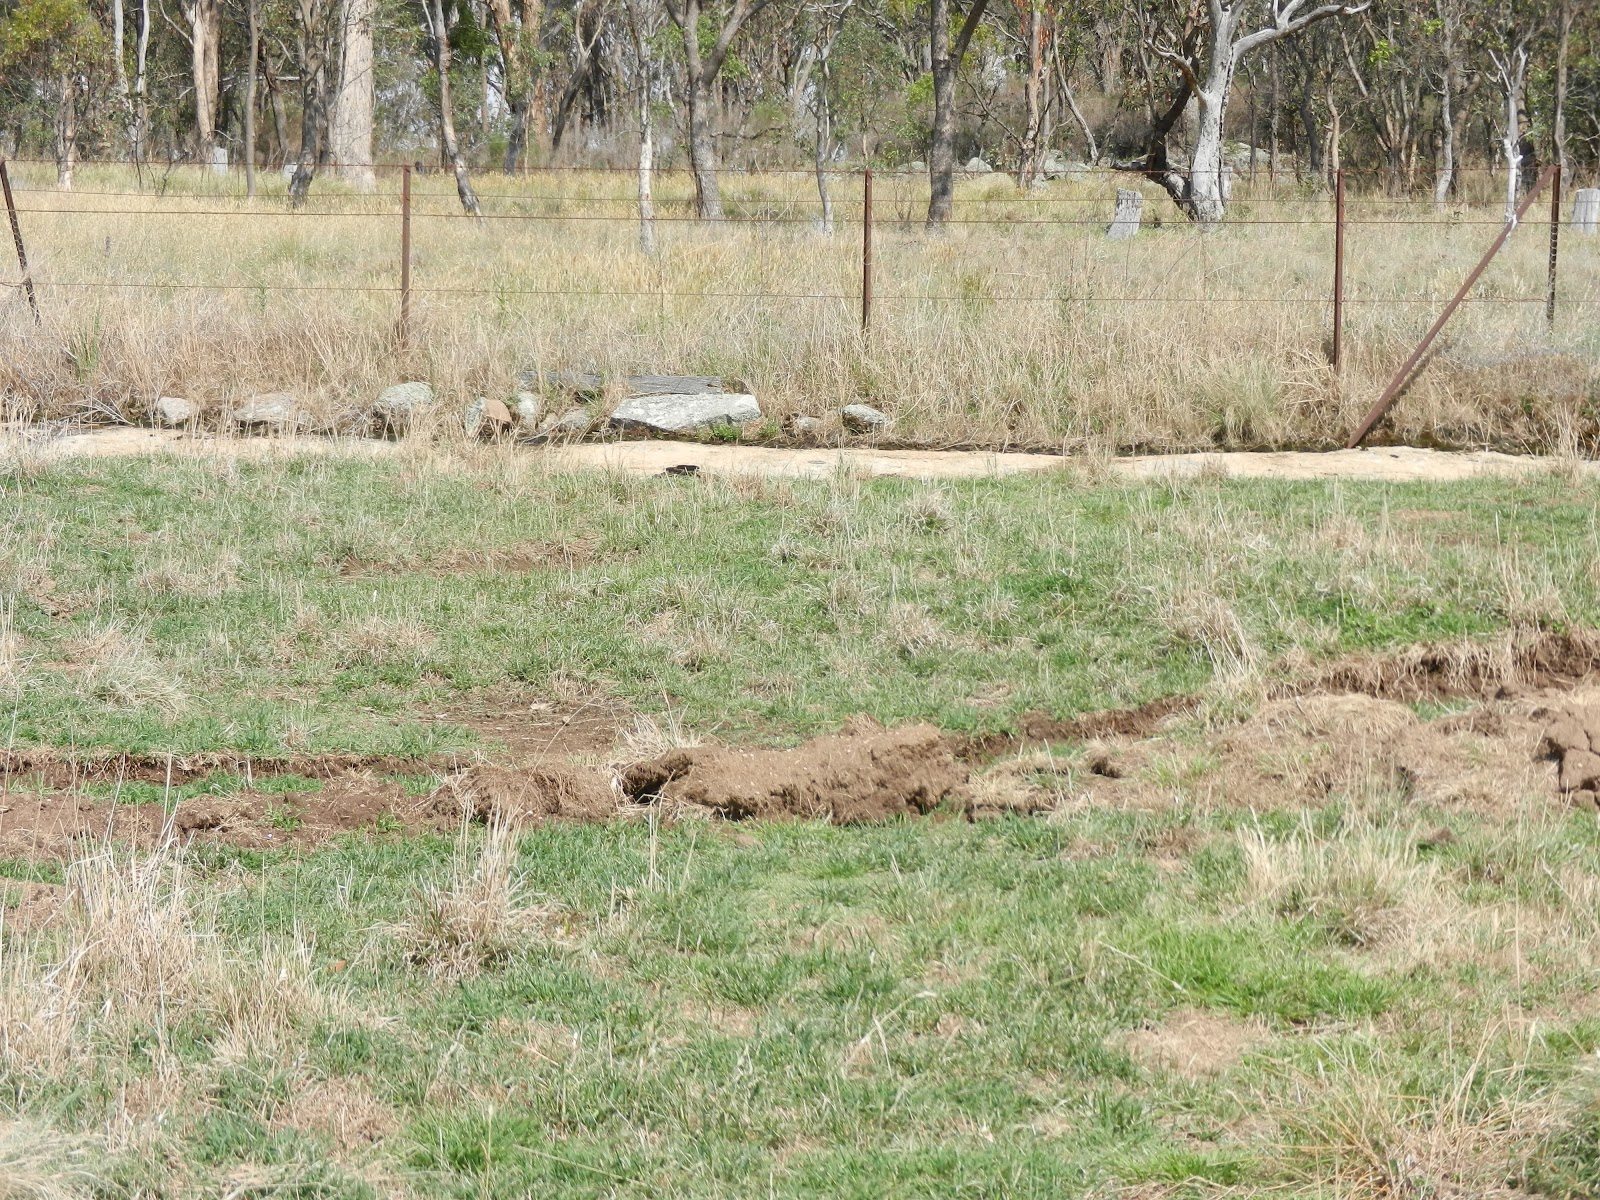
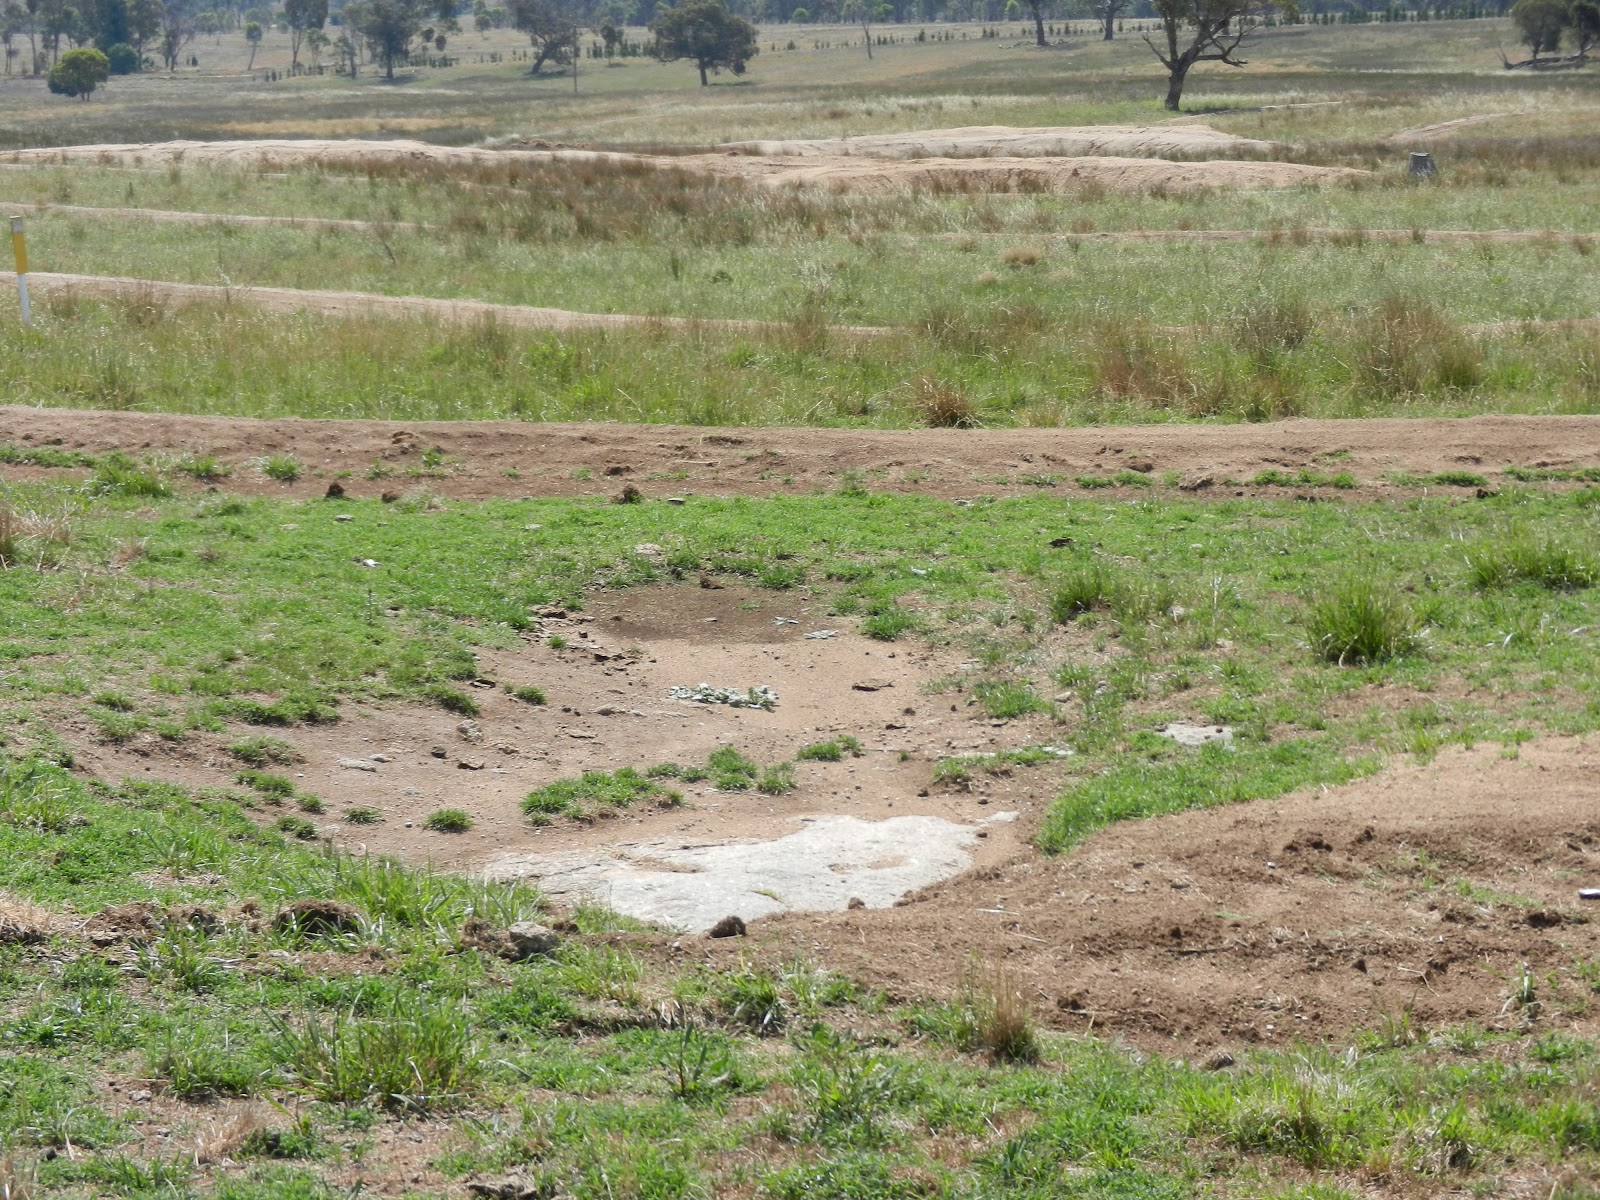
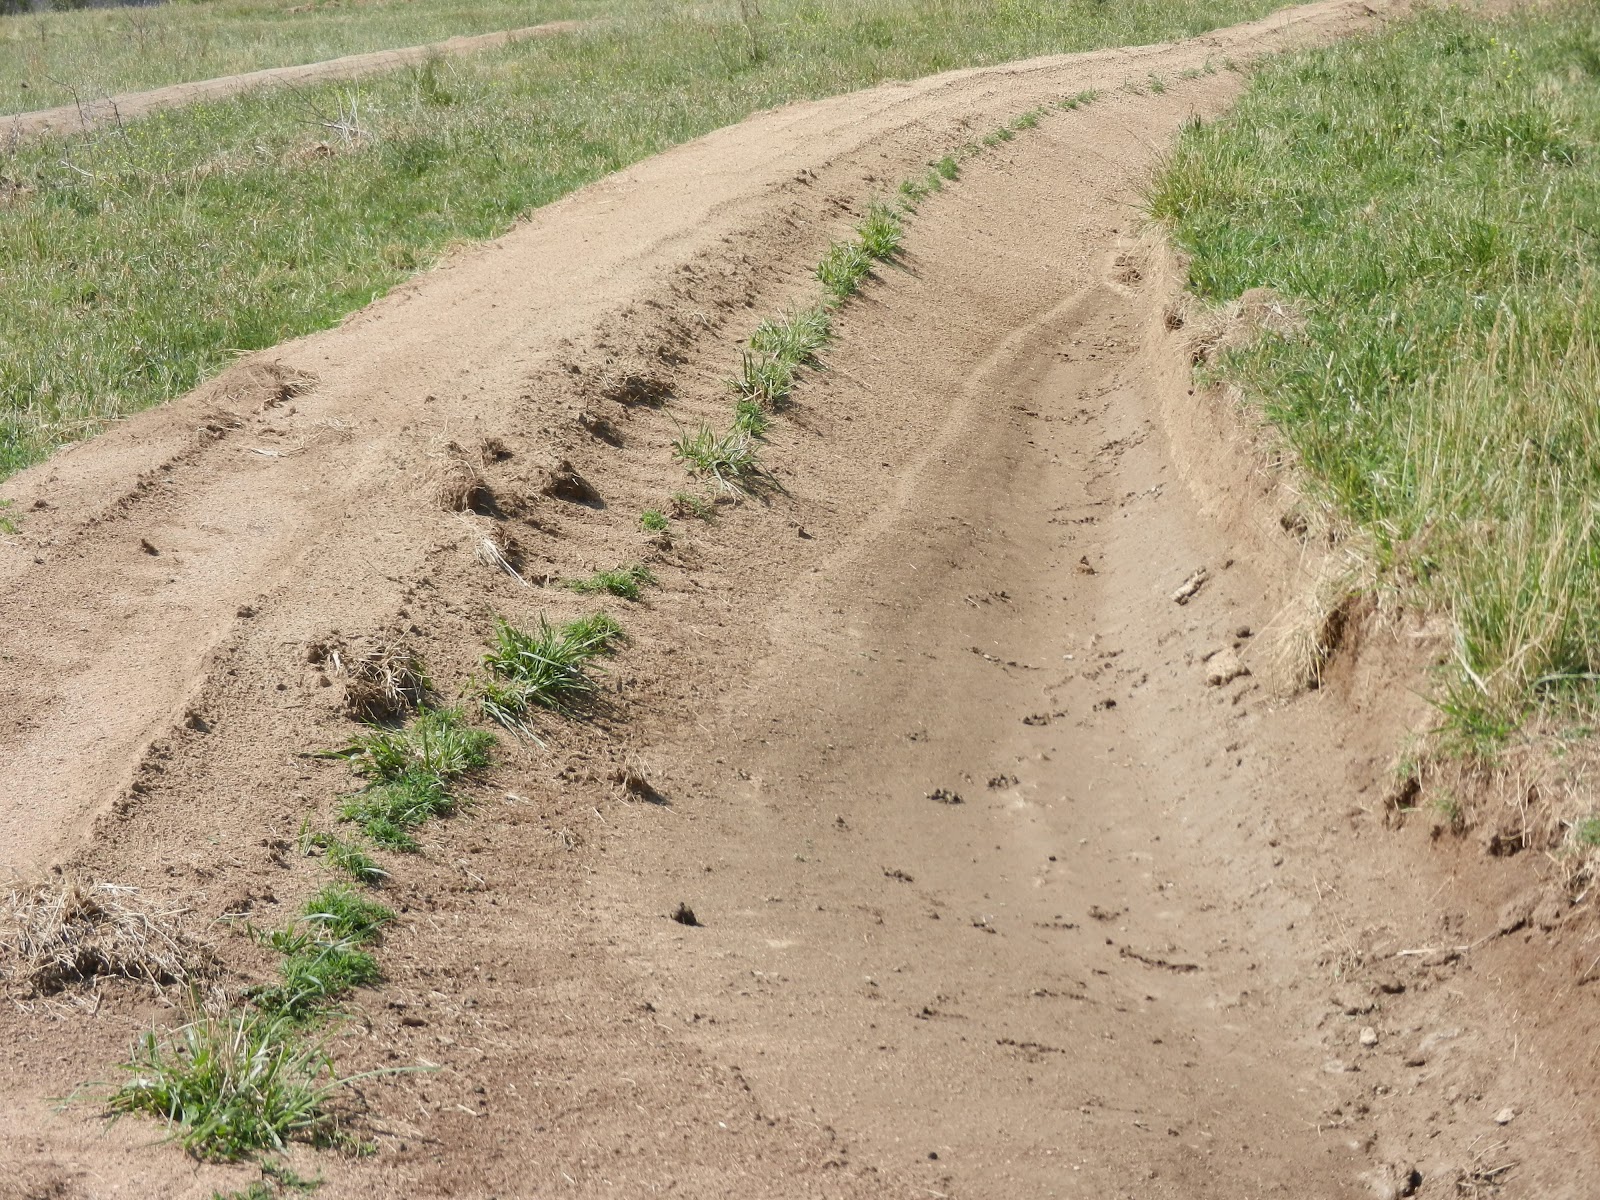
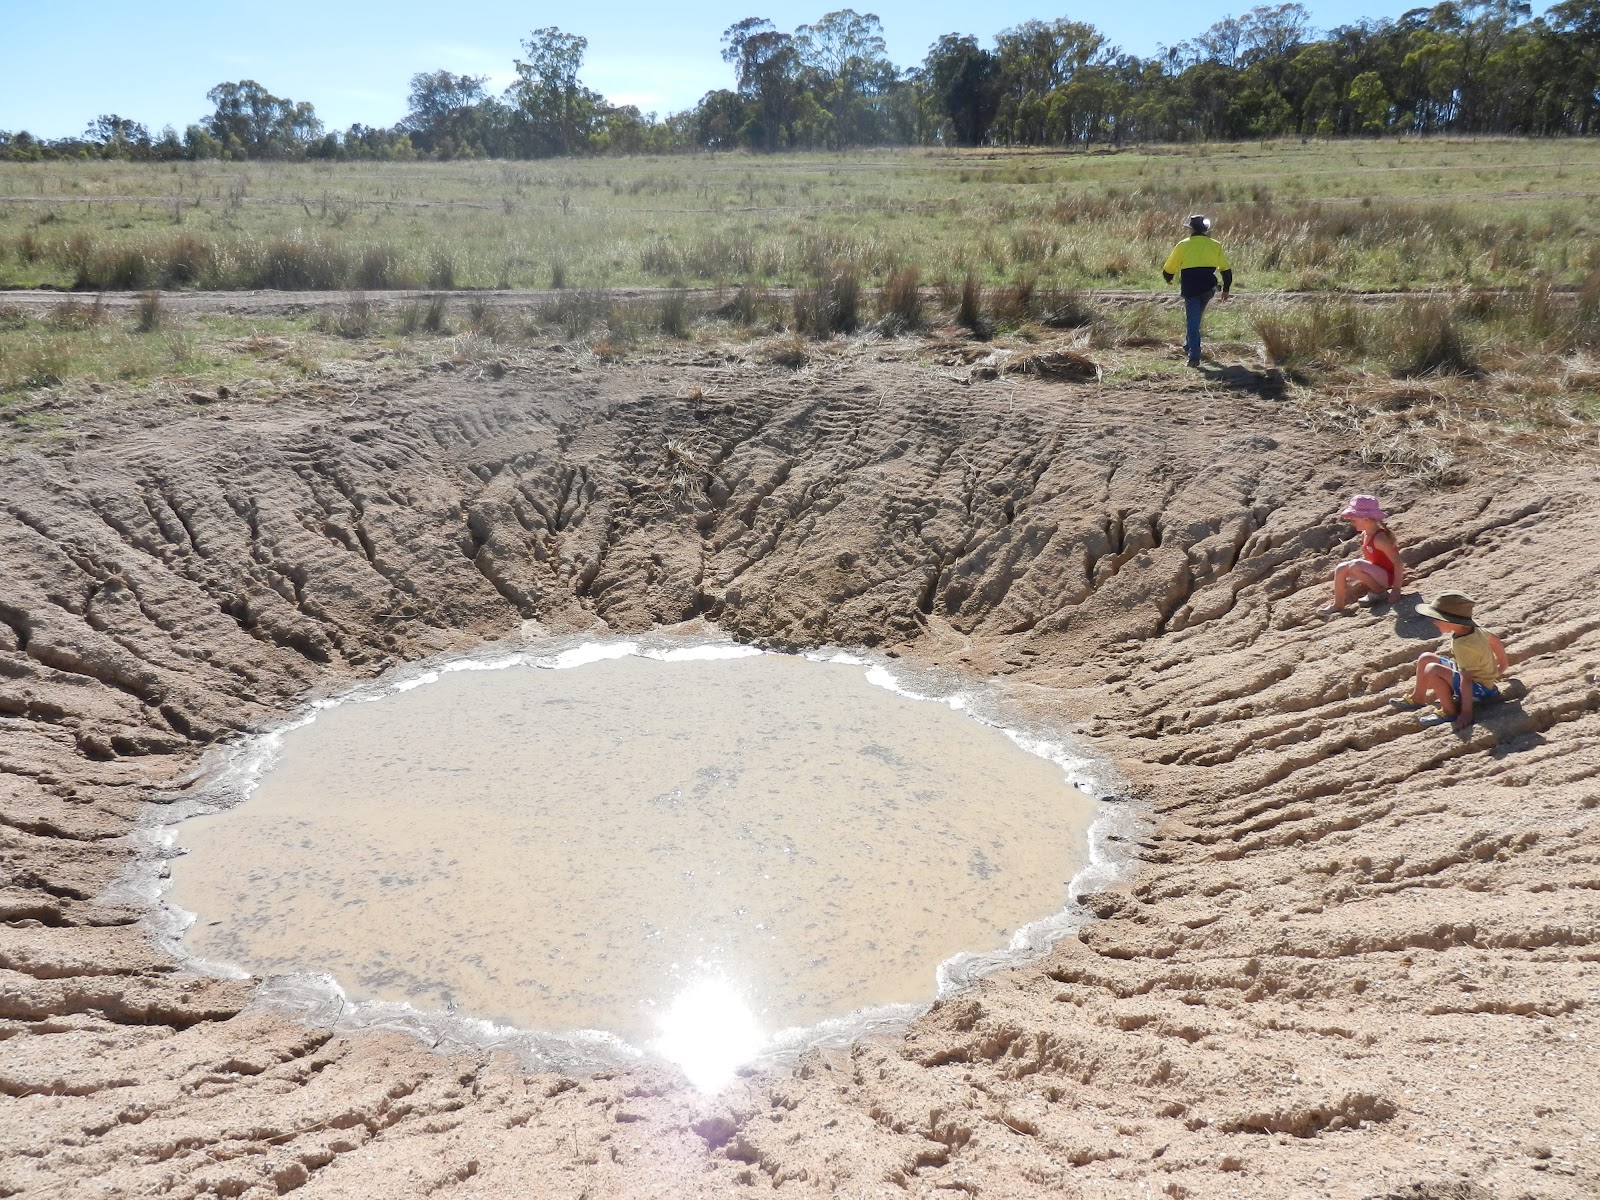
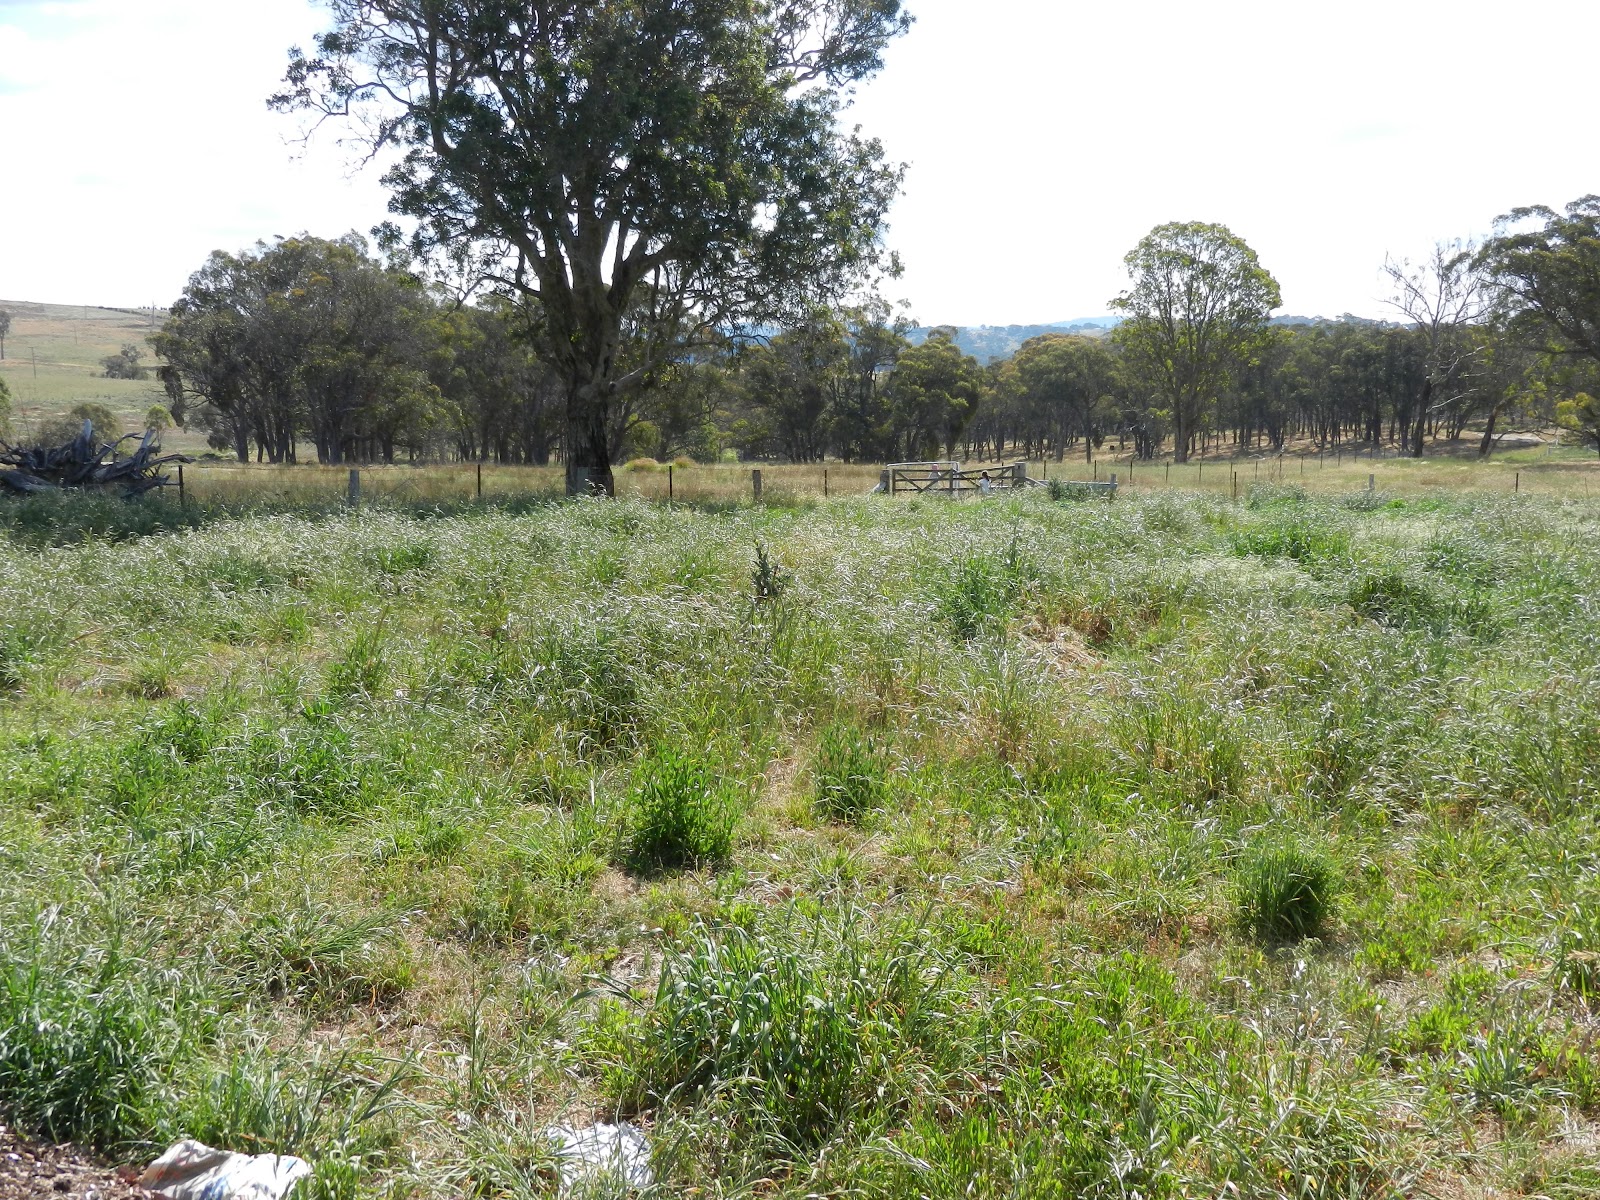
or Find a bit of erosion:
Collect a whole heap of matter (be Generous):
Newspaper, cardboard, paper, shredded paper,
Hay, debosia, damaged hay, mouldy hay, etc etc
Manure, horse, cow, sheep, any animal (note that bat and chicken are extremely strong, might need to mix these with less astringent manures), human – if vegan
windfall trees/branches etc
seeded dead weed/grass matter, lawn mowings etc
Add what you have got, what you can find, what you have on hand.
Encouraging what is already there & using what you have at hand:
We suggest if you have a pile of wood as above to begin that as the basis of your mound, stuff the other matter, cardboard, paper, hay, woodchip, smaller sticks, manure, manure slurry – for the worms etc, what ever you have in all the holes, stuff it up tight and then cover it with manure, and finish it with hay so you have a lovely big mound of dead matter that is covered as much as possible. This can be done with tree stumps also, create the mound around them where they already exist.
|
|
|
encouraging what is already there – feeding a white ants nest,
adding cardboard and wood chips to encourage the
life and support it where it is.
|
Add minerals (be generous):
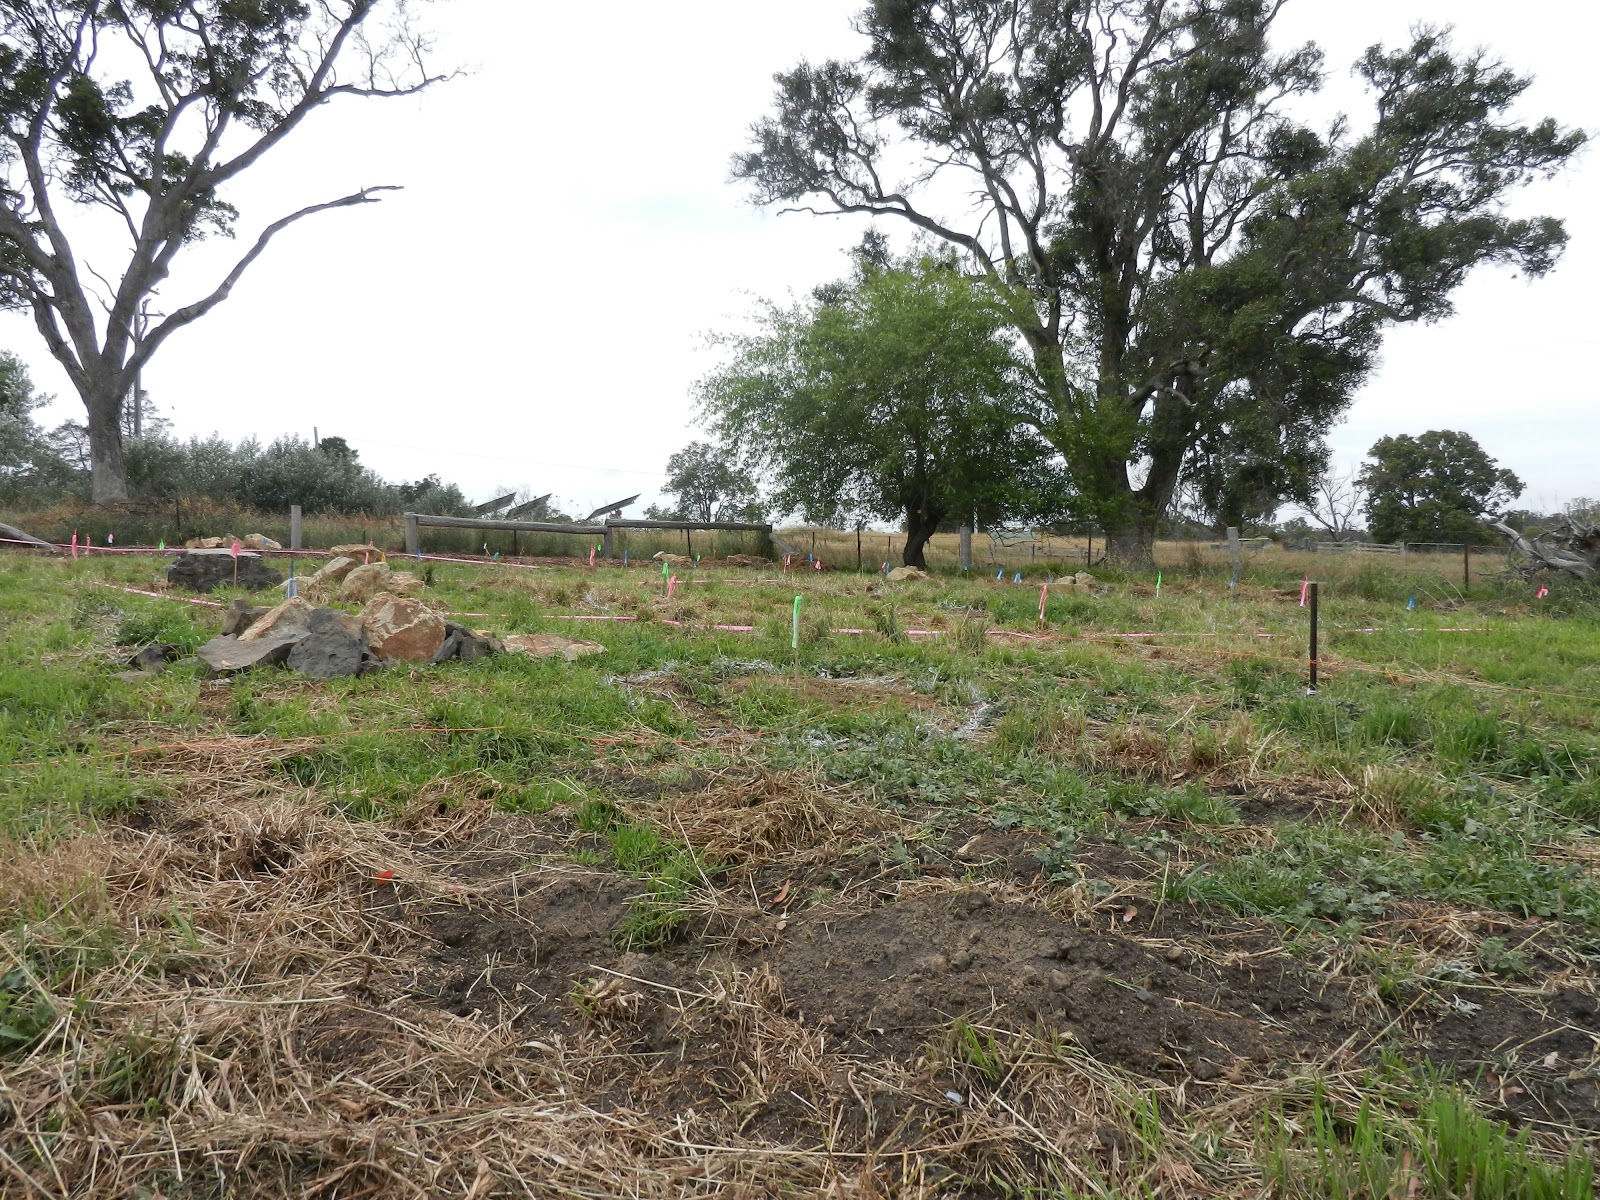
You will need to identify what minerals the soil needs. A soil test is good for this. We used gypsum for the project in standby paddock as there was a clay base. In other areas of the land we have used different mineral combinations. Each hole may be different.
You can put an optional layer of newspaper (2 sheets thick) over the minerals if you want.
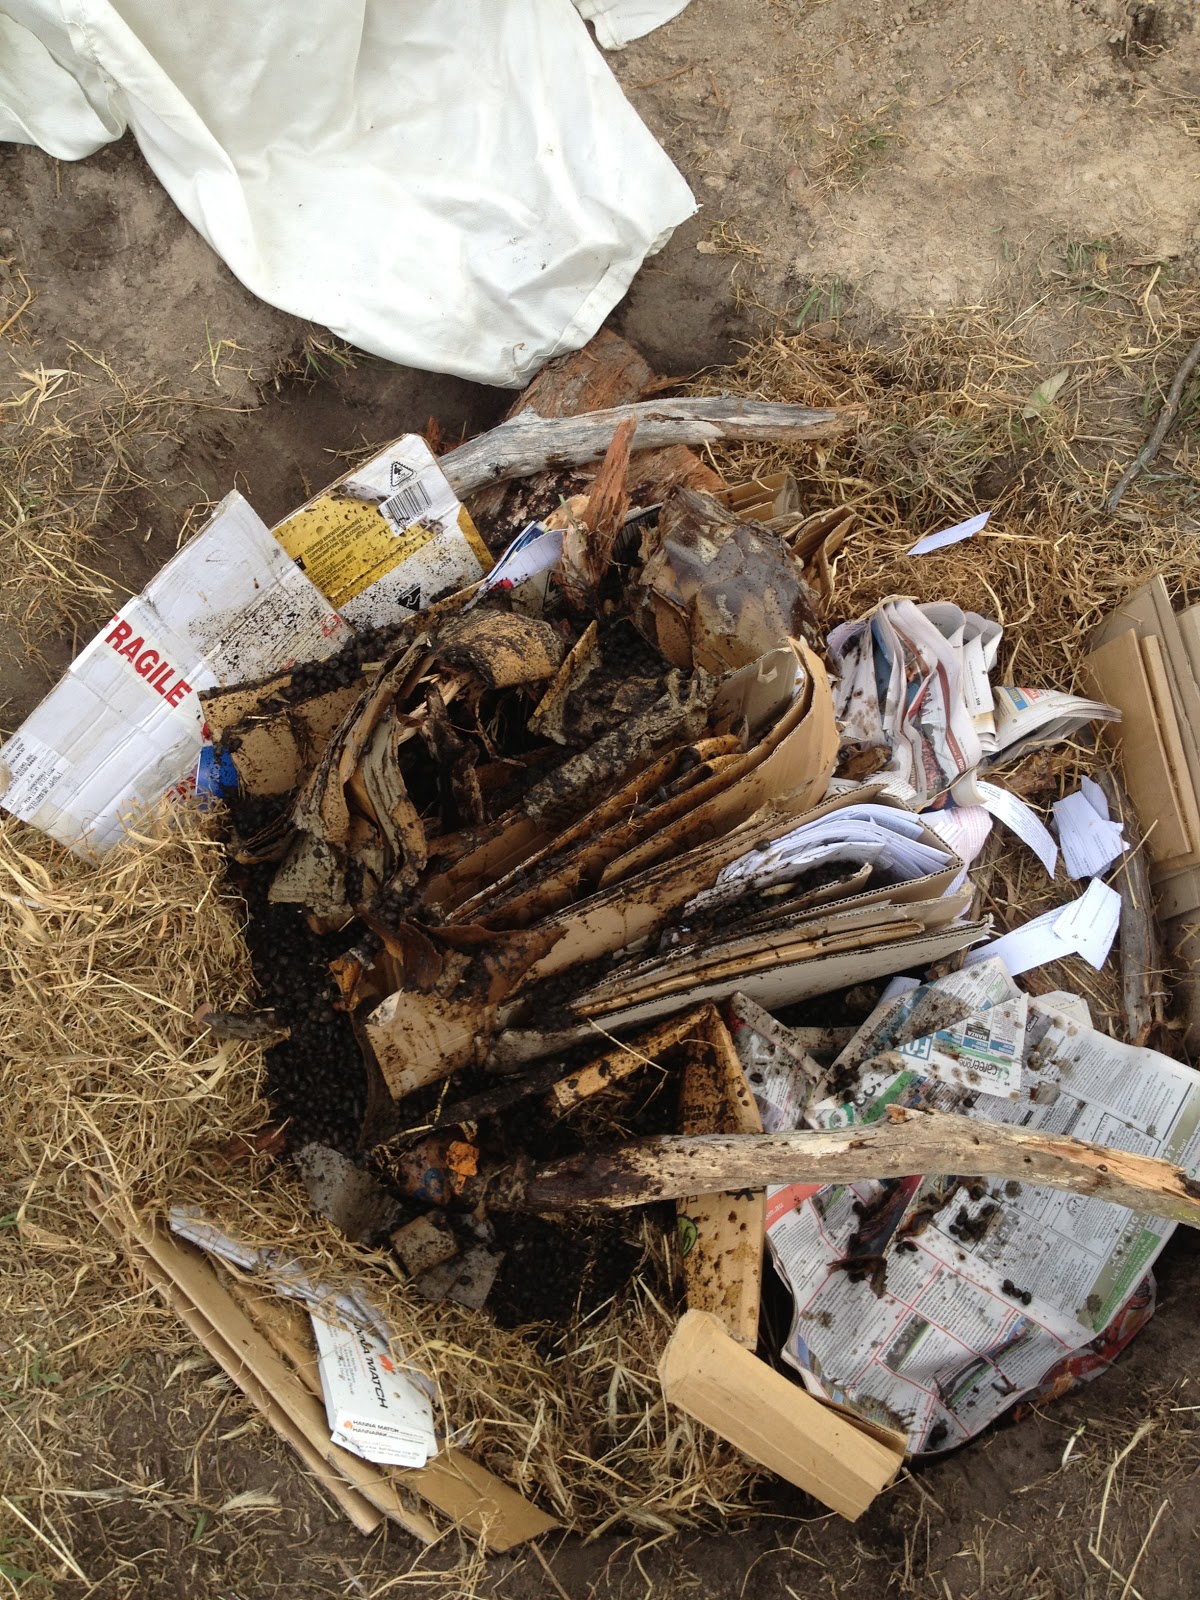
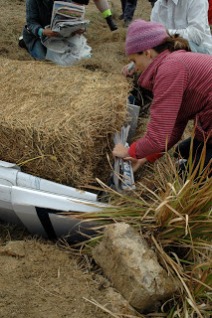
Put compacted matter into the holes:
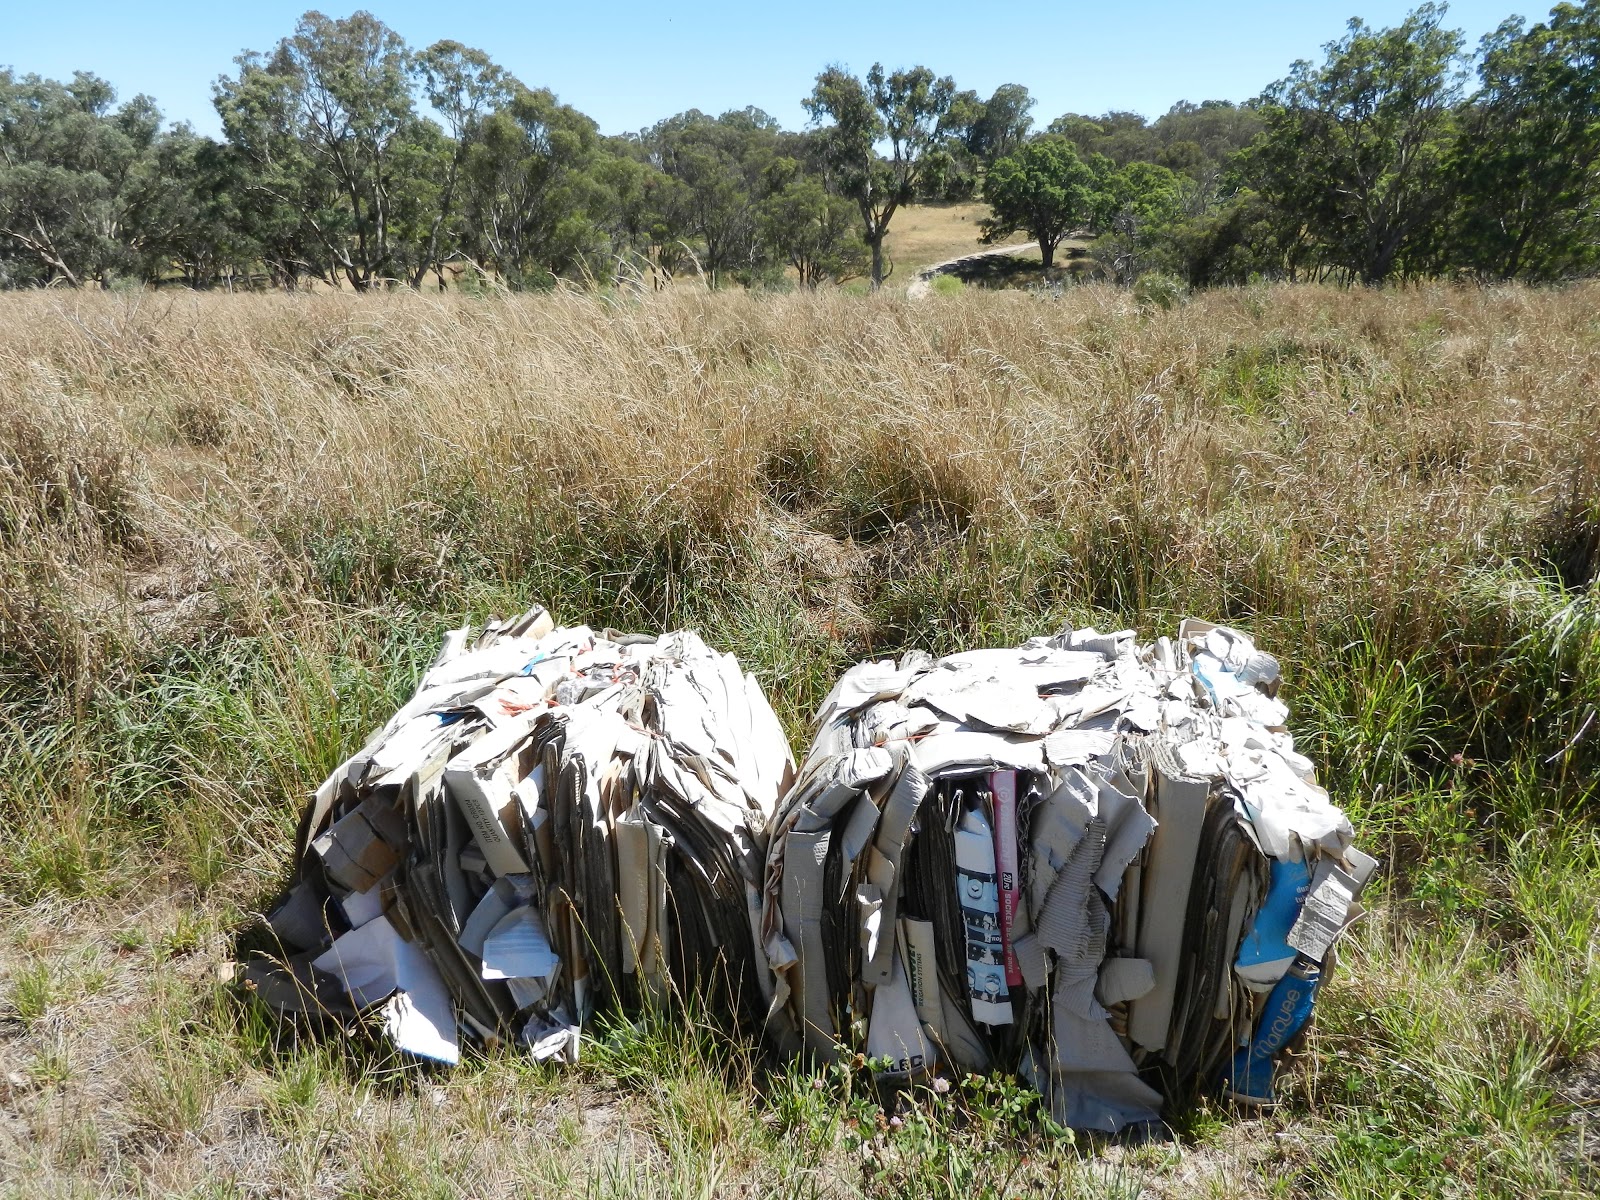
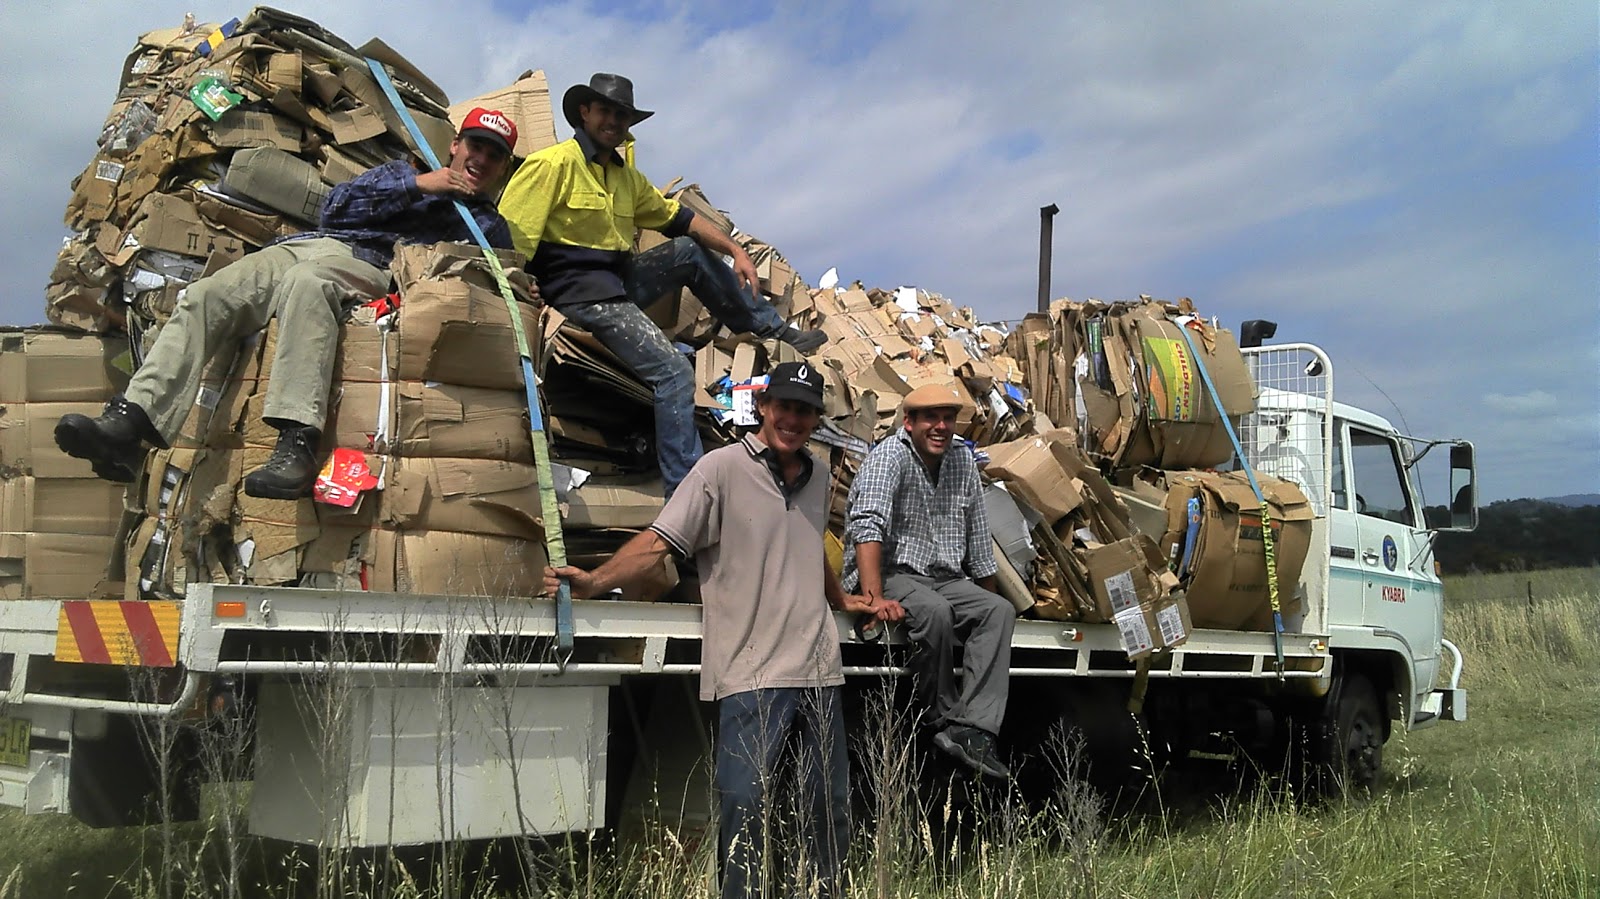
put cardboard bales, hay bales, fallen trees, tree stumps, branches -cut up to fit hole, (compacted items) in the hole.
 |
| jostling a bale into place |
Pack it in tight – generously:
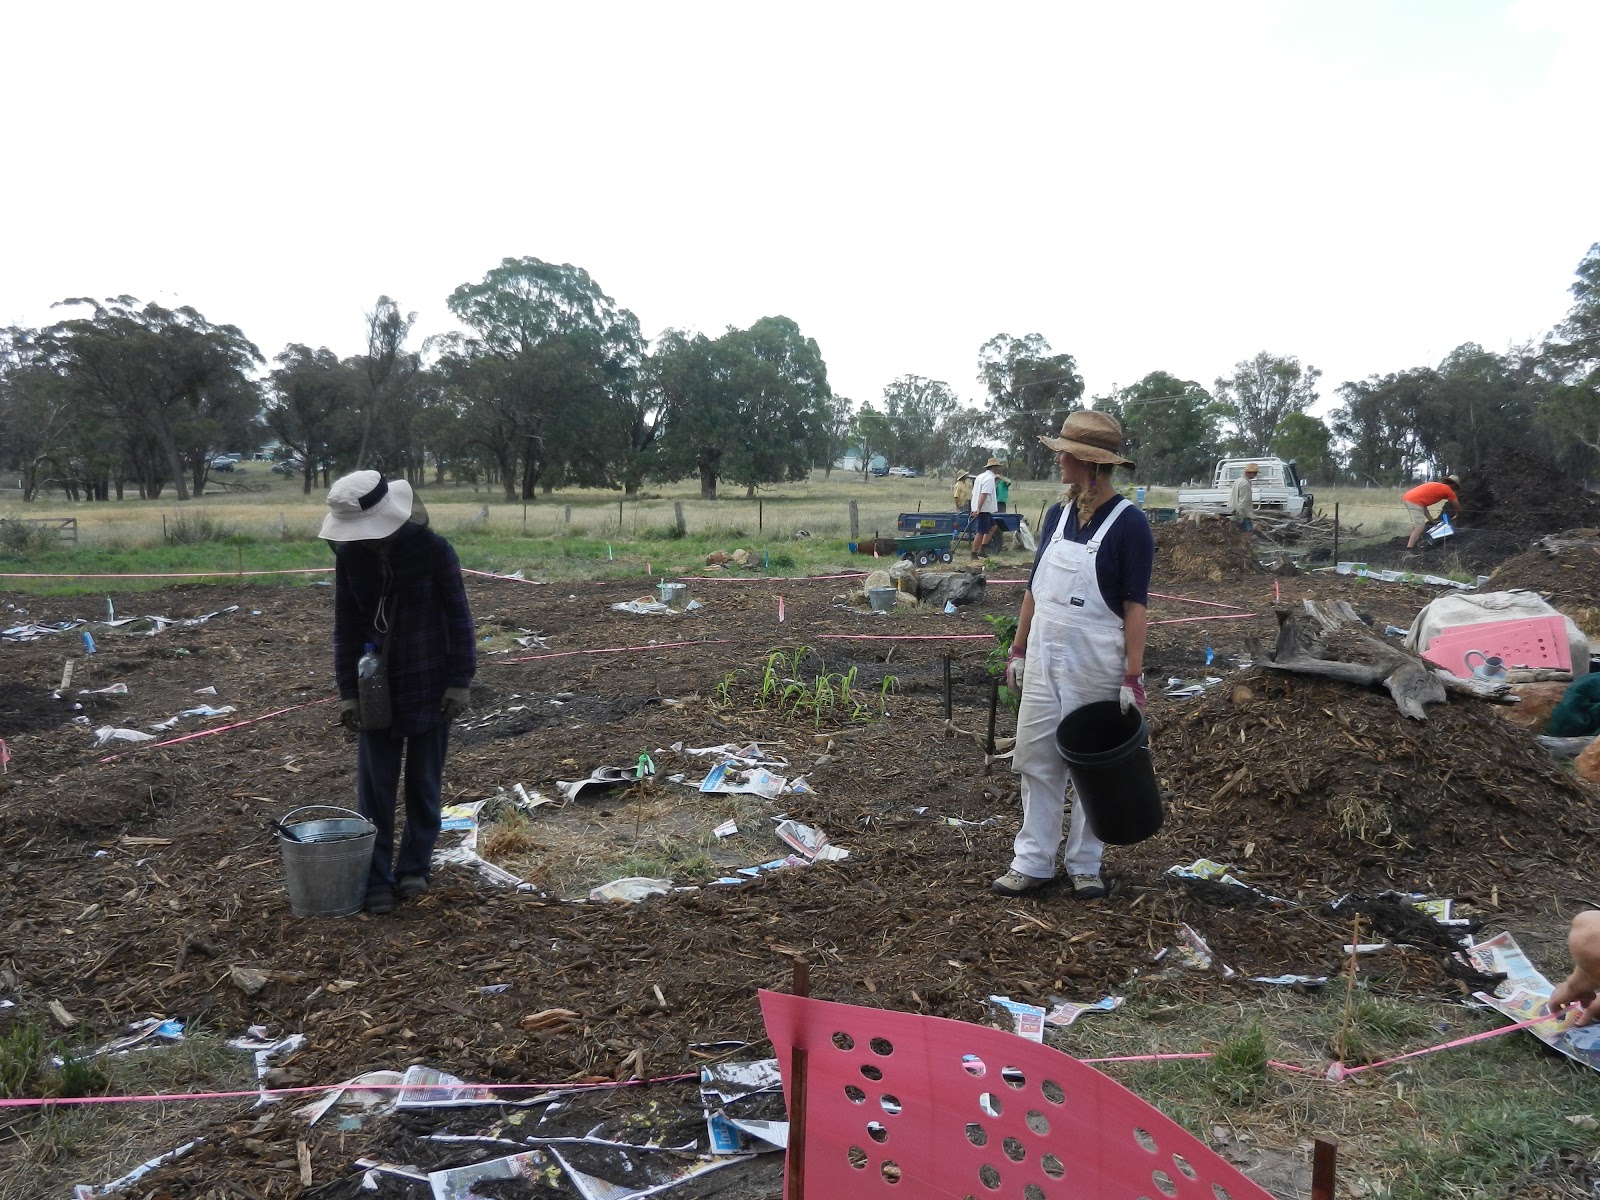
Pack Cardboard/hay/matter around the compacted matter to fill up the hole tight. When using paper and cardboard put it standing up ways so that worms and other organisms are able to crawl upwards to the top to get out of excess water.
 |
| Adding cardboard and newspaper |
 |
| the more cardboard the better – food |
 |
| Adding more food |
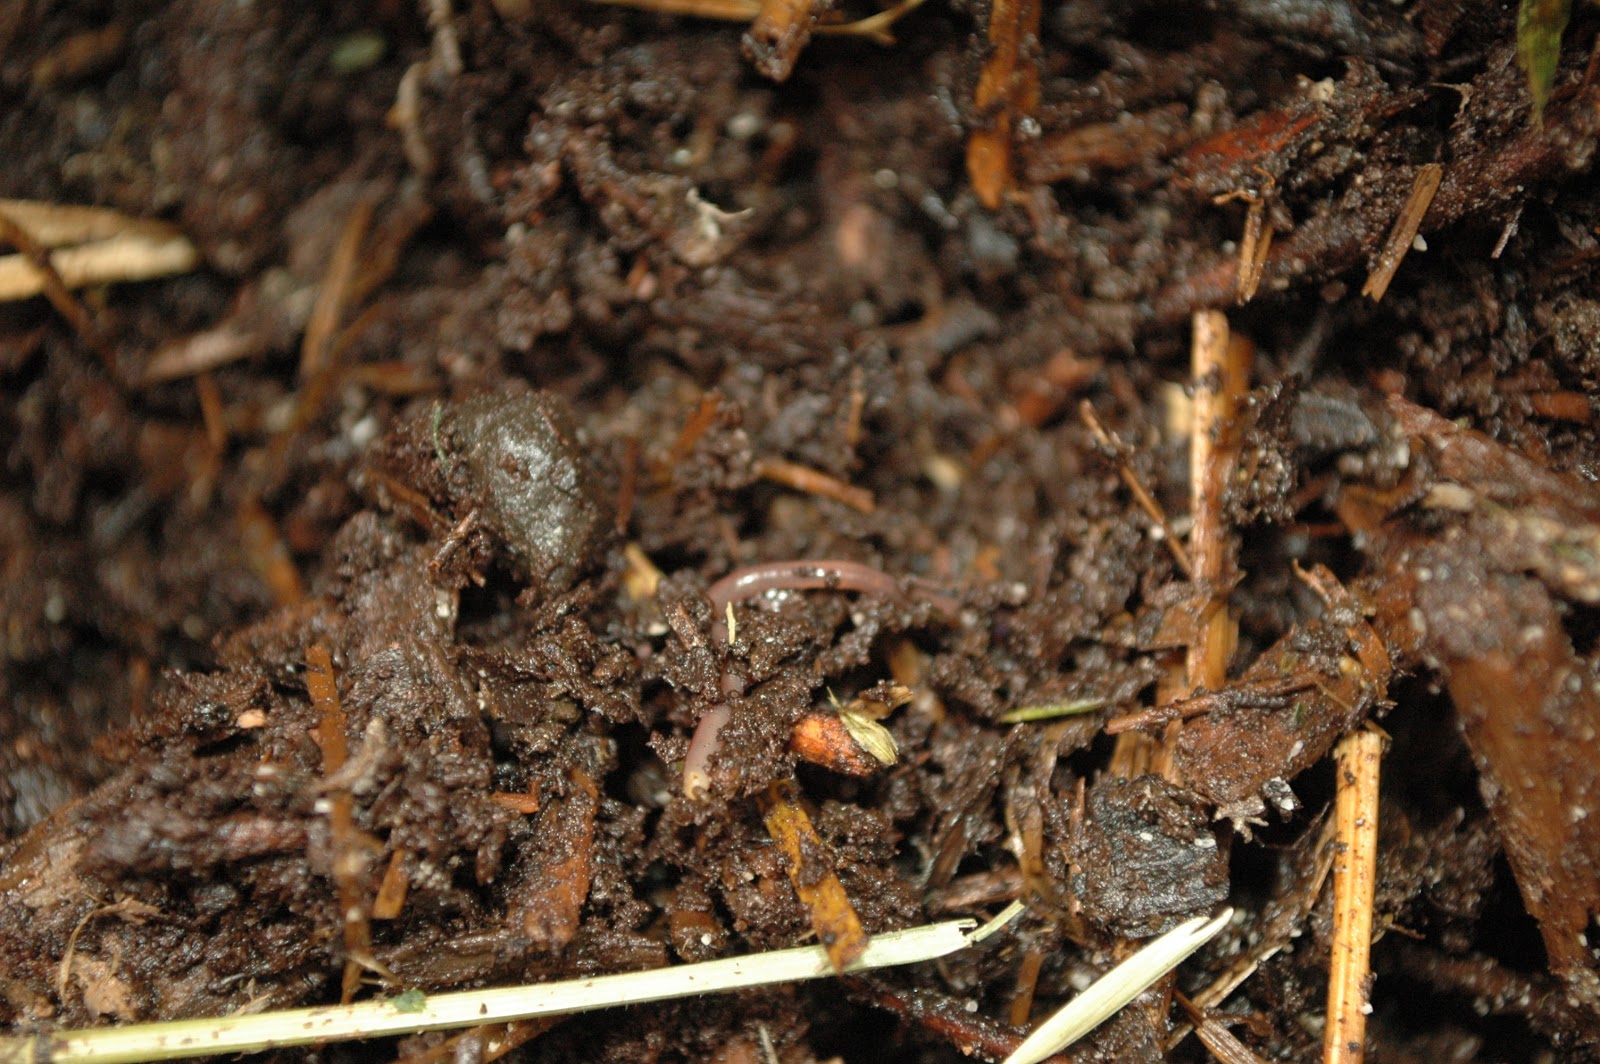
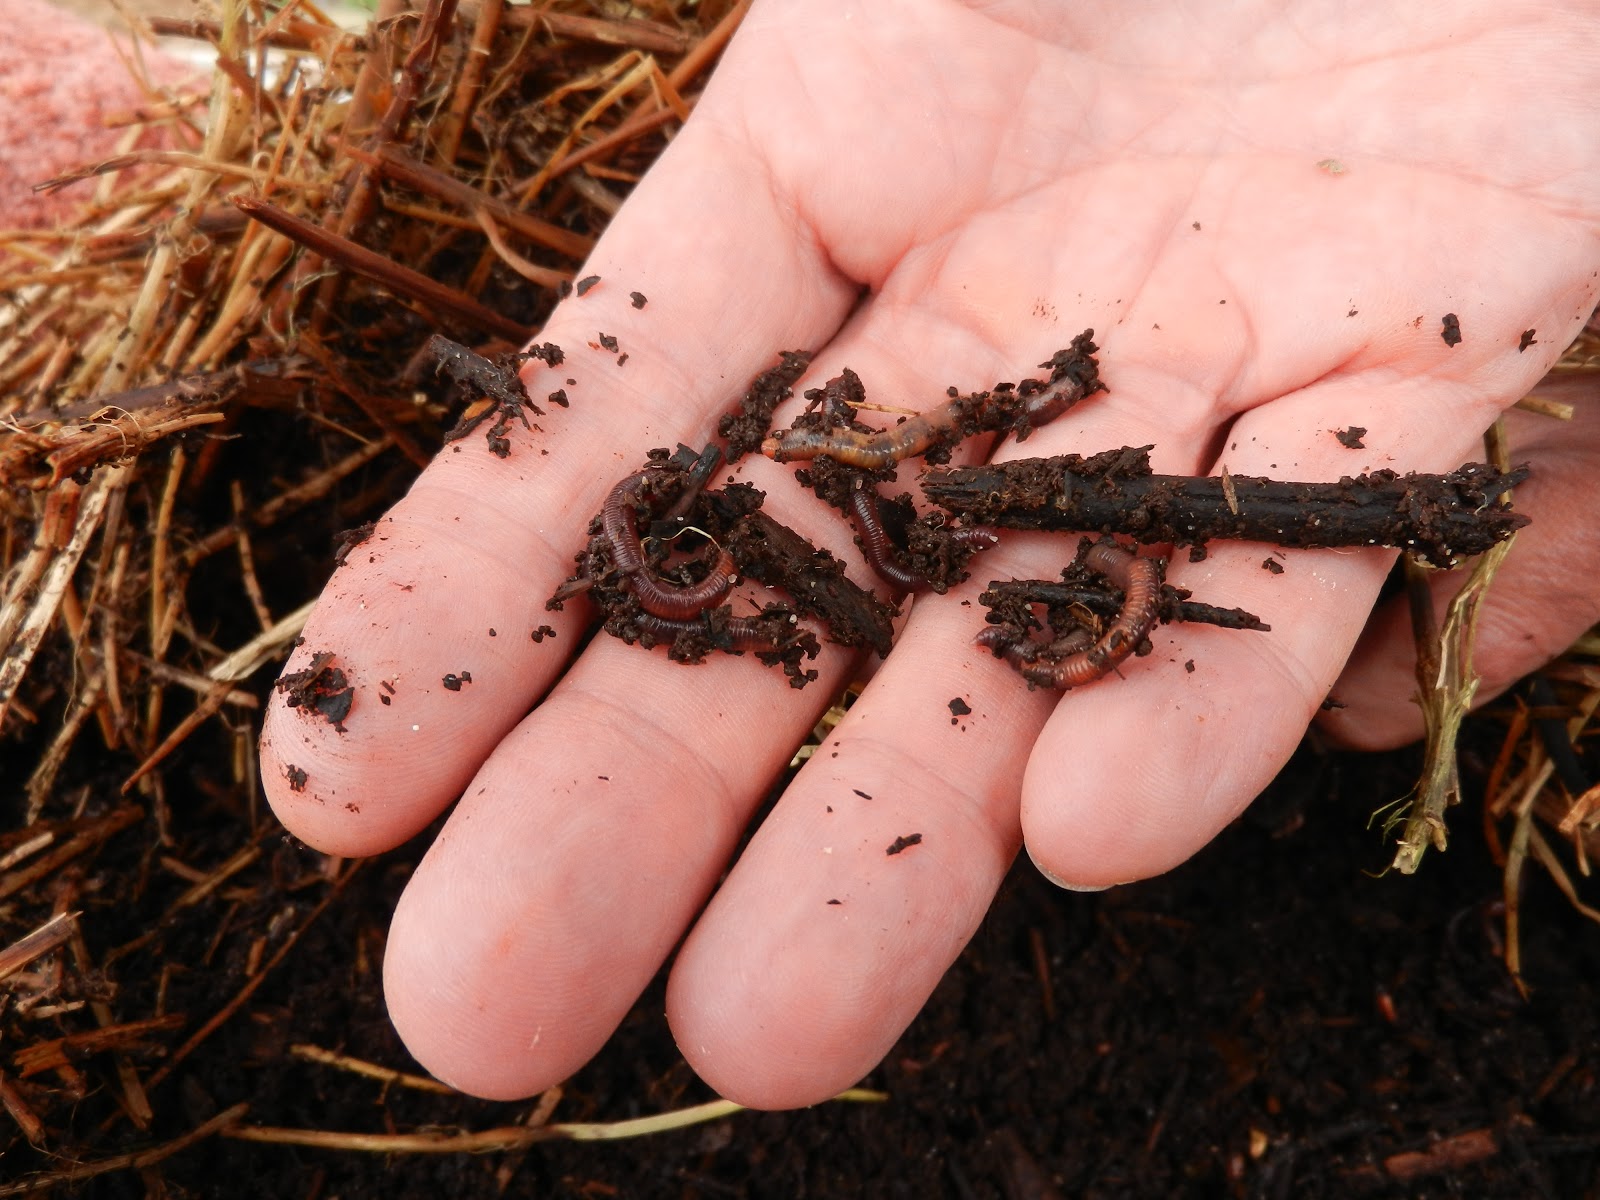
Add Manure and worms – generously:
Worms love manure and will chomp through it. We also created what we called ‘worm slurry’ a water manure brew that was soaked for a few days before putting it into the system. We did this to add moisture and a place for worms to begin feasting and breeding right away. Worms need moisture. (No need to deplete your worm breeding centres too much, take what you can and then wait till the worms breed up more and add more to the living system at a later date, if needed.)
(We put manure all through the systems and then made little worm pockets with slurry at the top of the holes to create a worm feasting/breeding area from which they can multiply and spread through the system).
Worm Slurry:
This can be a mixture of all sorts of things that worms like, could include food scraps too if you wanted to.
Can be water, manure, decomposed matter, small bits of cardboard soaked, or just manure and water. Make use of what you have or can easily access.
|
|
|
make a worm food slurry/brew water, poo,
decomposed hay, small bits of cardboard
|
|
|
|
put the slurry/brew under the newspaper in all the
holes and cracks so that there is moisture
|
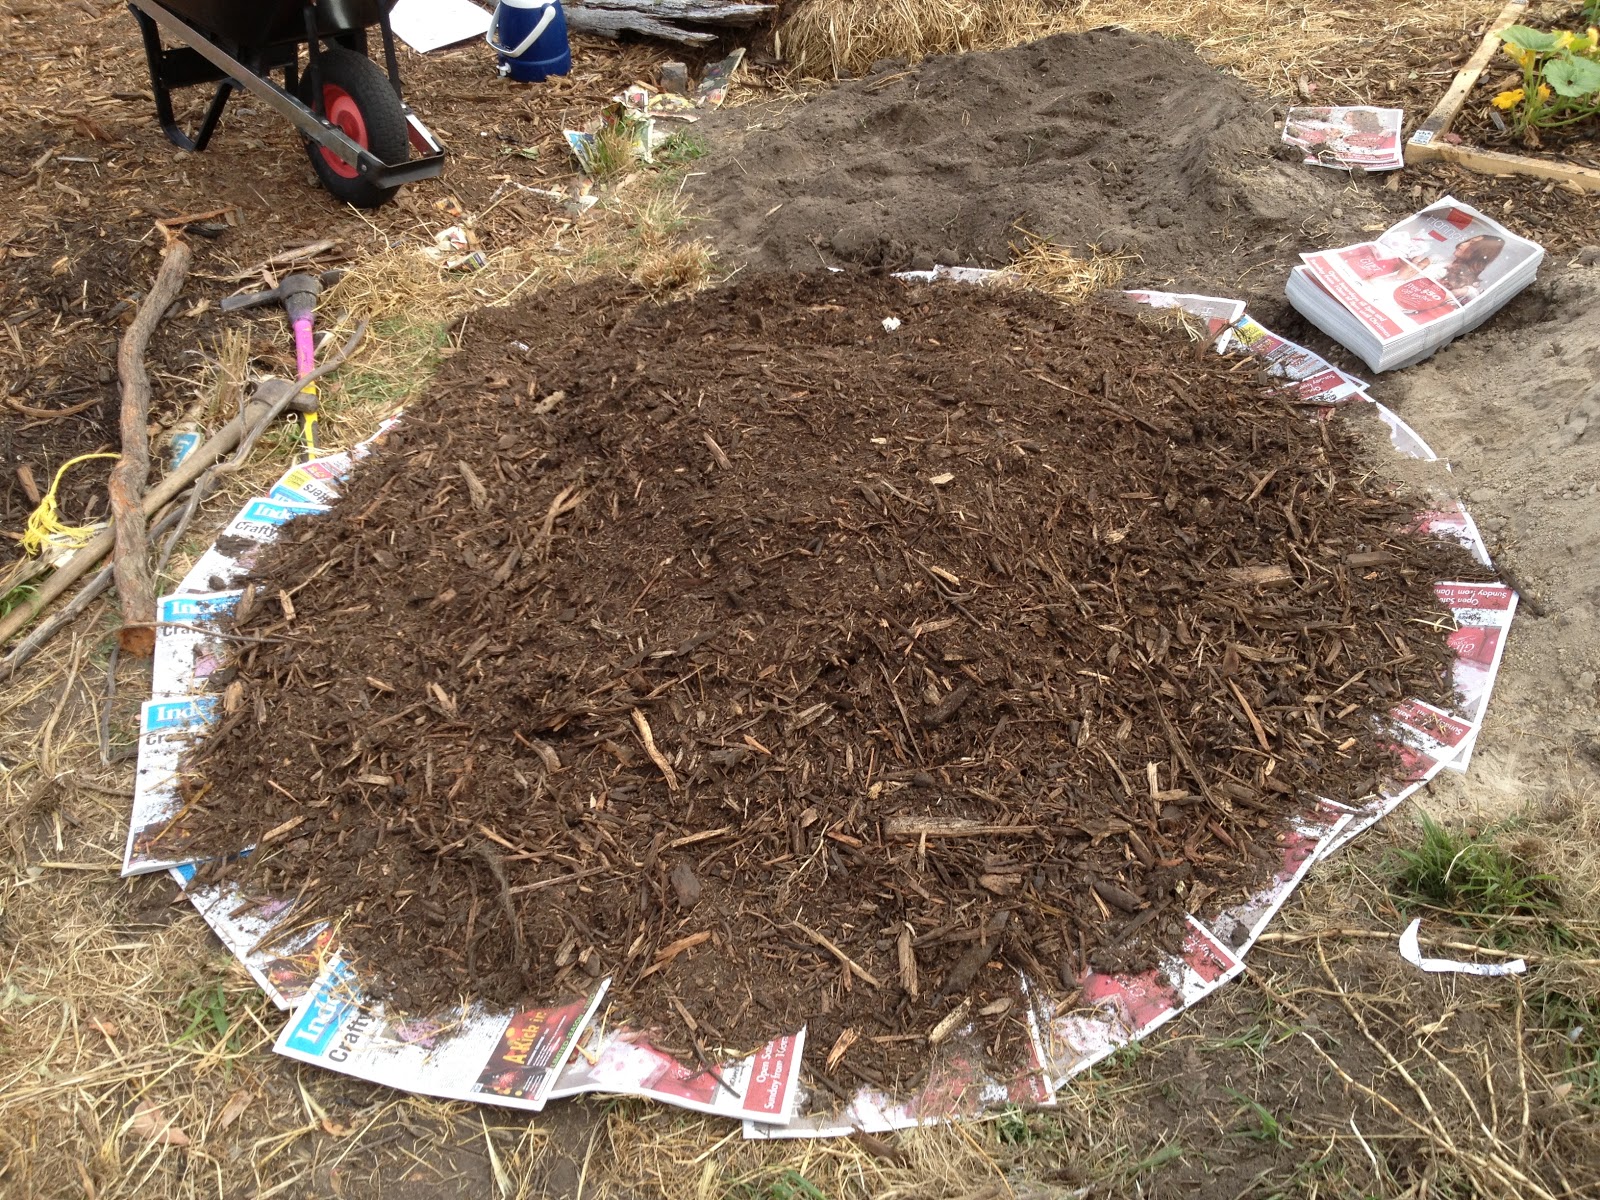
Cover with Mulch:
to keep it moist and also add more food and places for insects to live.
 |
| adding mulch |
|
|
|
Cover with mulch to keep moist (what a lovely ‘bug’ palace)
|
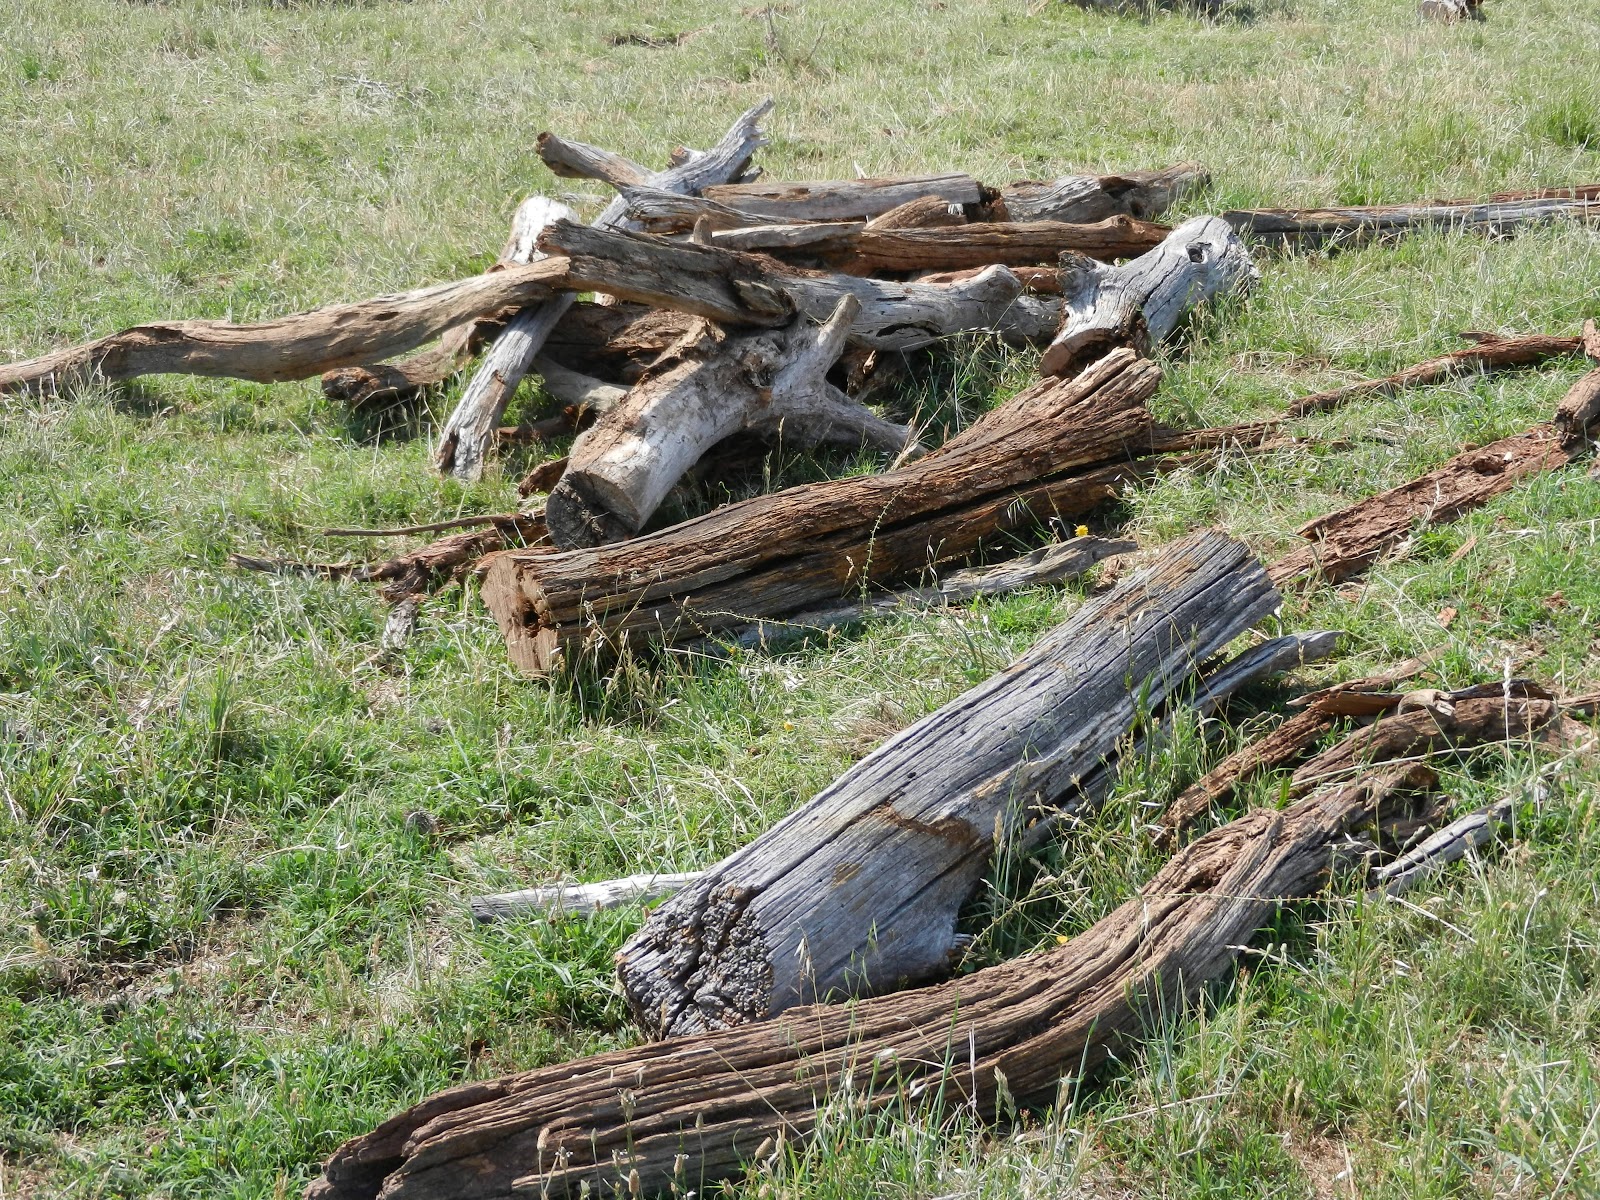
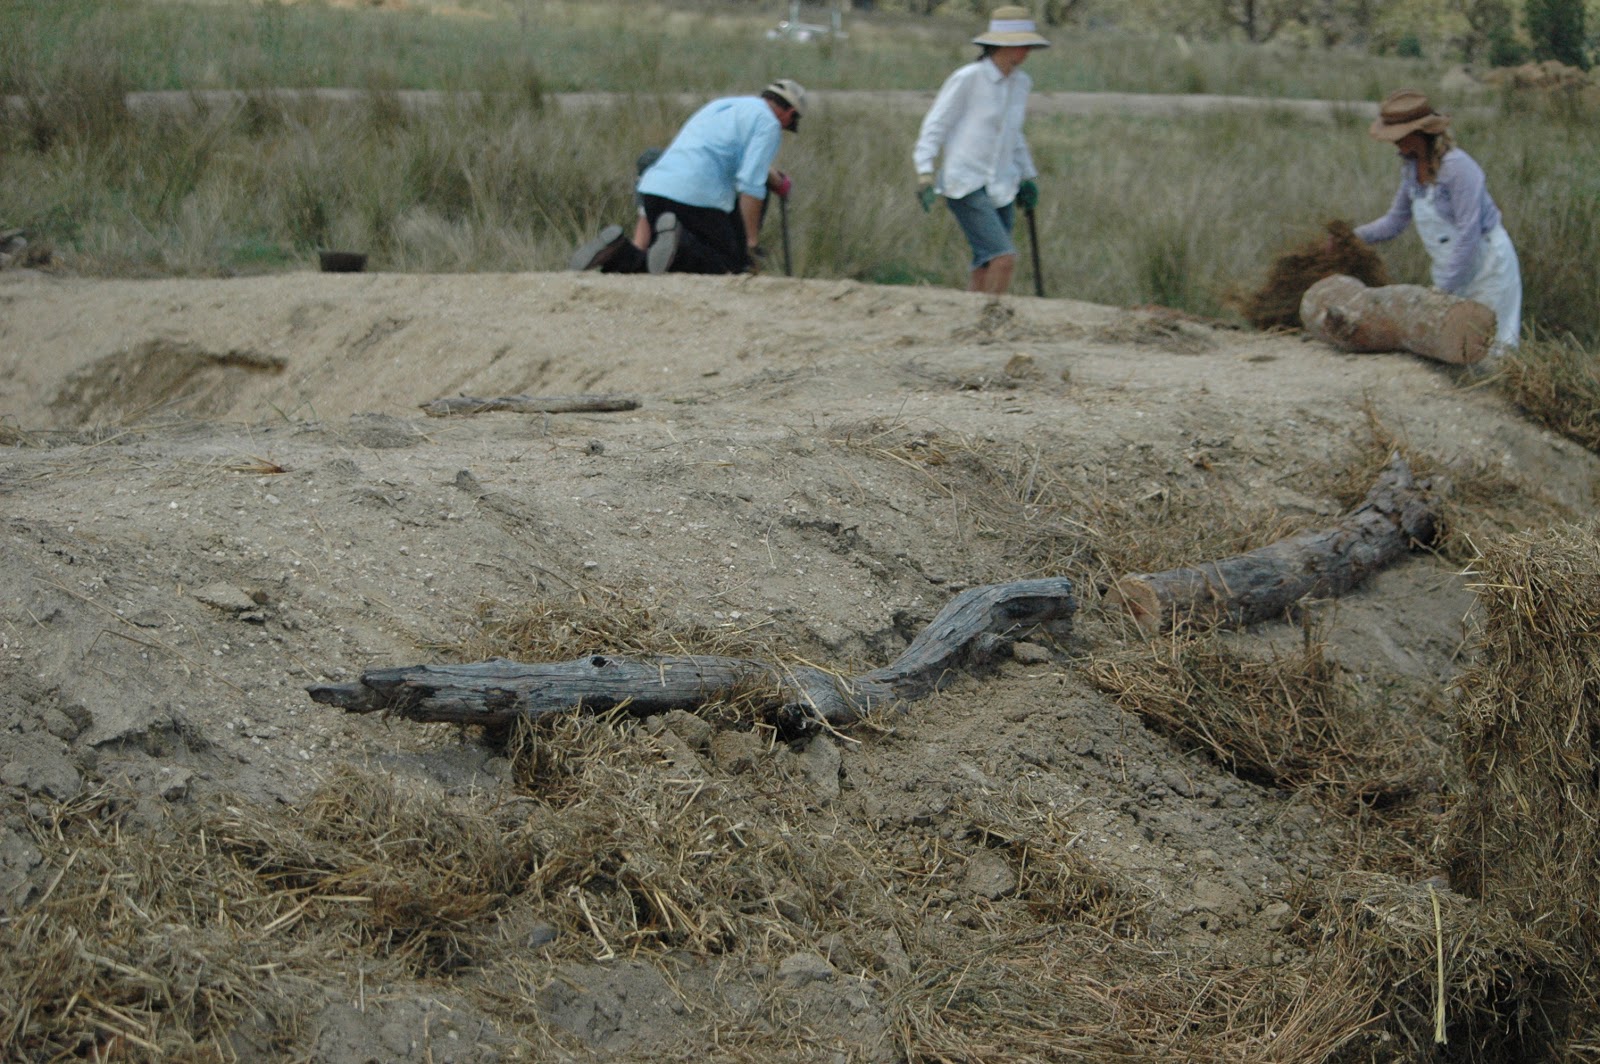
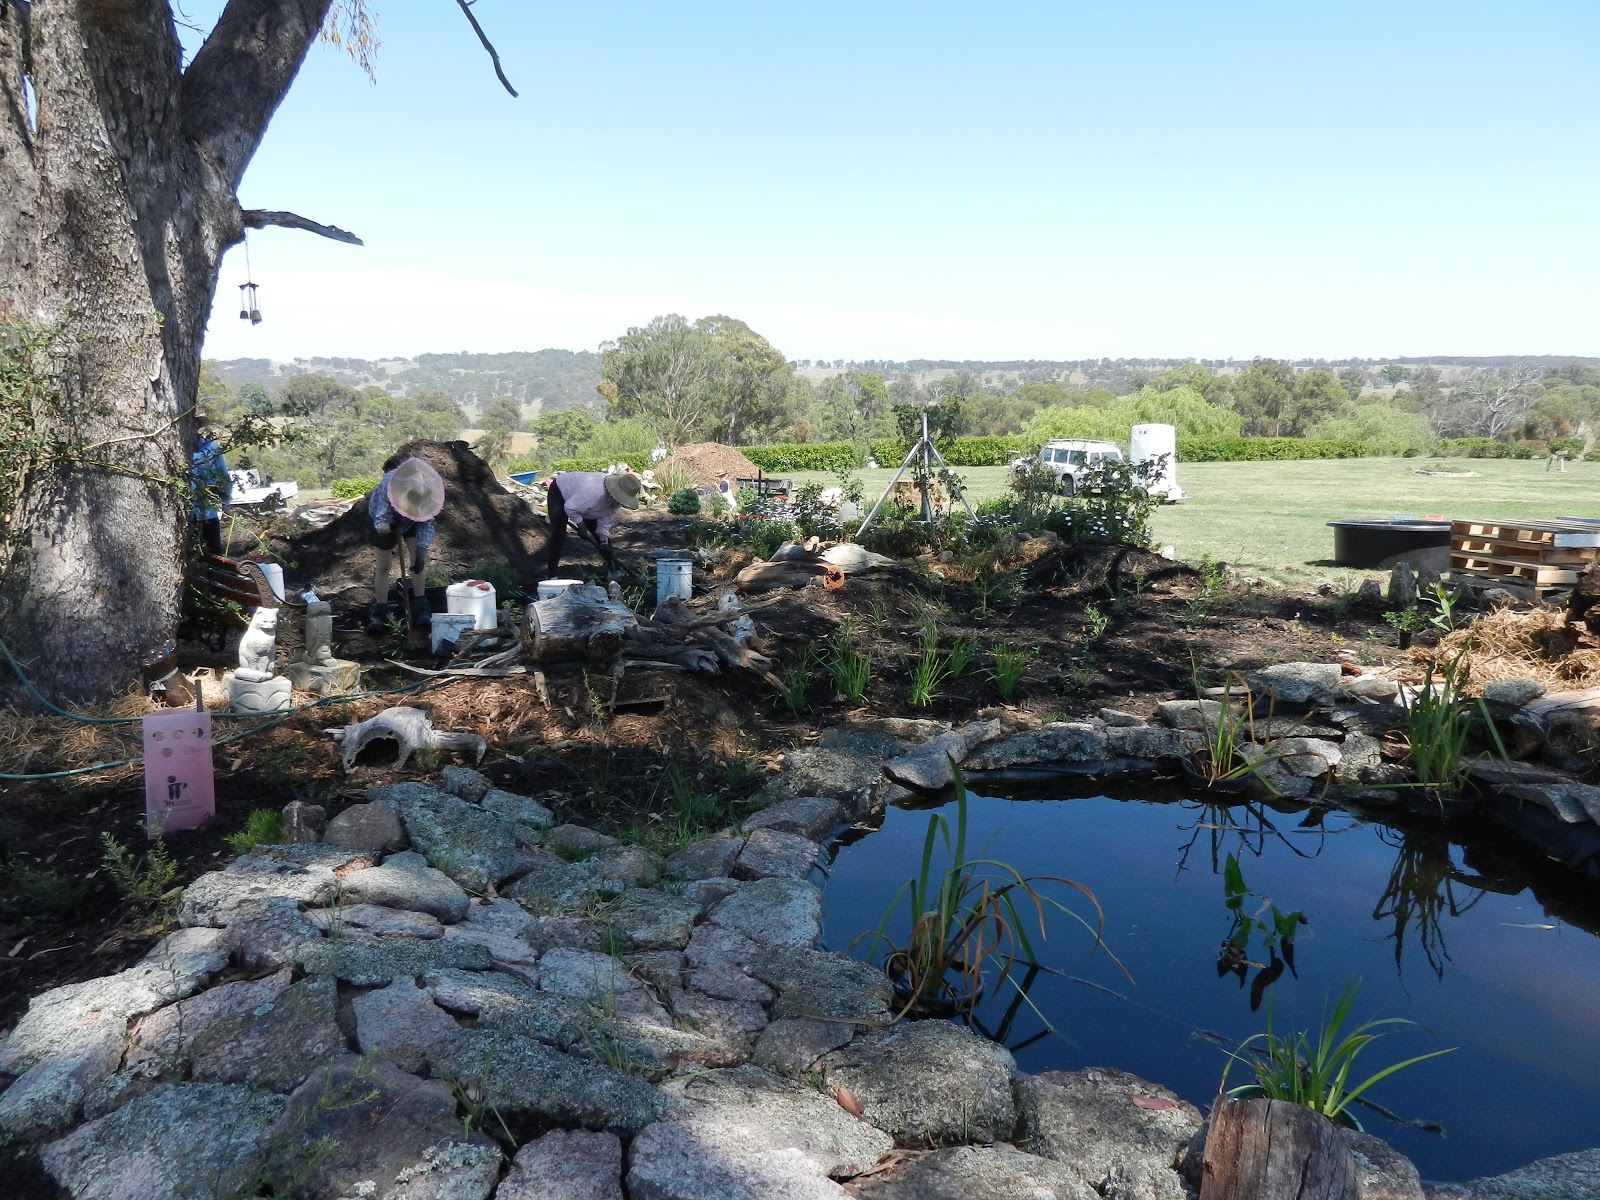
Adding dead matter:
We were really grateful to our neighbours (the Munsies) for their generous gift of felled trees to put both underground into the living system hole and also on the top of it.
 |
moving dead matter onto the top – creating habitat and
food sources for fauna. |
 |
| Put as much matter as possible in and on top of the holes. |
Cover as much surface area as possible:
Pack matter around the wood to ensure as much surface area of the logs are covered or touching hay, woodchip, etc so that it breaks down faster and so creatures can easily eat and make homes and do not have to endanger themselves or work hard to do so.
|
|
|
cover with woodchips (optional, you could use the wood chips in the living
system or if limited supply keep them to use for mulching around the
regeneration ‘support’ plants (legumes) rather than putting it
over the top.
|
 |
Woodchip packed around the tree stumps to enable more
surface area to be available to primary recovery organisms.
(You can use hay, or any other materials you may have
access to). |
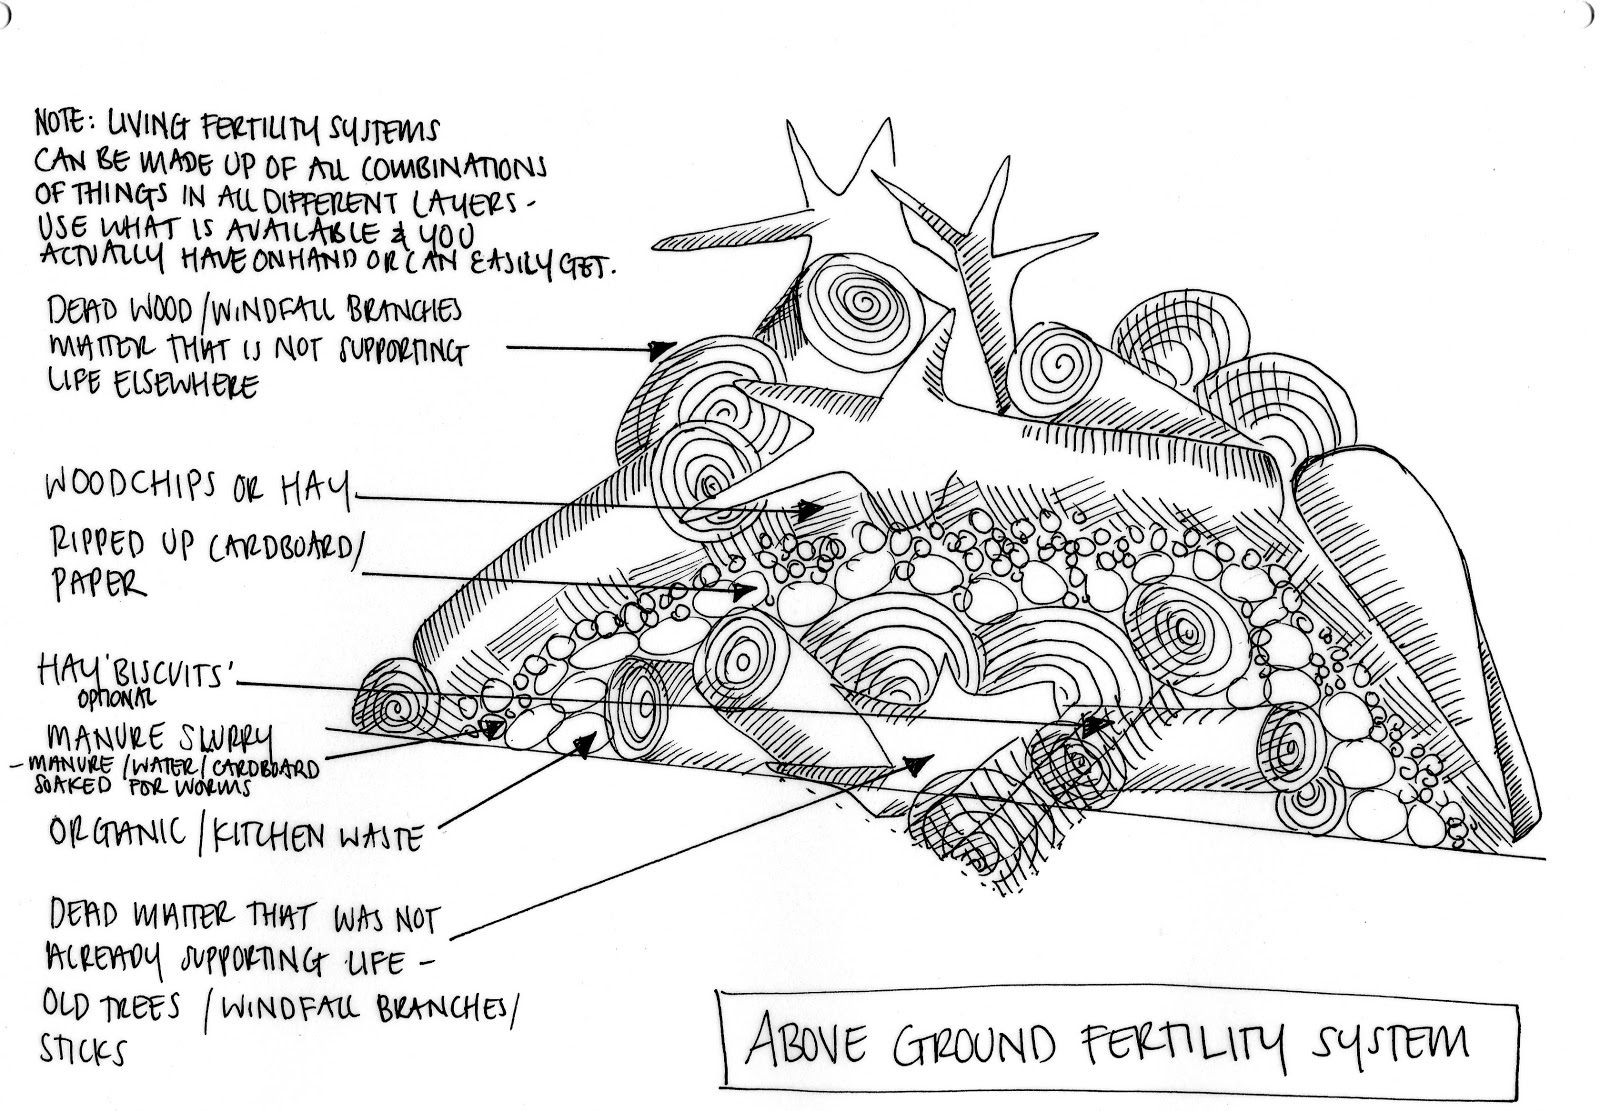
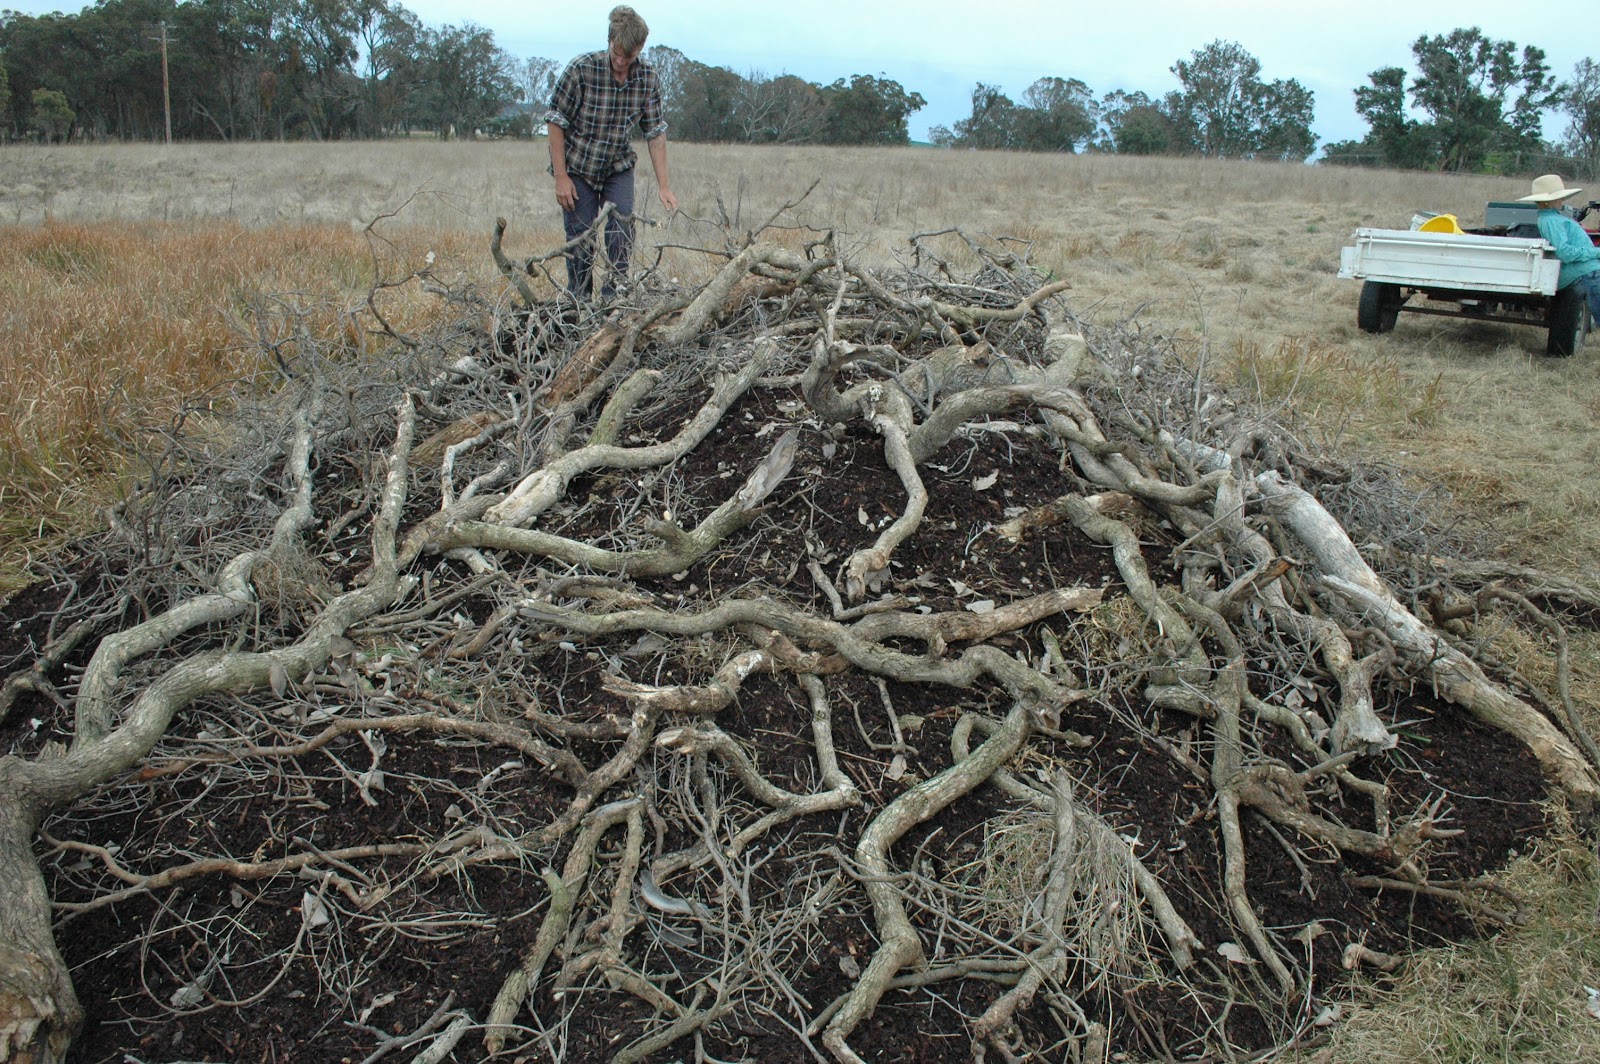
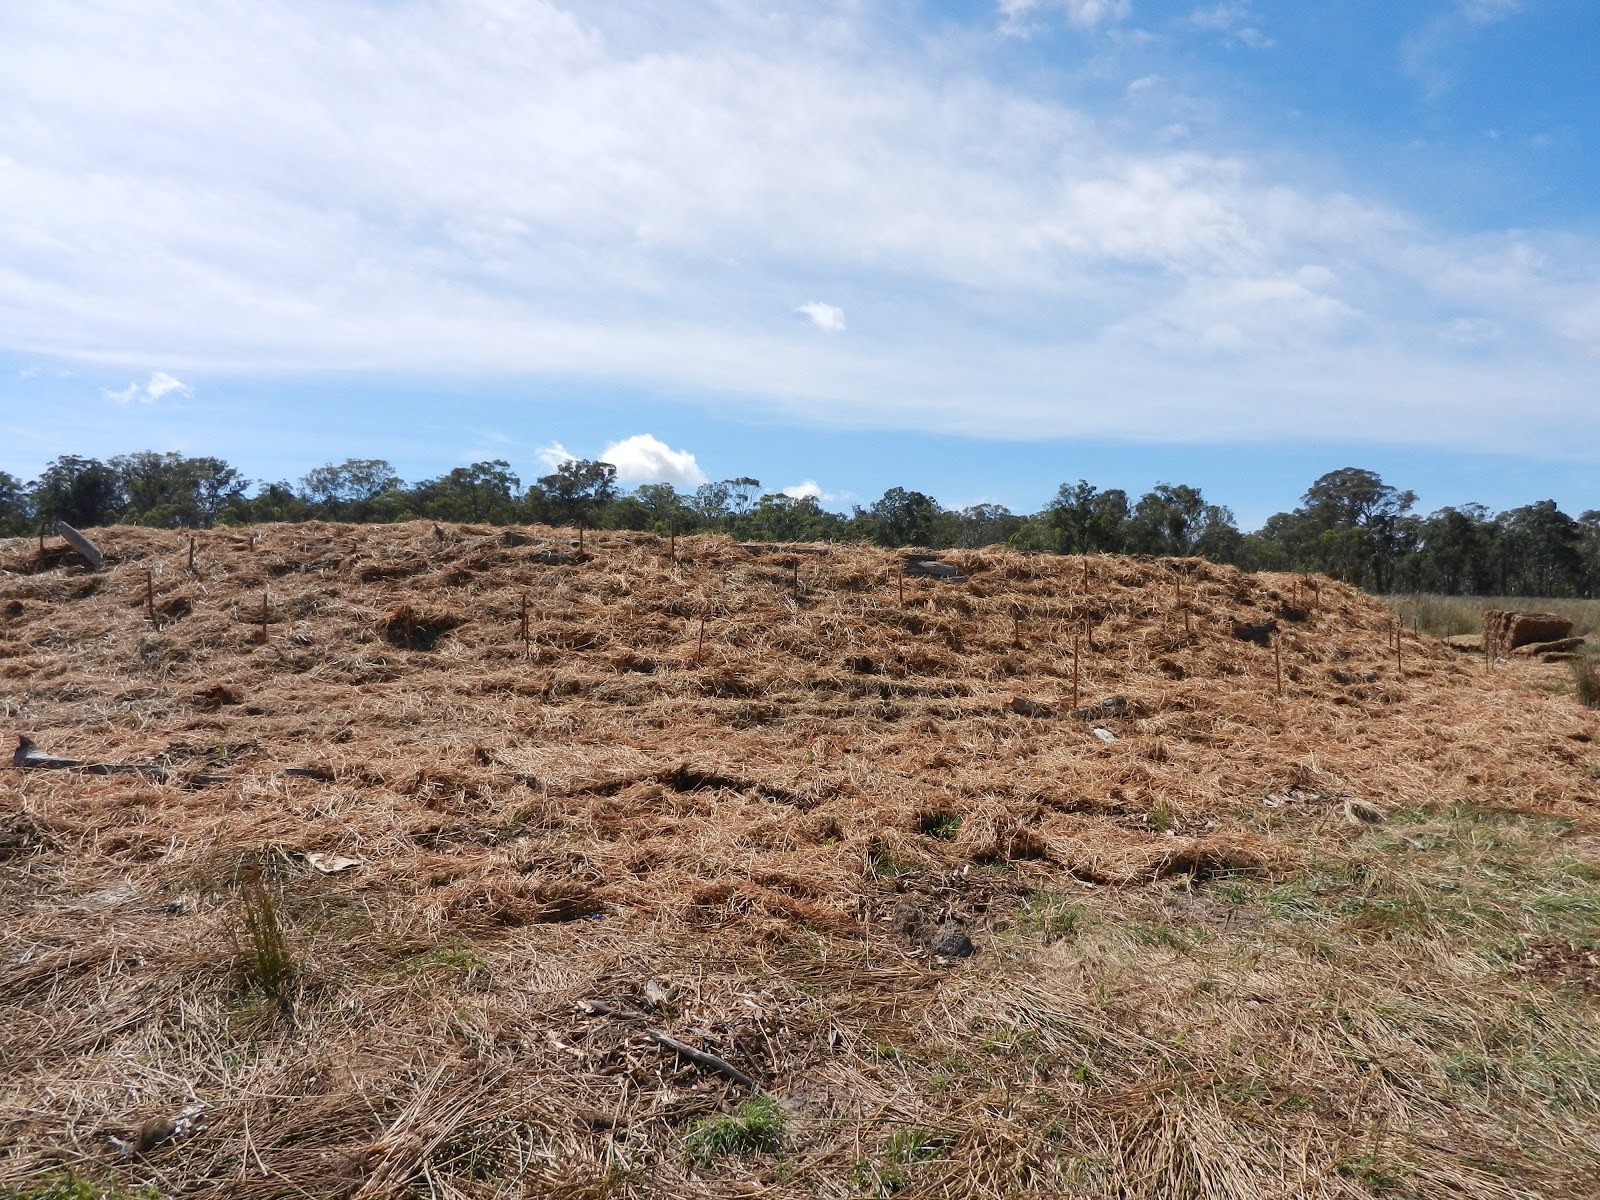
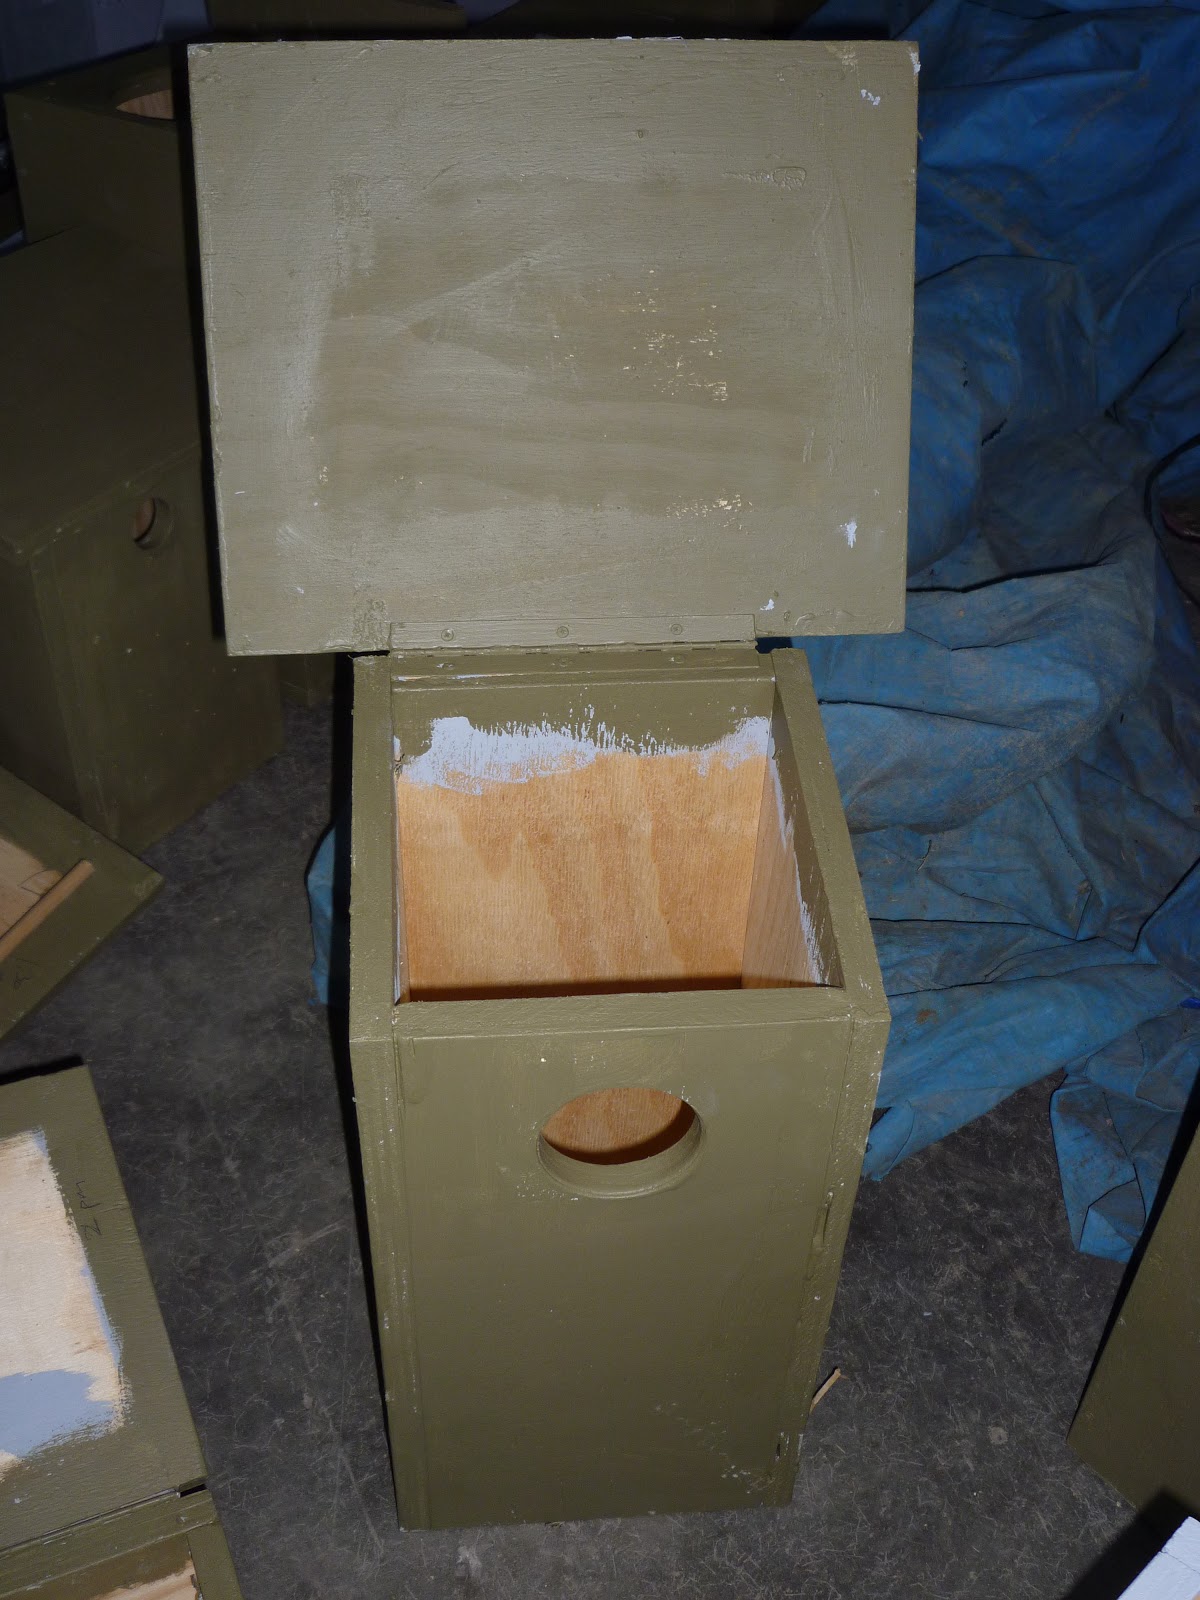
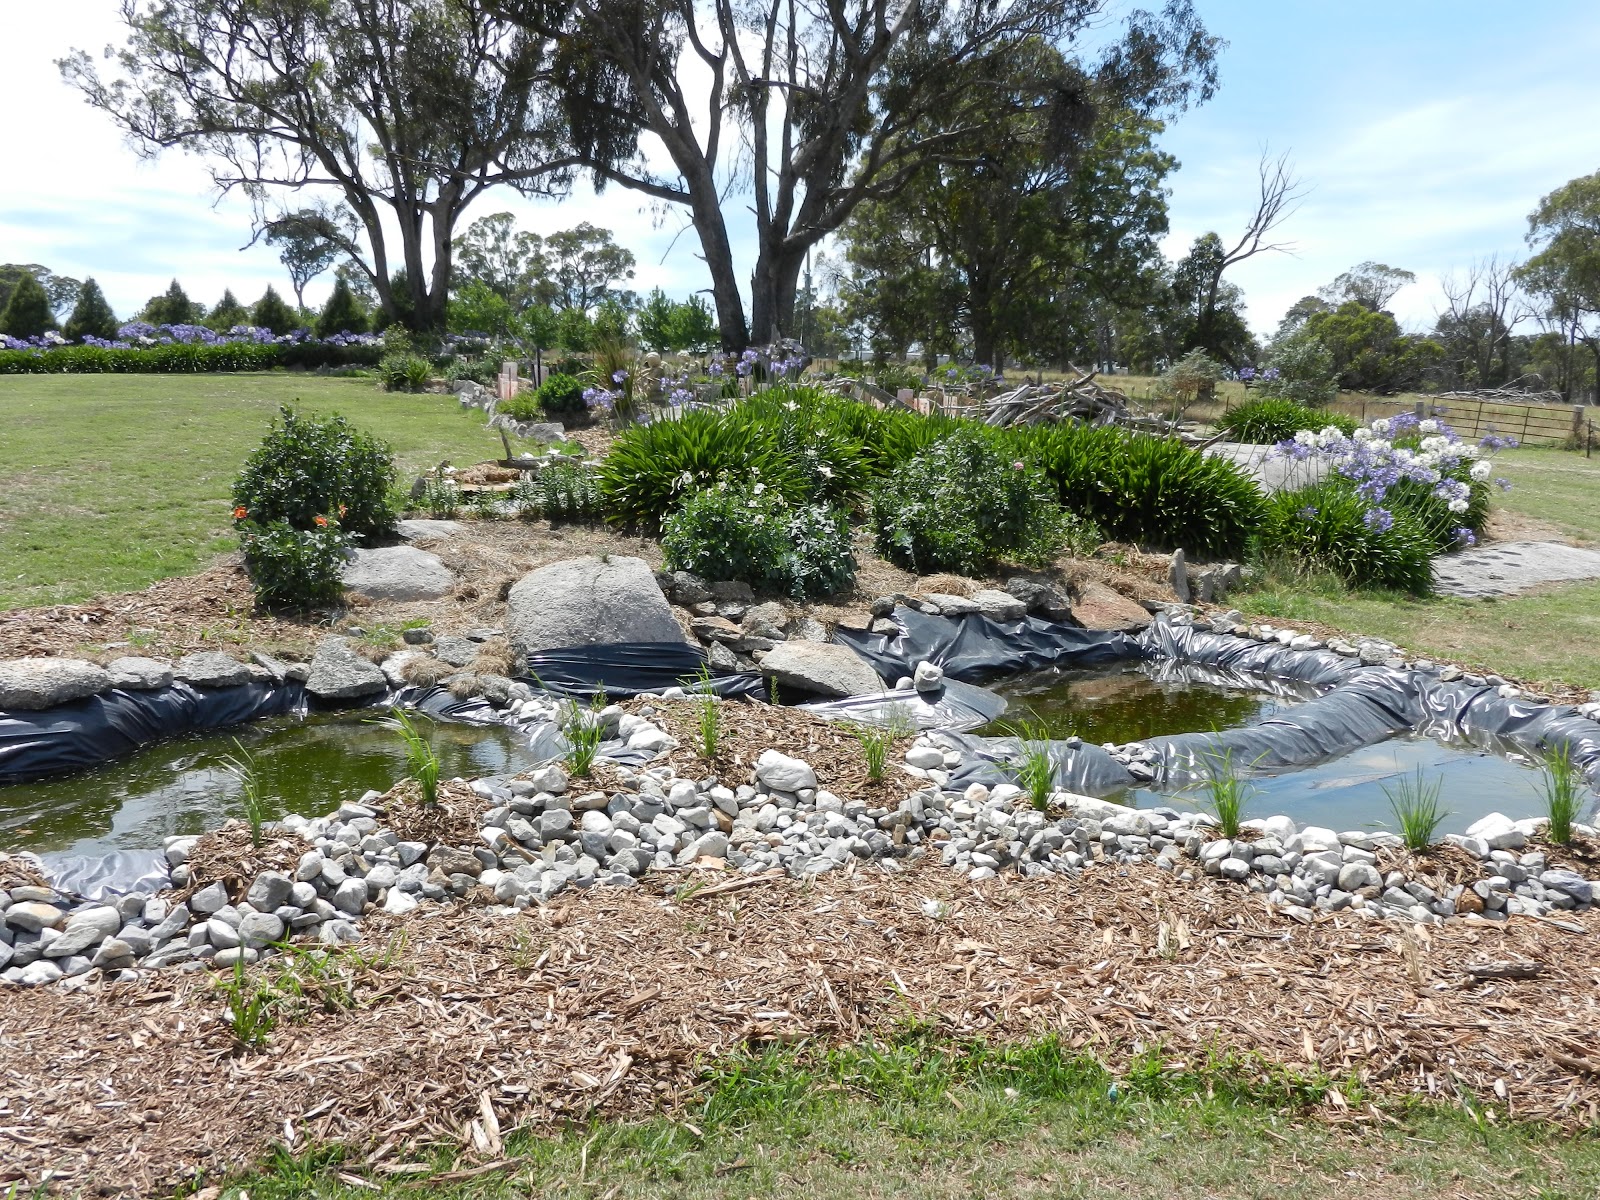
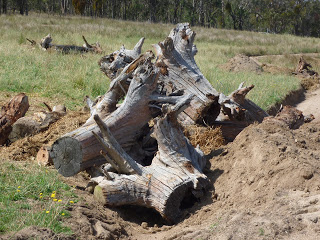
Living System Above Ground Variety:
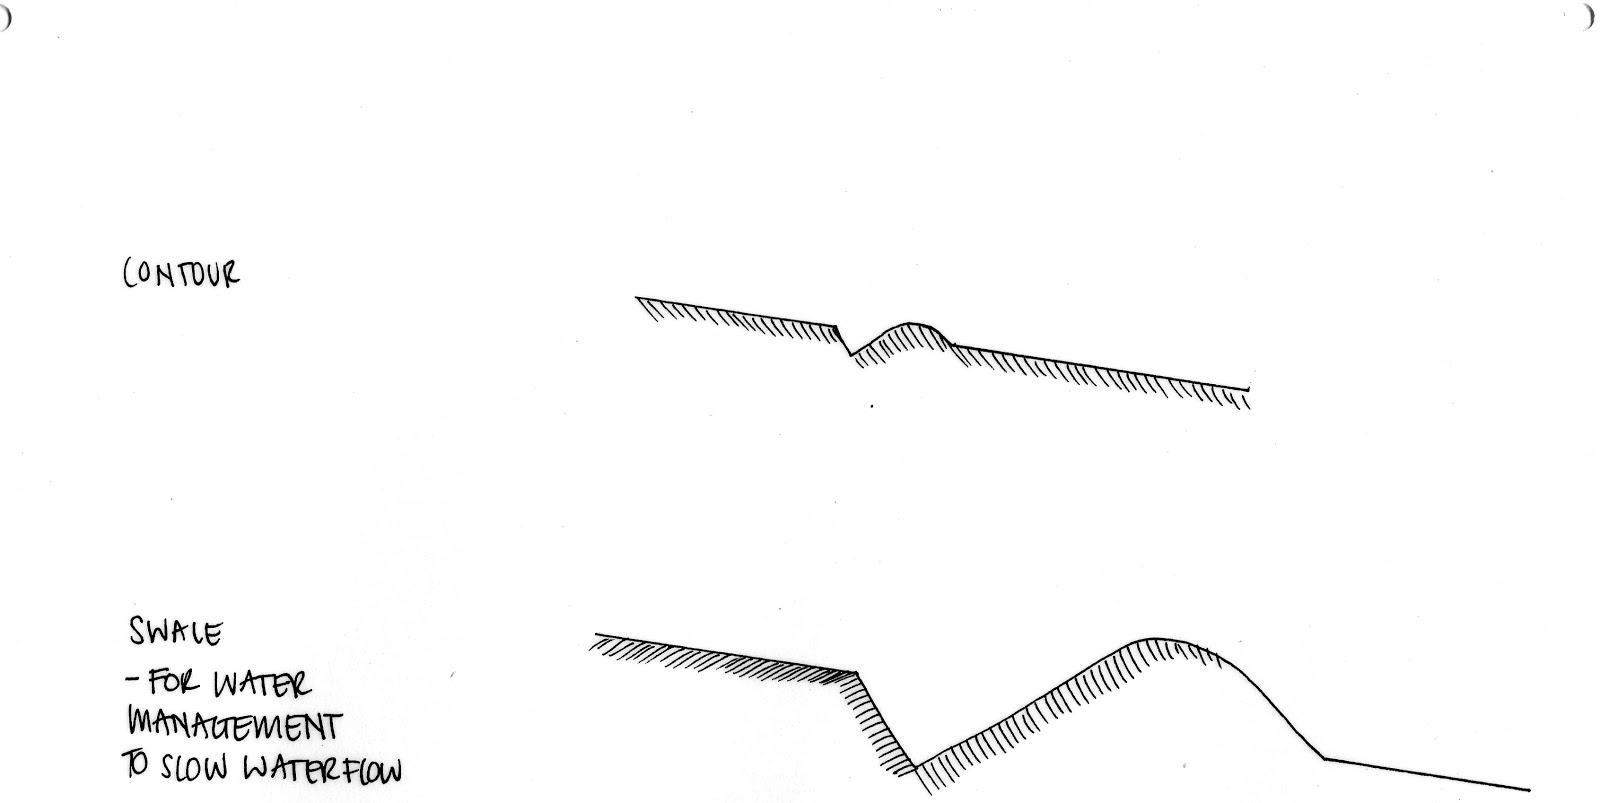
To construct an above ground living system is pretty much the same as below ground but without a hole. There are heaps of ways you can build it, some examples: on crates, straight on the ground, cut a small cut or swale into the ground before piling matter.
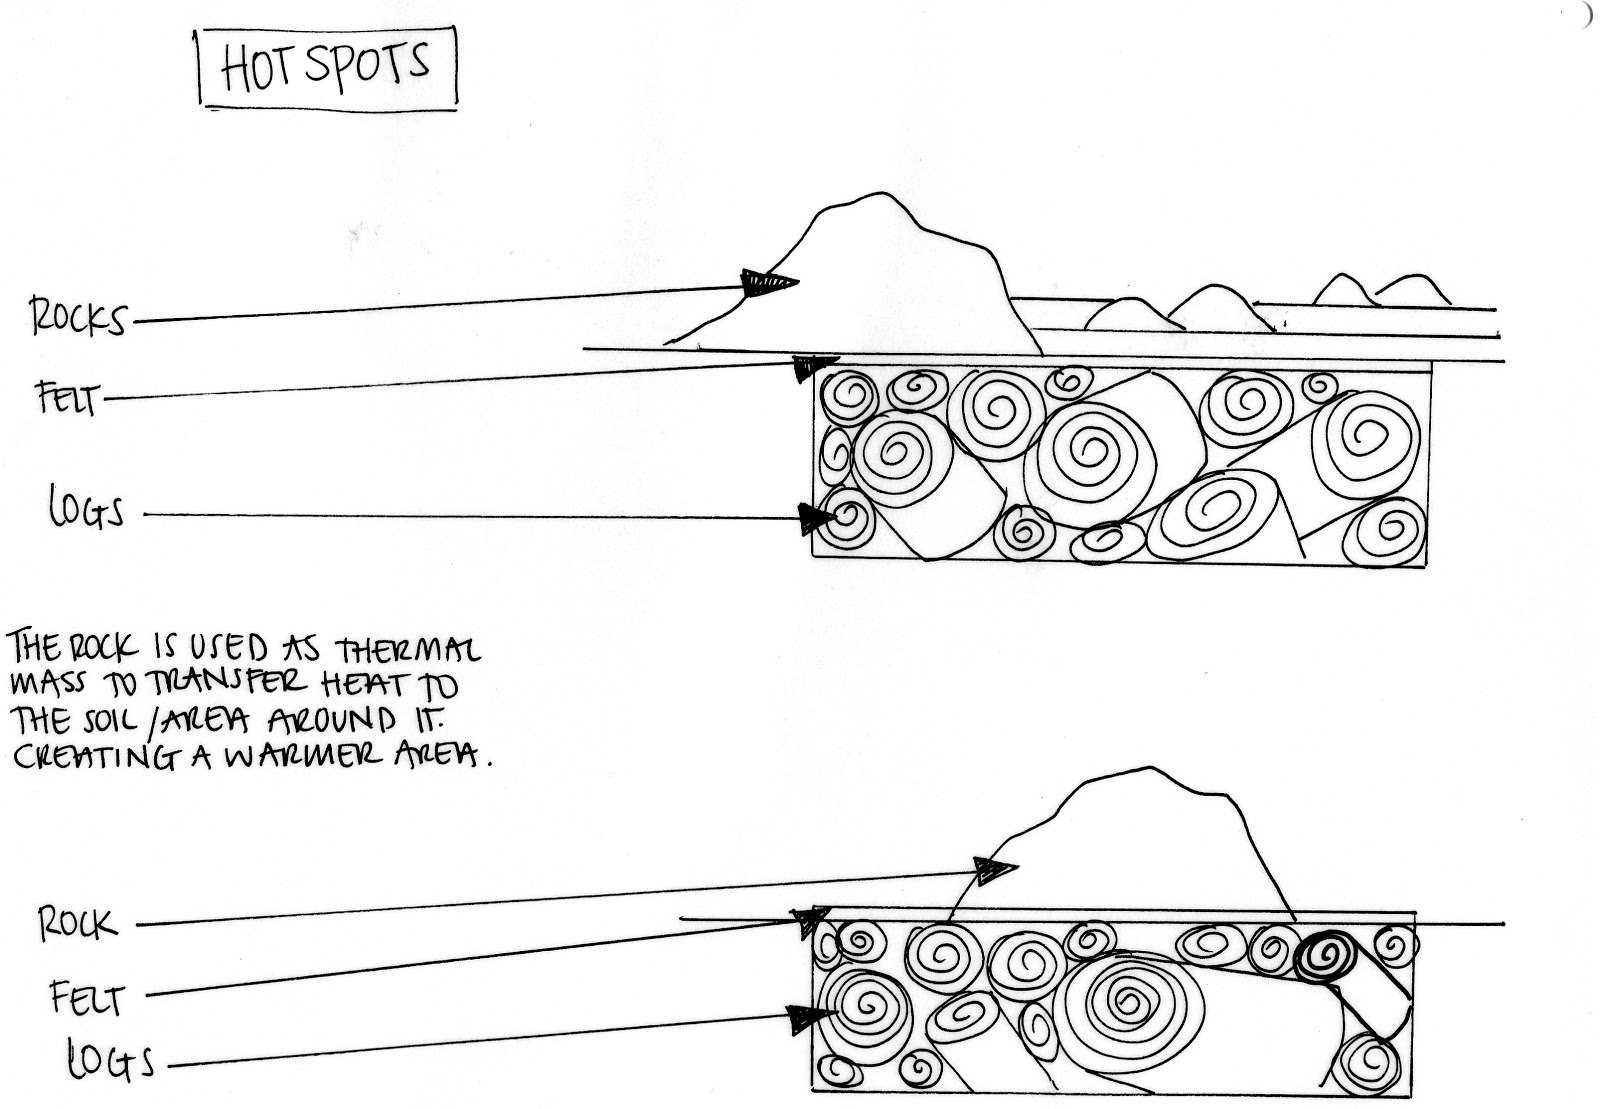
Important to note that the above ground system is about decomposition not composting. You do not want it to be overheating (unless specifically designed to do so for example in the case of cold climate and creating micro climate hot spots.) Composting kills life as it gets too hot. Decomposition encourages life, (decomposition still feels warms just not hot).
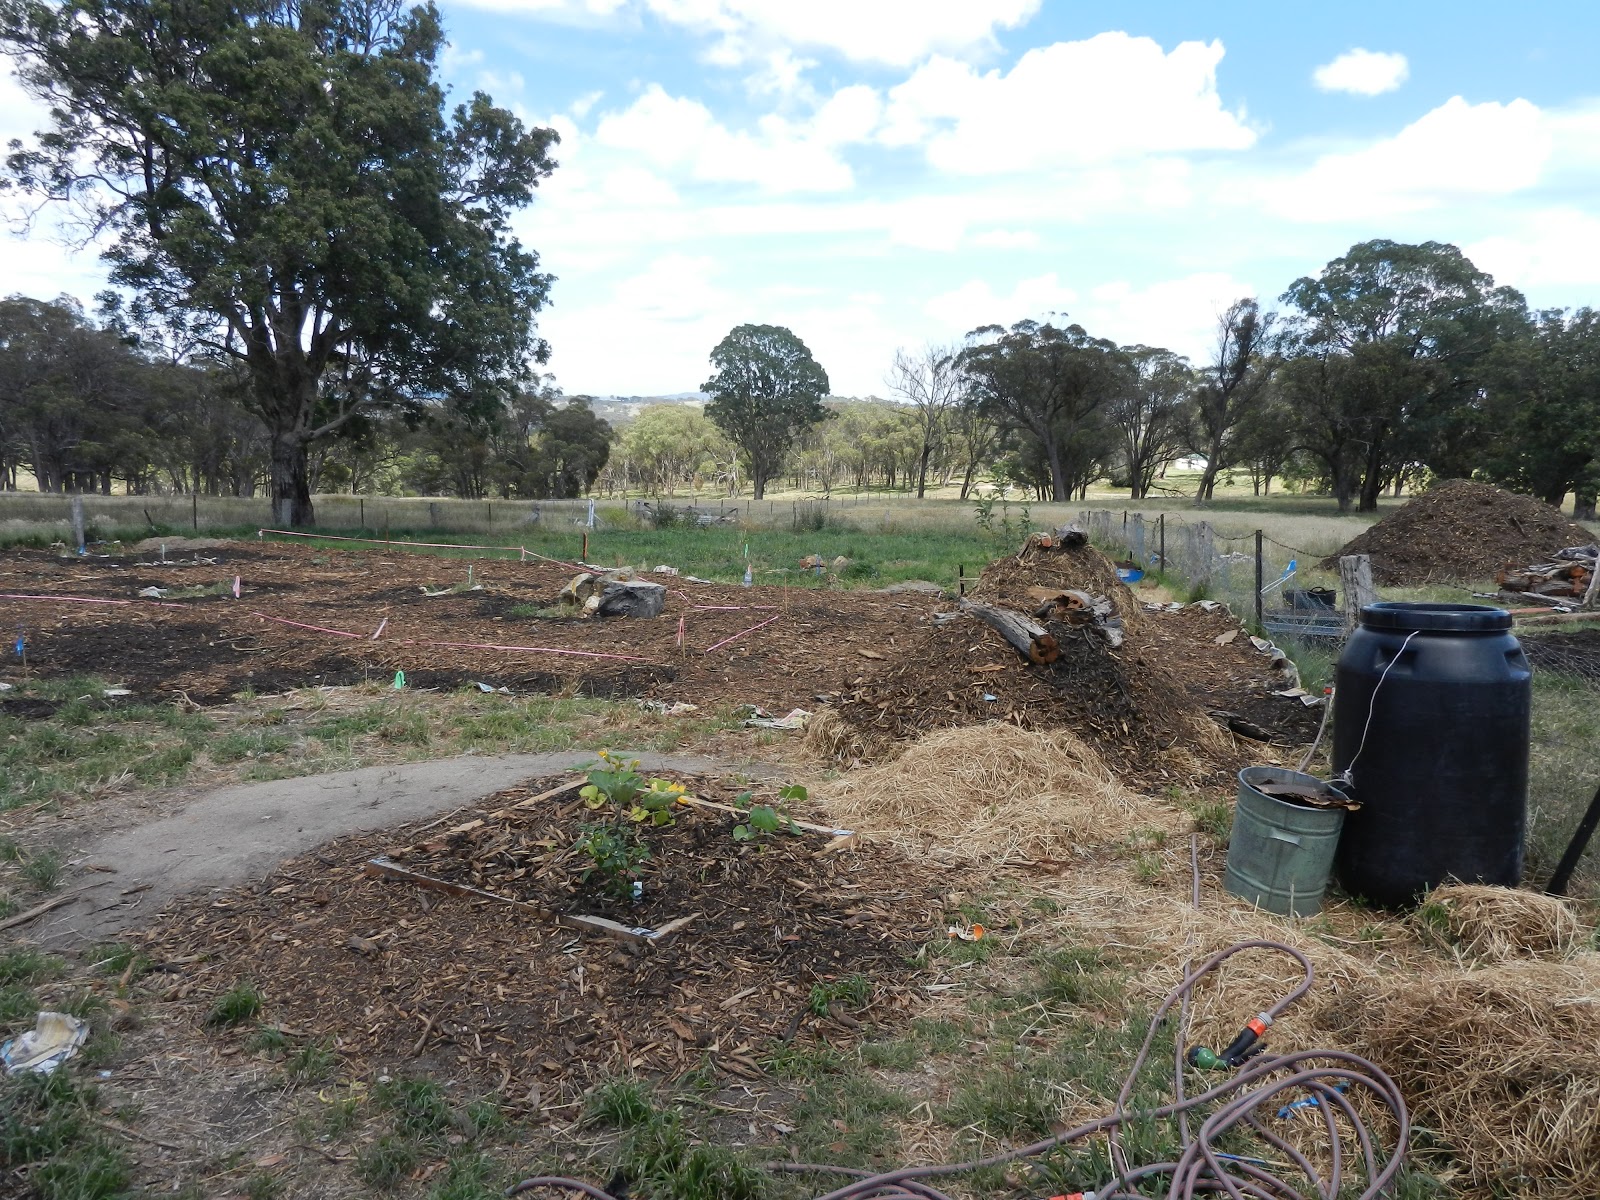
 |
| above ground (mound) living system |
Make a cut, or just lay a crate, hay or any other matter on the ground to build upon.
You could use an old tree stump, piles of wood, windfall branches, logs, trees. You can make living systems around what already exists if it is too hard to move. GIVE ABUNDANTLY to your Living Fertility Systems!
|
|
|
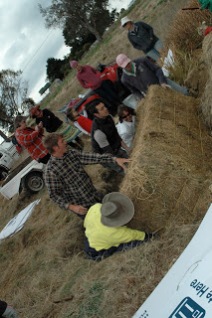
The beginning of the worm ‘mound’
Bale of hay wedged into a bit of open soil
and separated to create decomposition not composting.
Primary Recovery Organisms don’t like too much heat
|
|
|
fill the gaps with cardboard and manure/logs/fallen branches etc
|
|
|
|
put the slurry/brew under the newspaper in all the
holes and cracks so that there is moisture
|
|
|
|
cover in manure, mulch it with hay, cover with wood chips and
then put fallen branches (ones that have not been on the
ground long and that have not begun creating habitat.) To
hold the mound in place and create habitat and encourage other
fauna and flora to come and make their homes!
|
cut timber for the top and middle of mounds
|
|
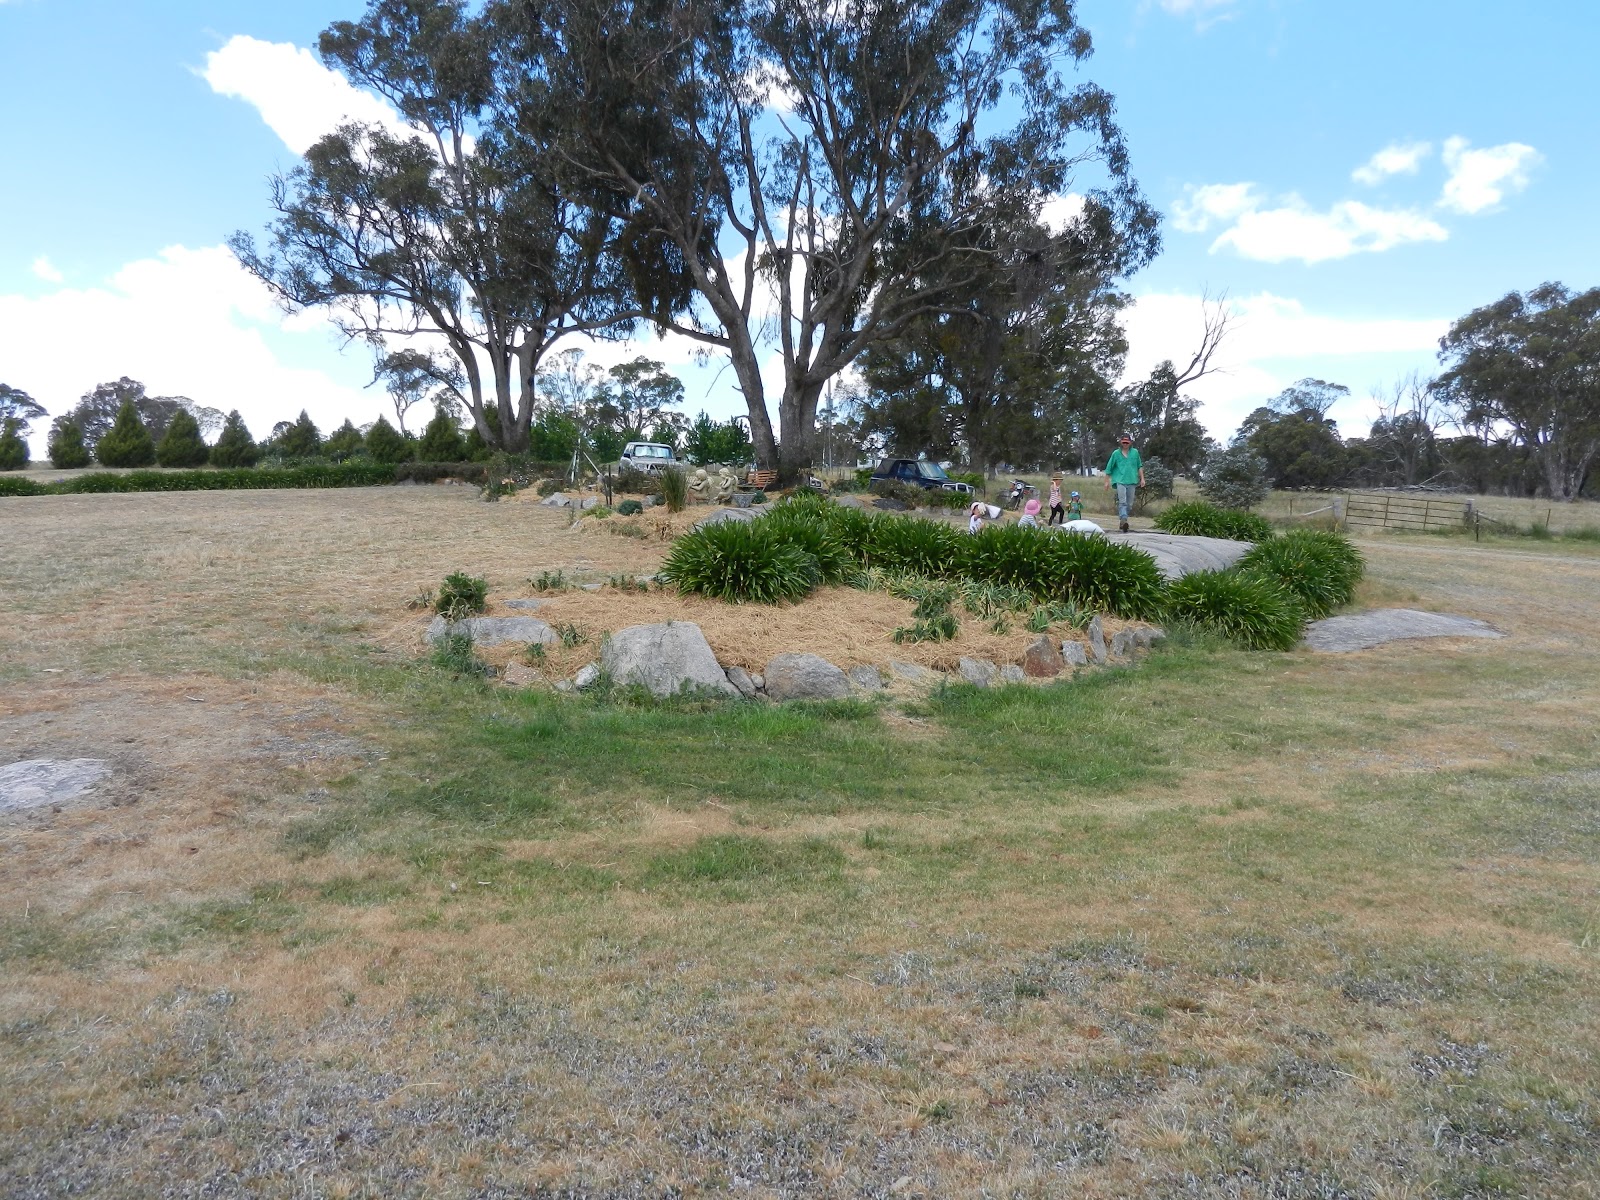
Creating Living Systems (to improve soil fertility) was a great day learning about the earth, ourselves and how to create abundance through giving love and supporting the intelligent life systems without expectation* that support us.
|
I feel that one of the greatest gifts was the fact that if want to take and we want for everything to be given to us from the earth; If we do not desire to give and love the earth, land and all the intelligent life – the fungi, bacteria, microbes, micro-organisms, worms, insects, and all the creating things – then it is really best to not begin in the first place. The whole exercise is an exercise in giving for the pure desire to give to that which creates. To give without gain.
Personal Note on what Eloisa learnt from creating Living Systems: I need to be like a worm hole.
To stop expecting and demanding** from the earth and the land and to trust God’s abundance and her way of creating and see the way she creates and help out the best that I can by providing food, water, shelter to everything that sustains life. To all the insects, fungi, bacteria, microbes, micro-organisms etc these are our friends and our desire to erridicate them reflects how much negative, self serving desire we have and how little we understand about the way that the world operates as God designed it. We create more and more problems that then need fixing. We are exhausting ourselves with meaningless things that could be done so much more easily if we were more humble, more logical and actually understood what God has gifted us in the first place. We humans claim to be intelligent but I am beginning to wonder, smile. What I saw today is that God’s way is best*** and it is beautiful, magical, abundant and can create wonderlands…. We are excited about the experiment and to see ‘who moves in’ and what happens.
* Today I learnt how much expectation I have about things giving to me in order for me to get what i want. I learnt how much demand we have and how much pressure we put on the earth rather than giving to the earth abundantly and without expectation to encourage intelligent living flora and fauna to create it’s own living self creating systems.
** This is an emotional change not just an intellectual exercise that we can think into existance. It takes us emotionally releasing the demands and expectations that we have on things to sustain us. To grow our desire to love, grow our desire to give and our desire to find out about all the intelligent life that God has created and support it purely because we desire to support it and for no other reason.
*** In my arrogance I am not always humble to this fact and try to force my way, but when it is logically explained I wonder why I thought there was any other but God’s way. Much to learn and how exciting!