‘Summerfest 2012 Project’

We recently held ‘Summerfest’, a week long project that included different projects with the intention that those who came could learn techniques based on love that are logical and beautiful* that are applicable to their backyards or acreage. It was a project with lots of different learning experiences so that those who attended and volunteered their time could leave with skills and knowledge on how to do what they learned at home and teach it to others. Below is a summary and thank you to those who volunteered and contributed their time, expertise and energy to these projects.

The week of the ‘Summerfest 2012 Project’ – 28th November to 3rd of December 2012, held at Kyabra Station (Kyabra Learning Centre, Kentucky, NSW), was a great week full of various fun filled activities. 
 
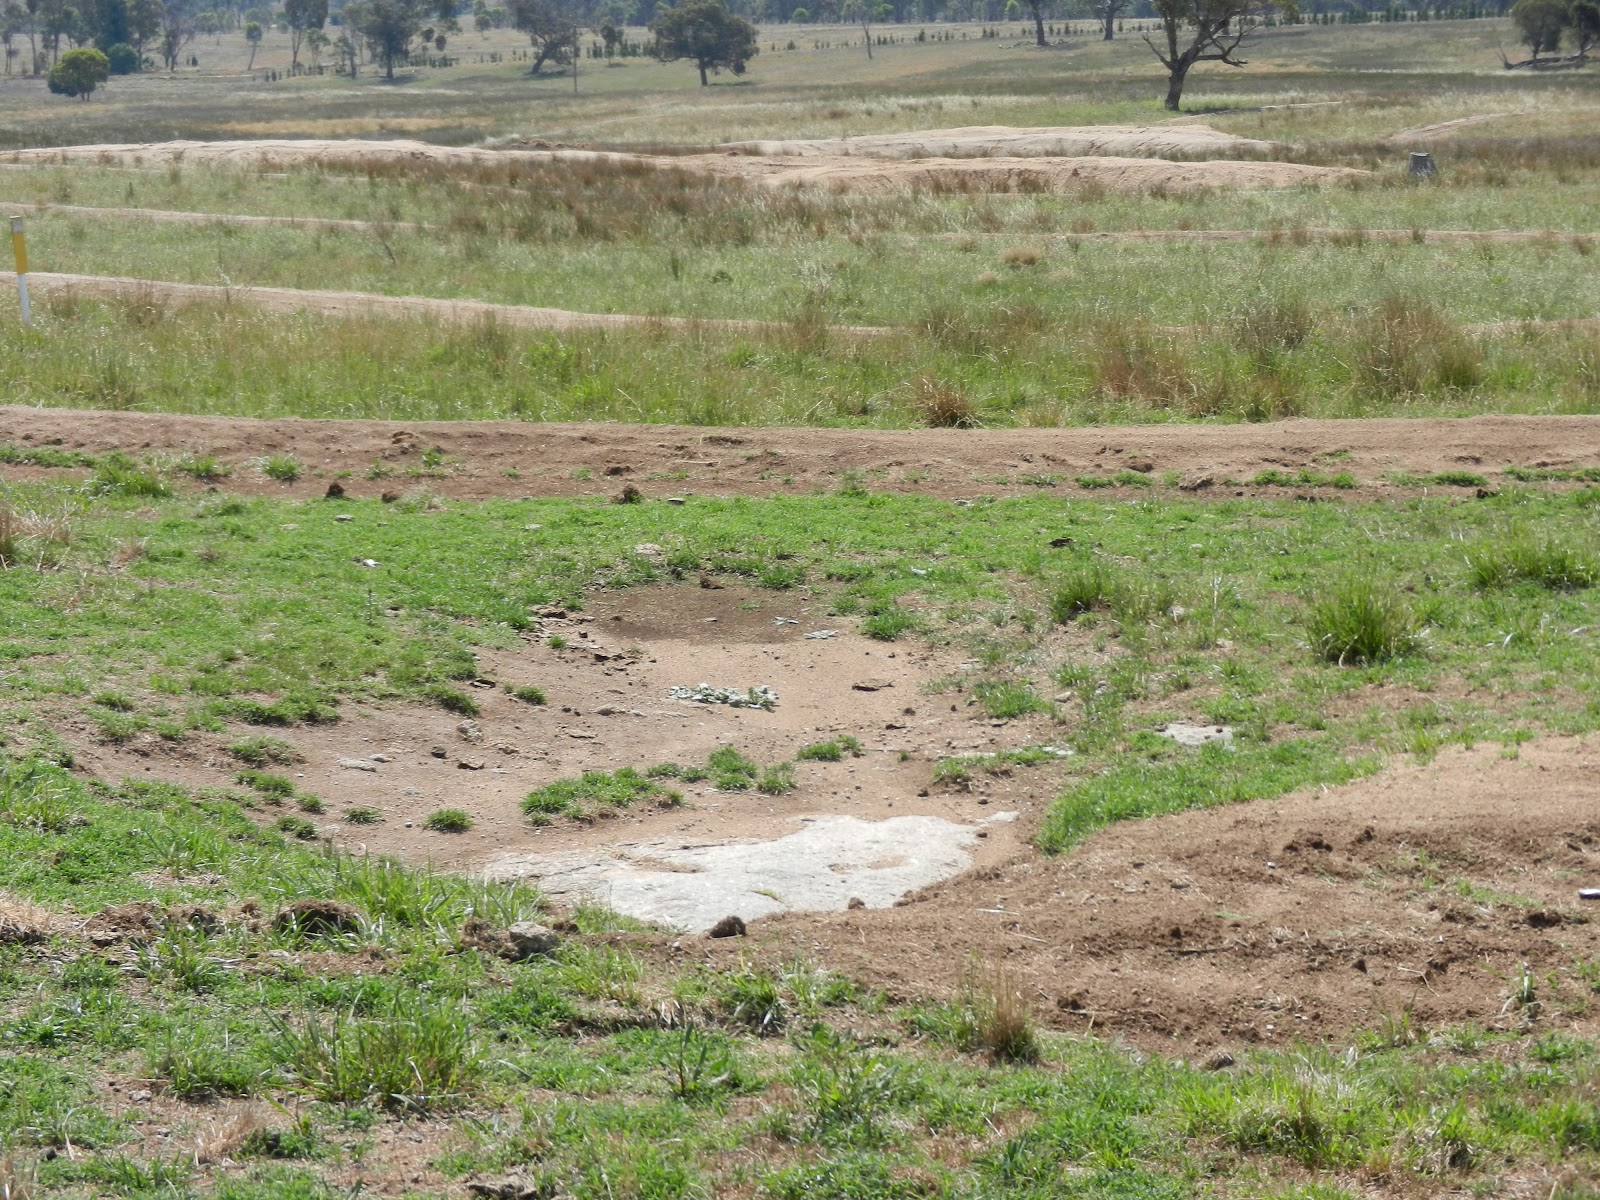
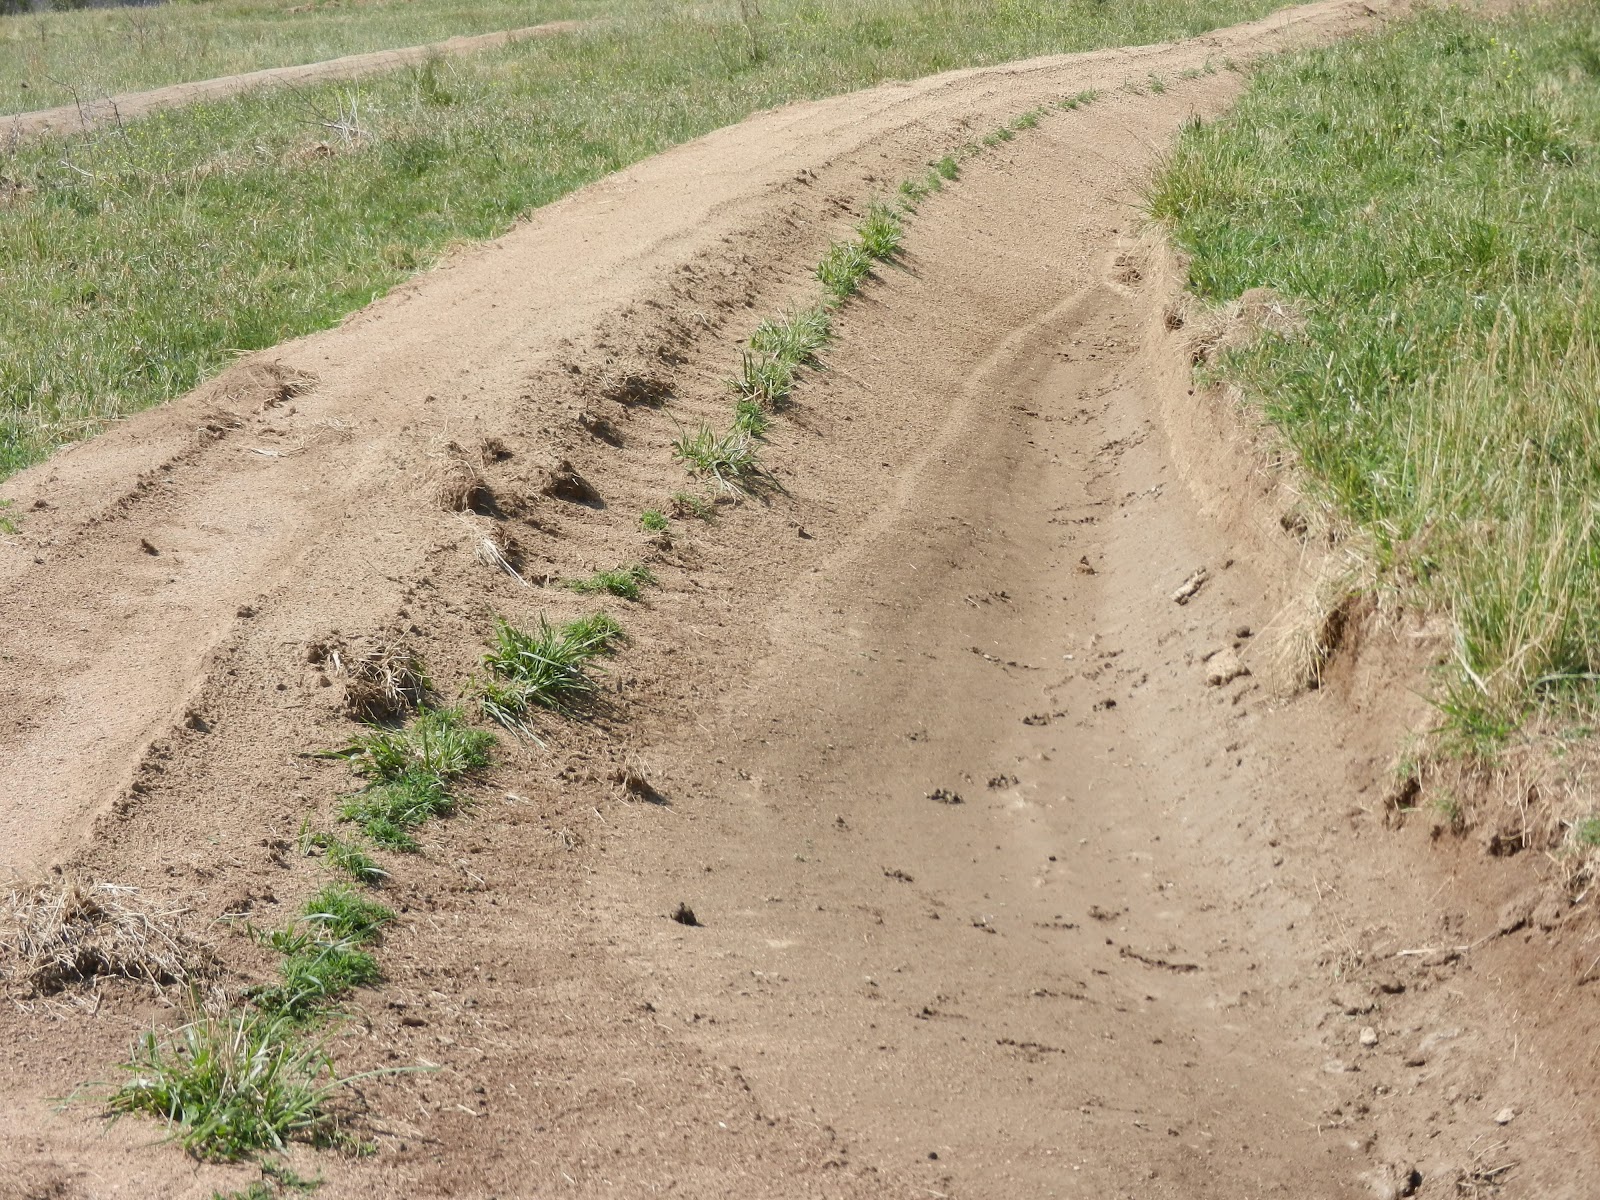
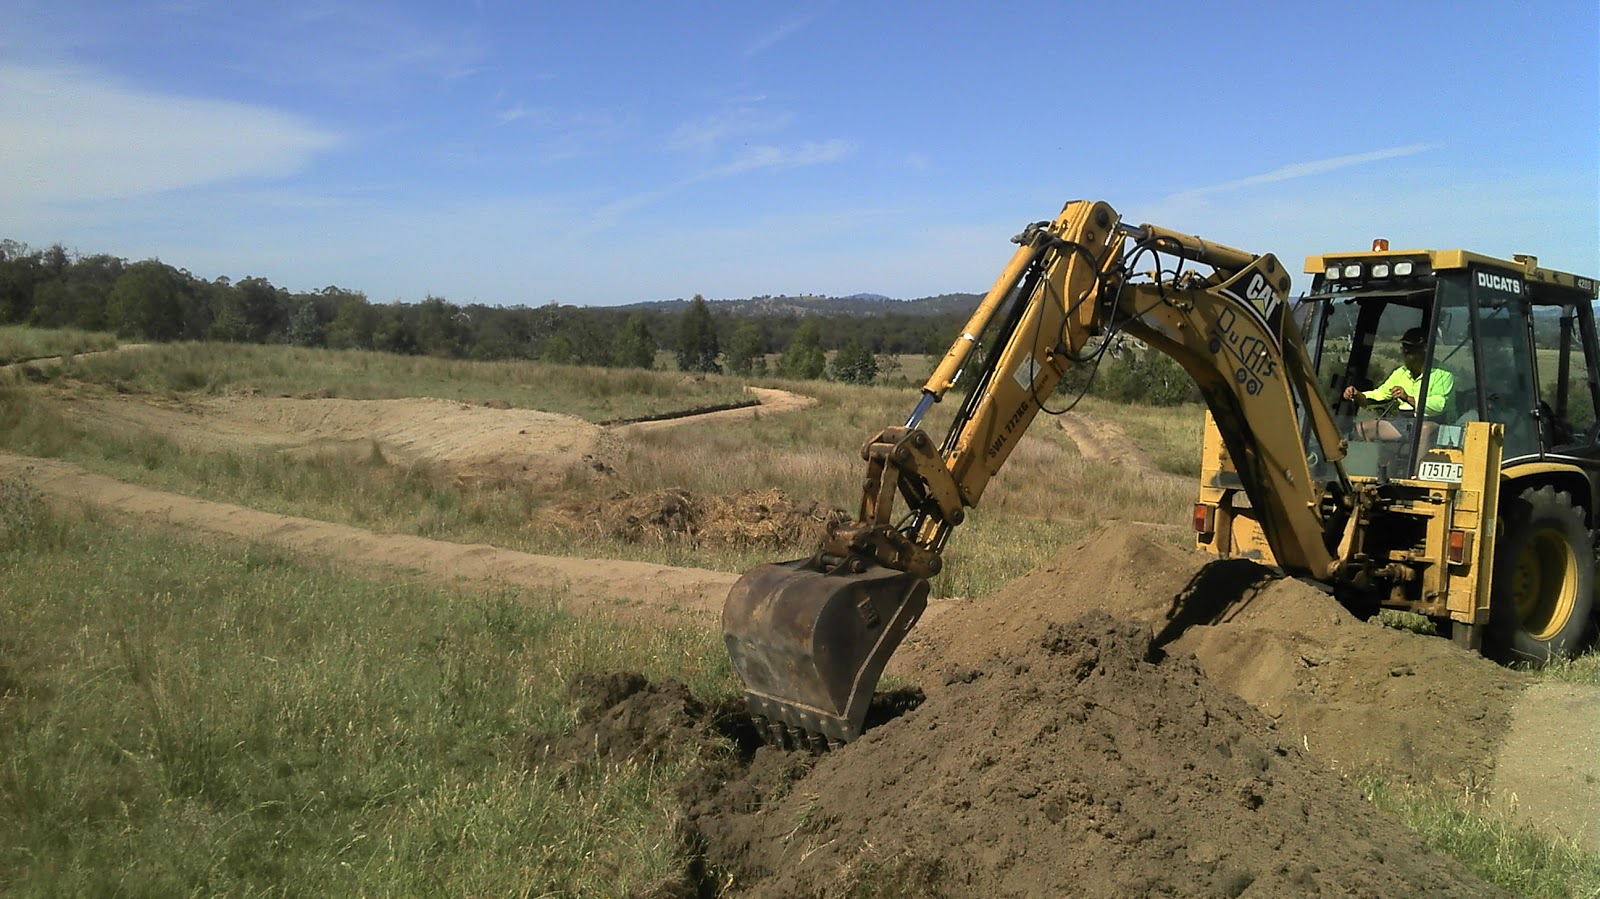
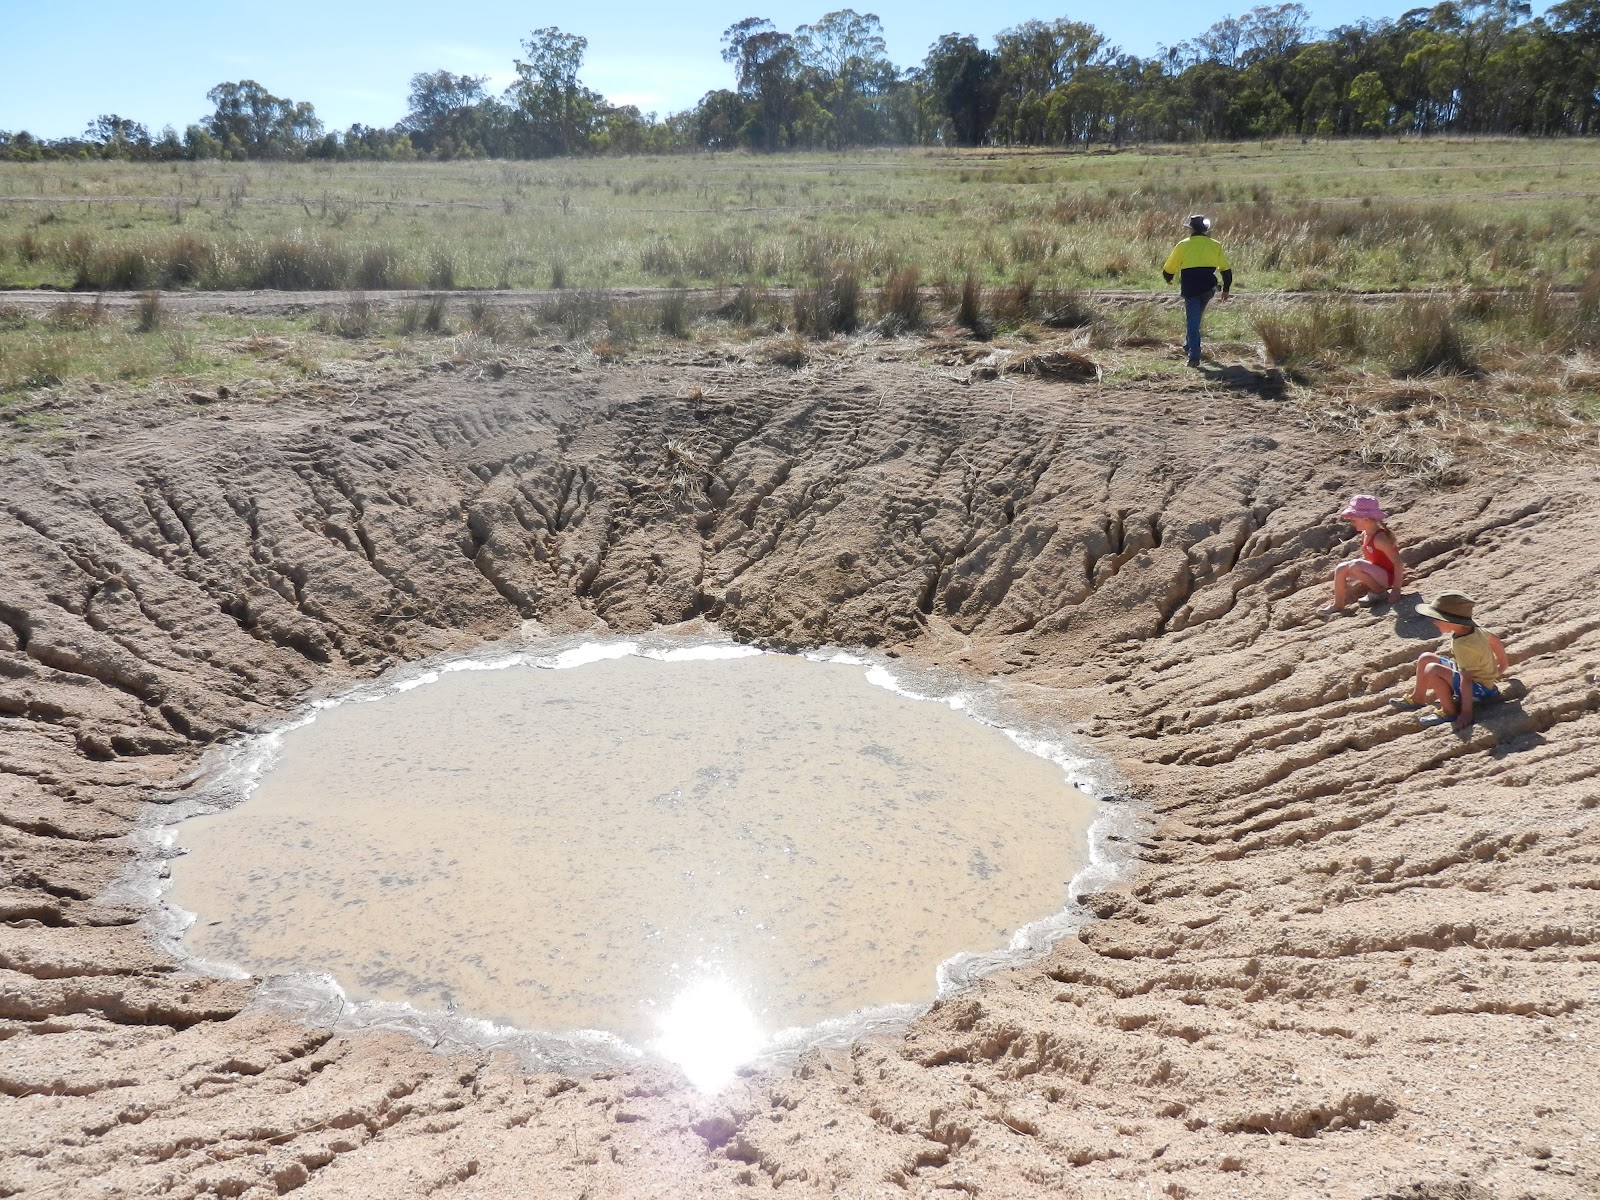
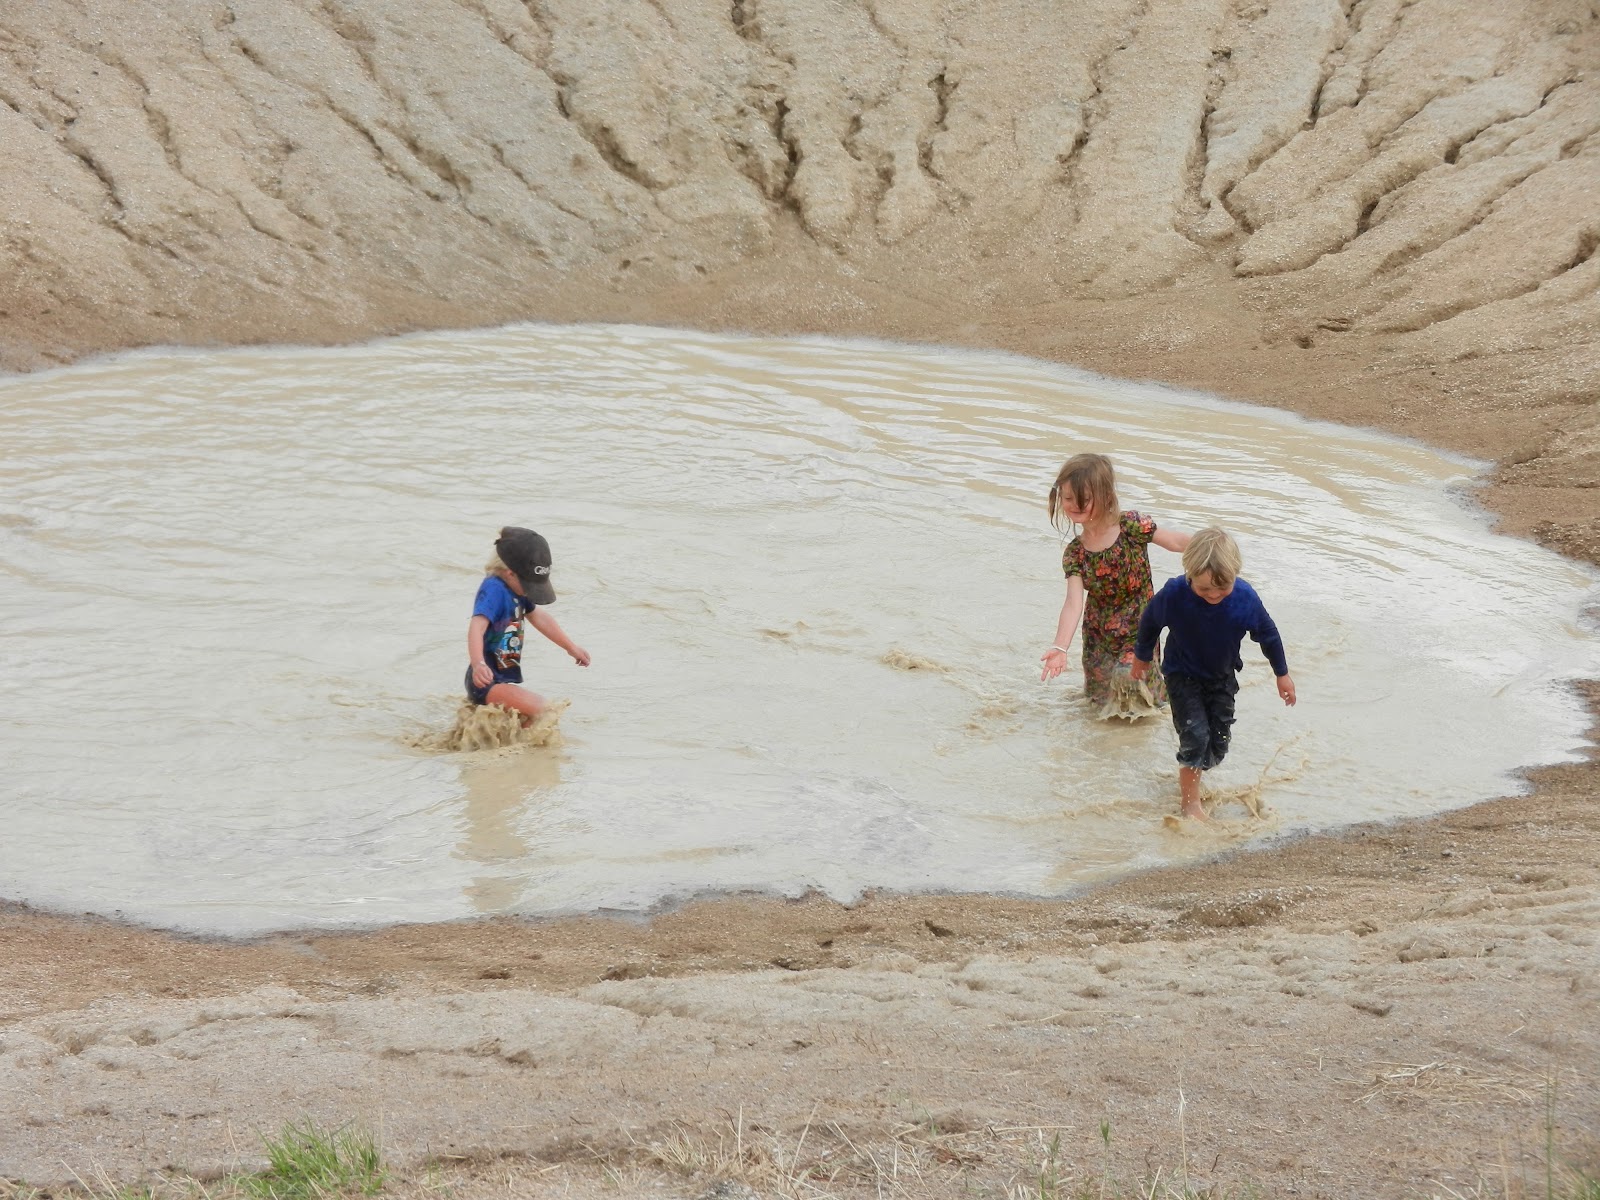
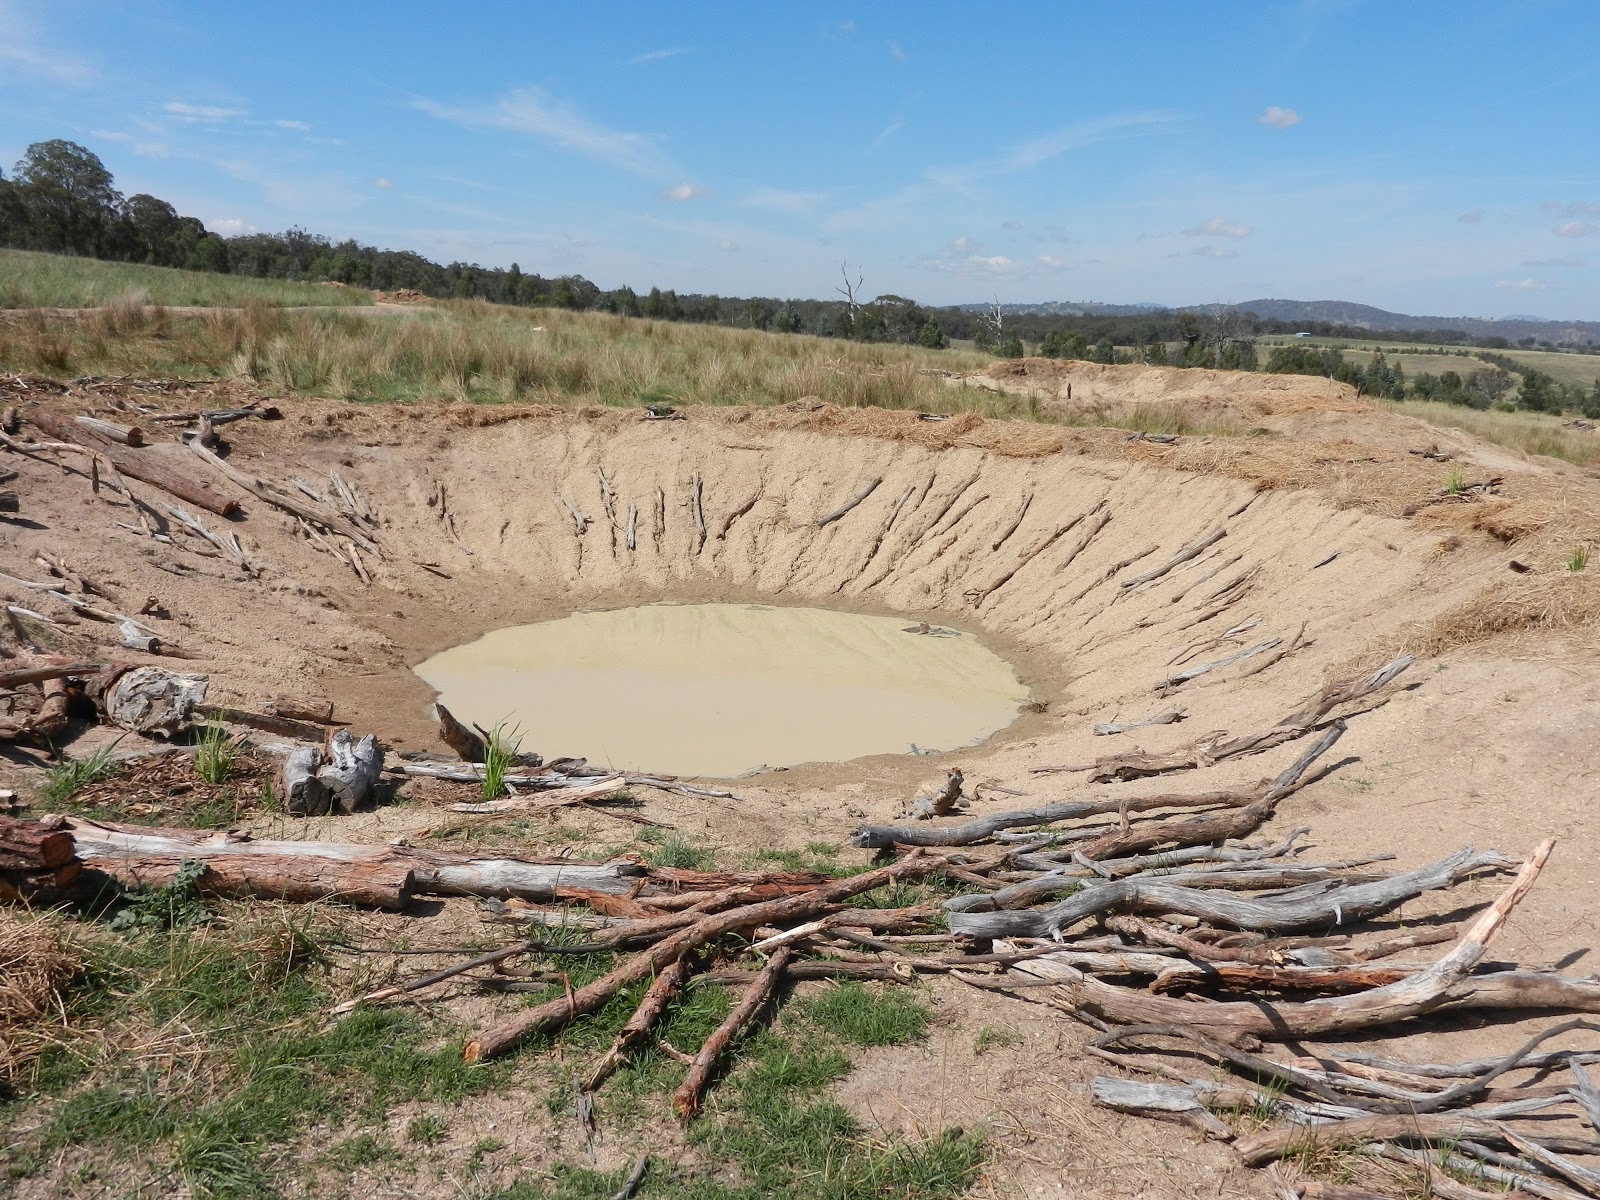
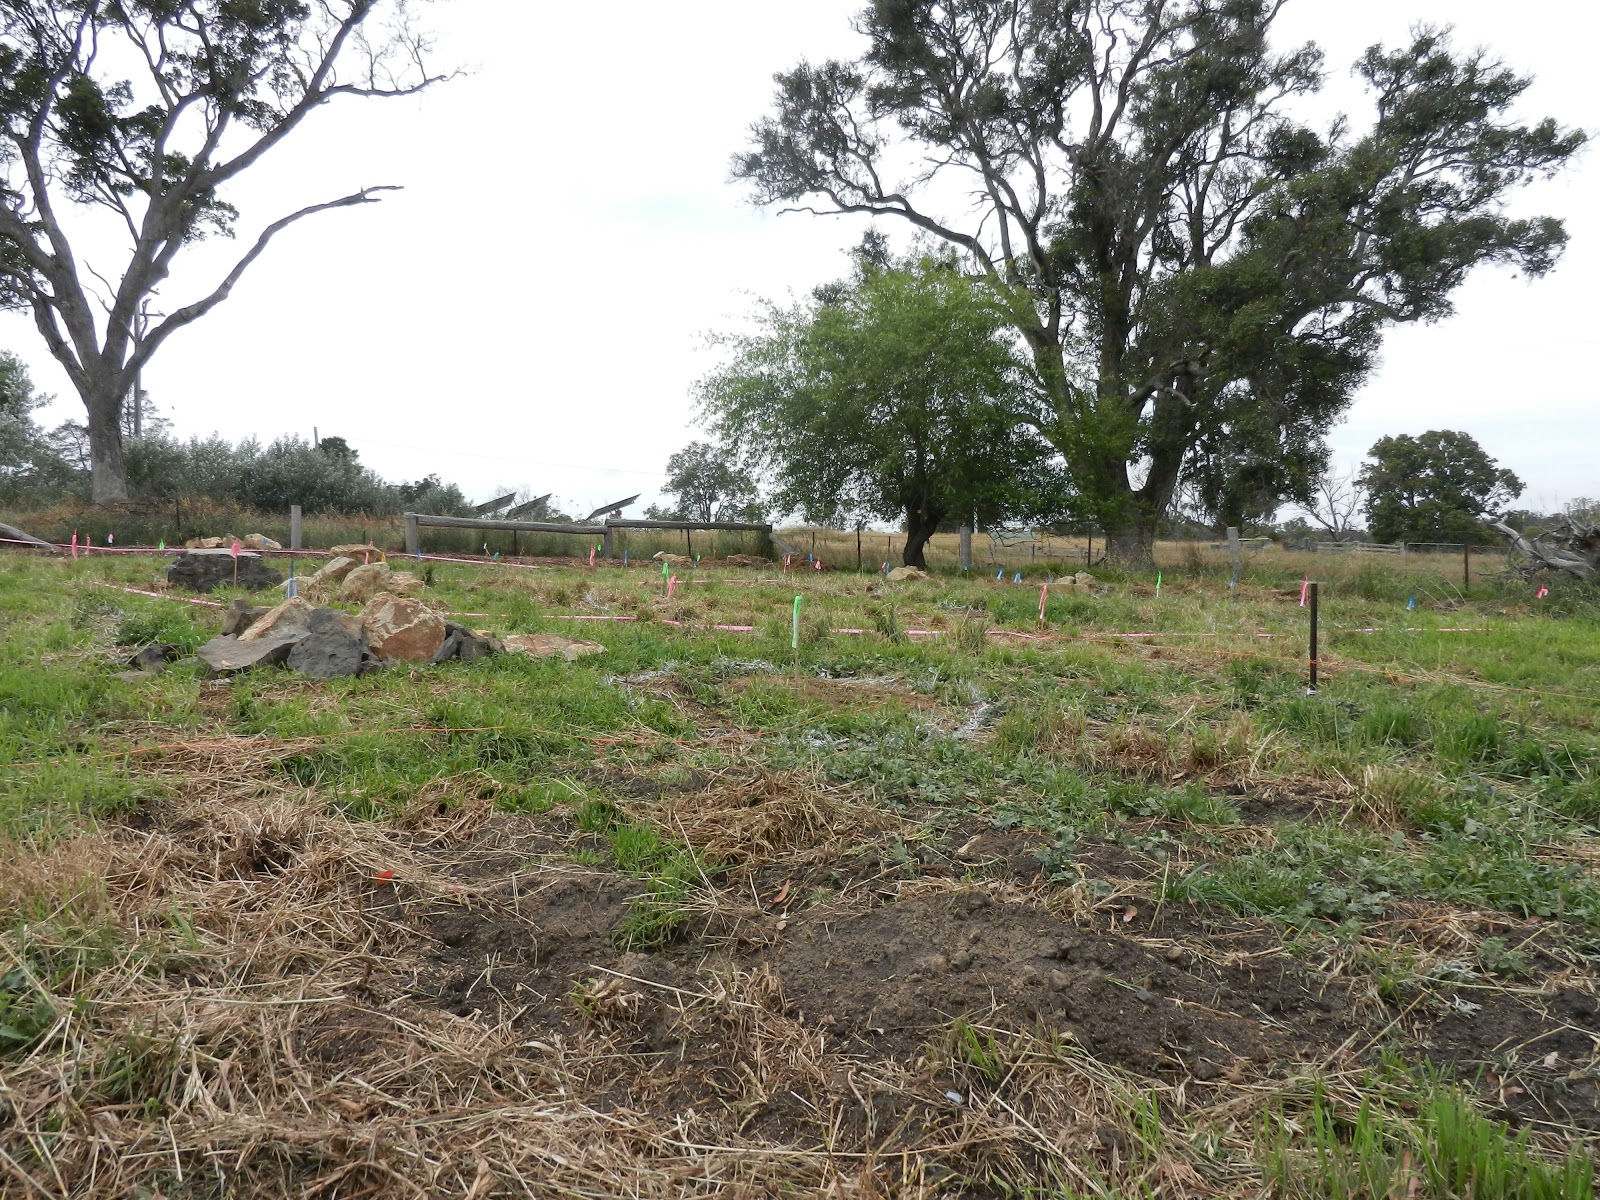
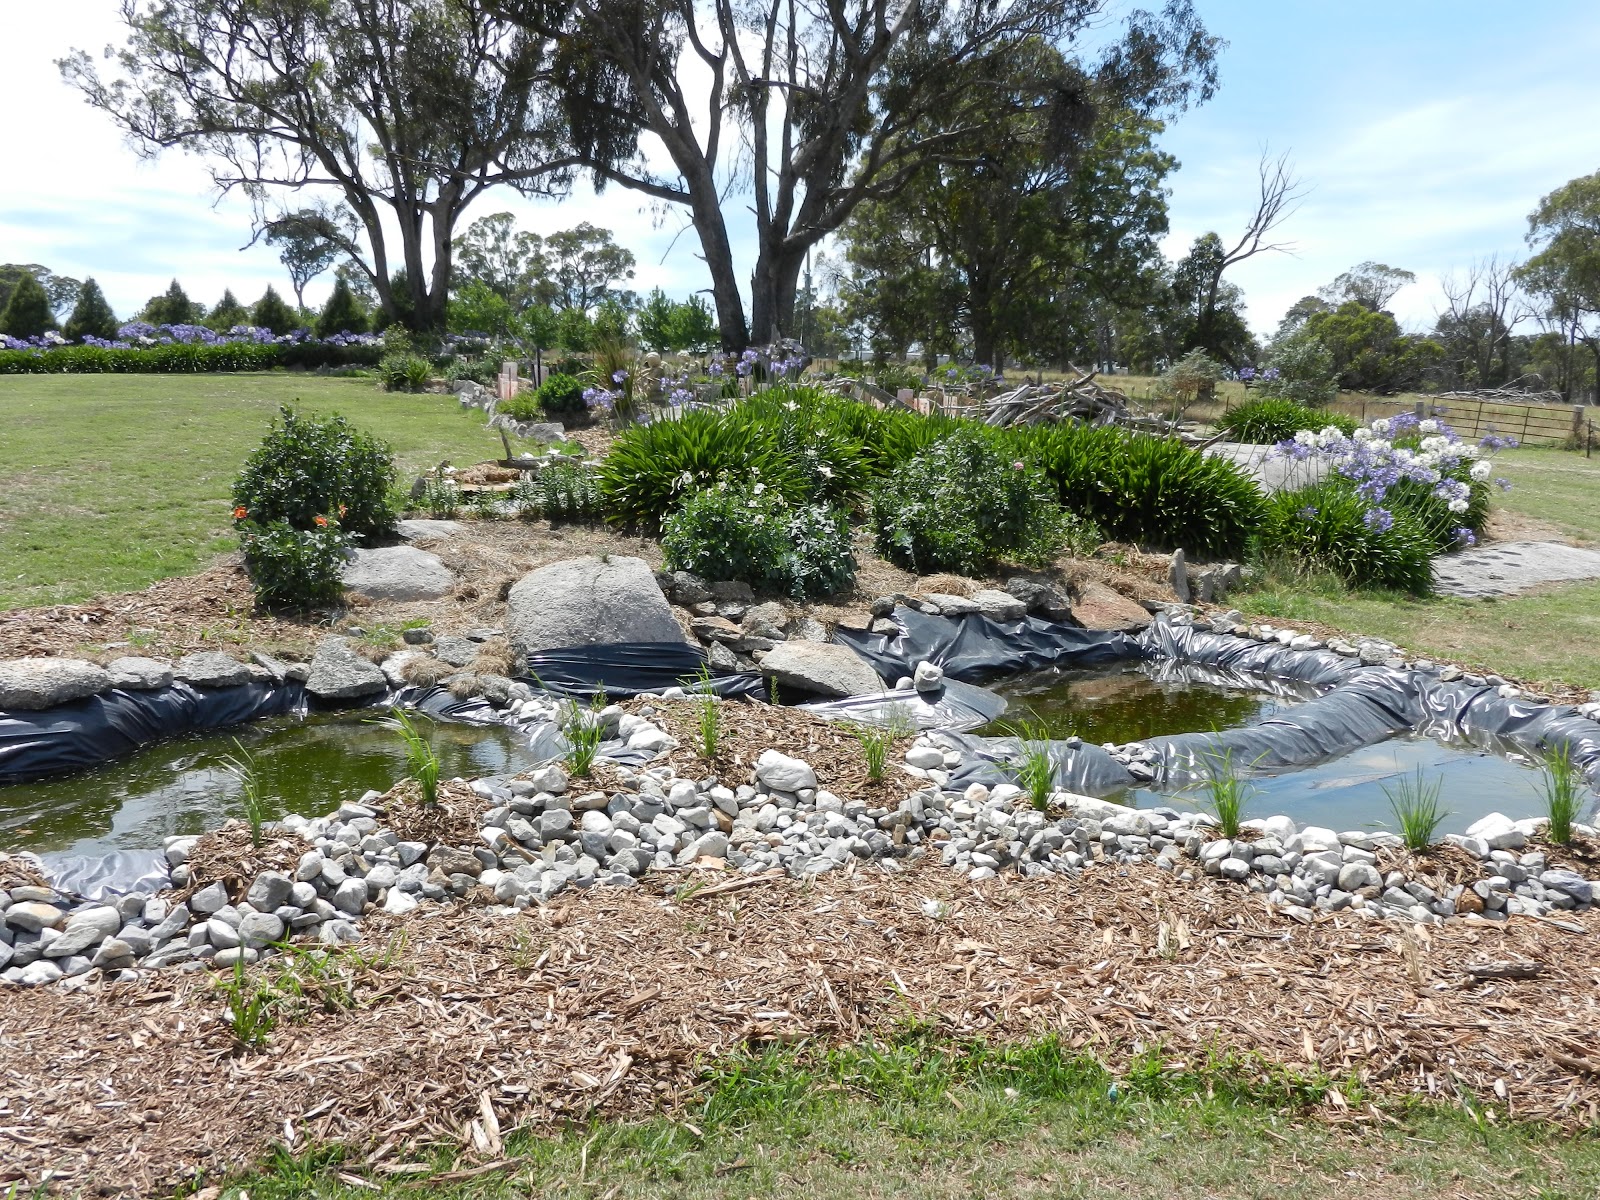
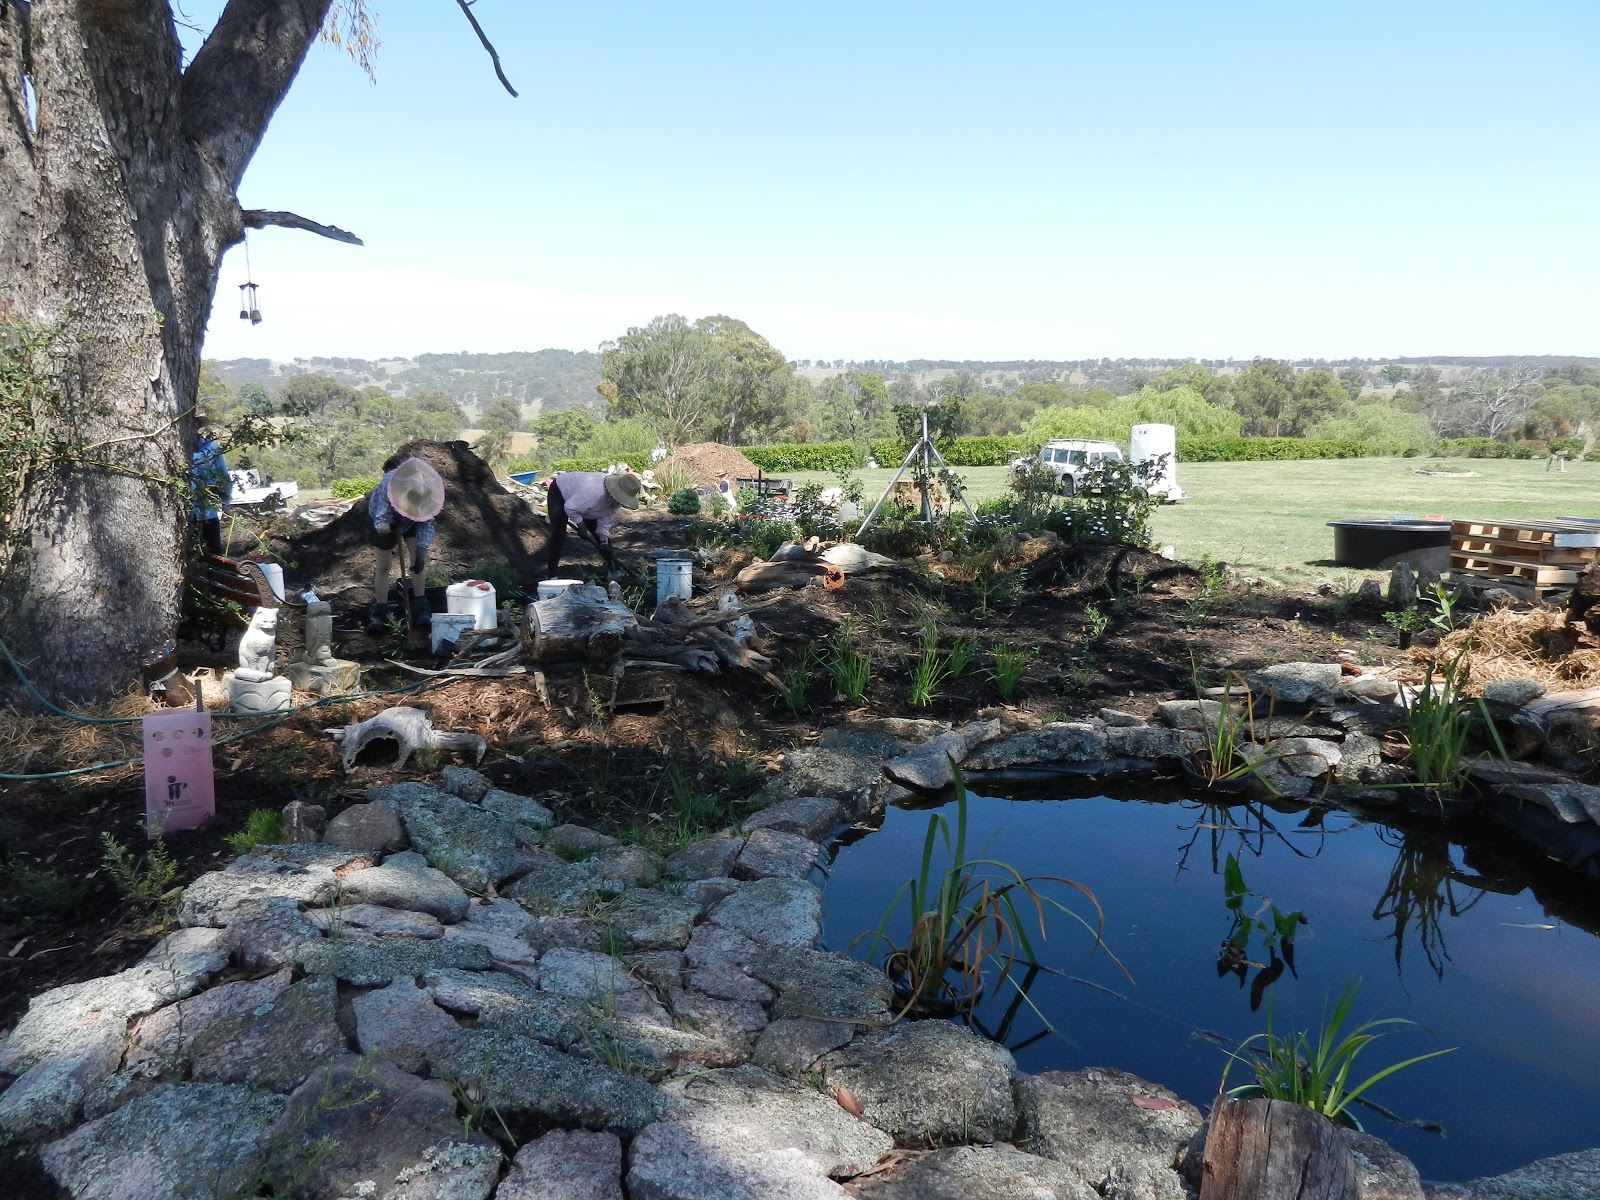
We began and ended with a focus on large scale soil improvement and water management, demonstrating methods using contours and ponds to redirect and retain water, building living eco systems to provide fertility and regenerate soil, and seeding of grasses and re generation plants to prevent soil erosion. This project took longer than expected with some of the pond walls needing adjustments to hold water properly.

There is still some work to be done in this area to complete the project but a lot of headway was made and we are so grateful for all volunteers time in beginning the project.
 
the site – Standbye Paddock
Alternate View of Standbye Paddock
Bedrock the beginnings of  erosion at the top of the paddock
Alternate view of bedrock erosion
Erosion, contours, ponds


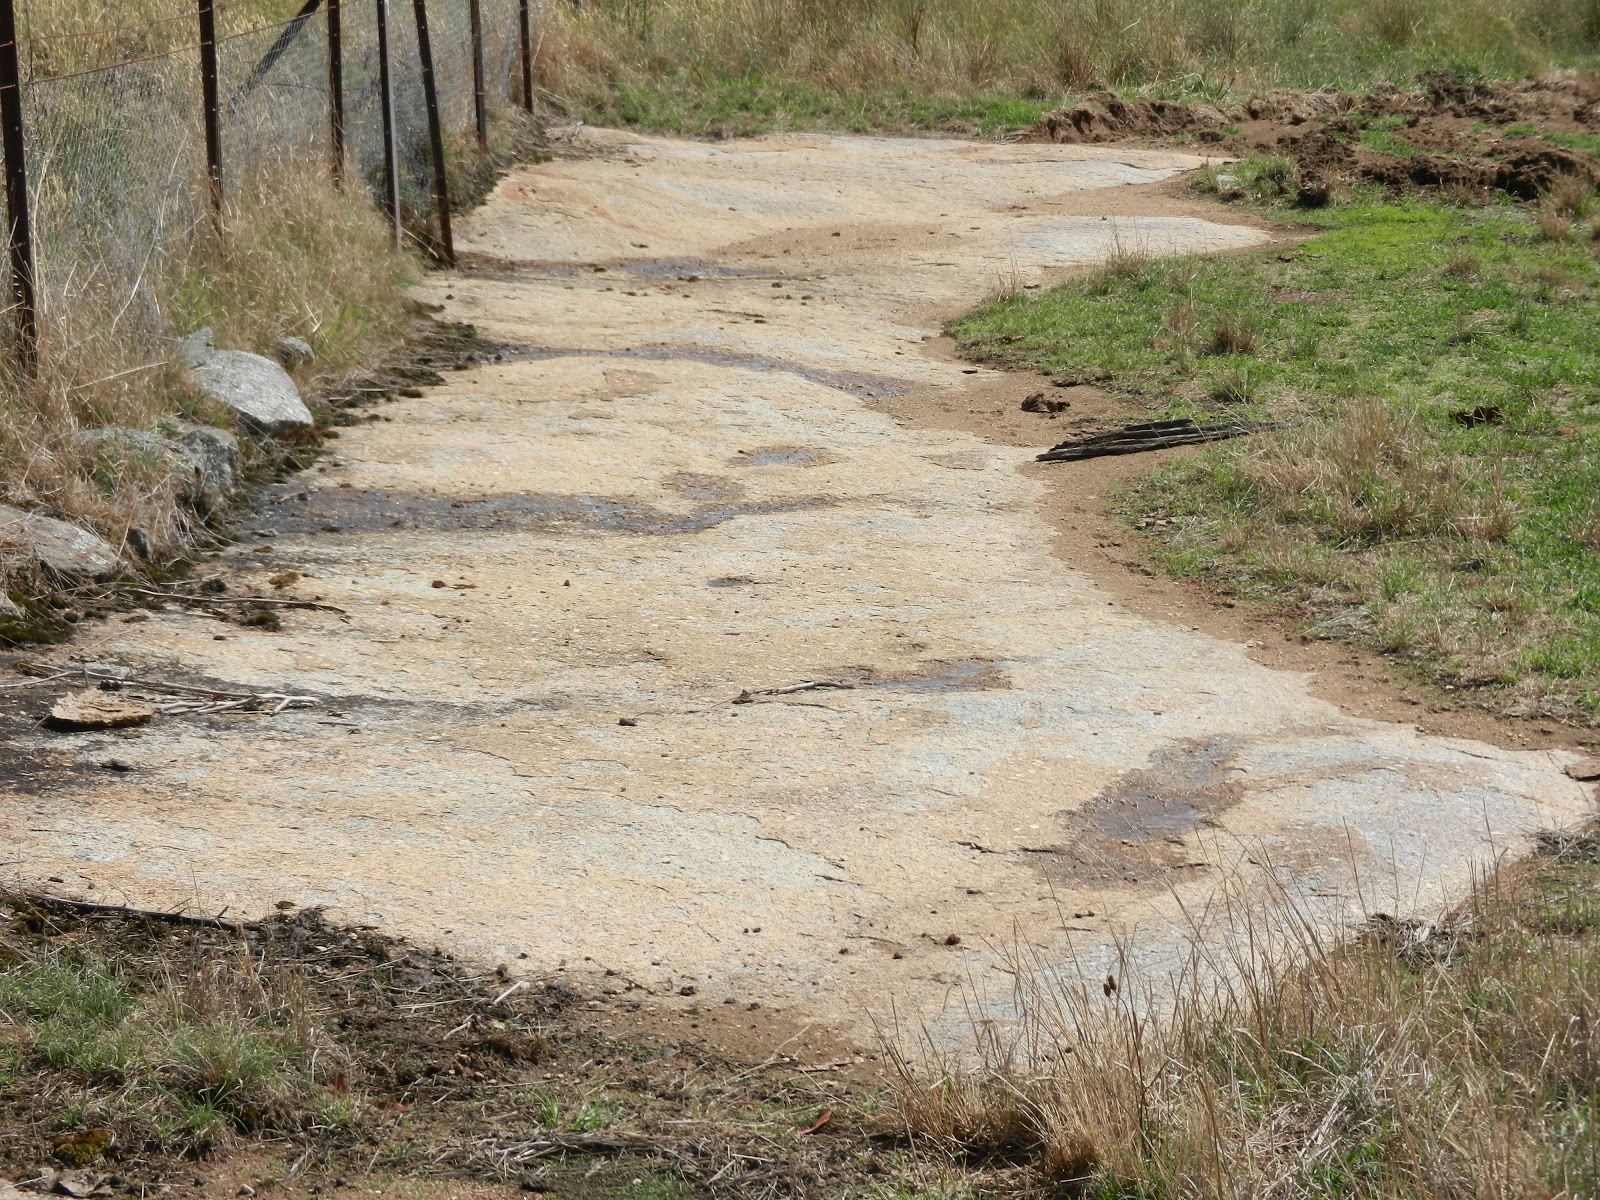
Site for contour planting, ponding and living fertility systems:
Contour
Close up of coutour
You can see where the water held and was slowed down
in a shower we had pre-seeding the contour
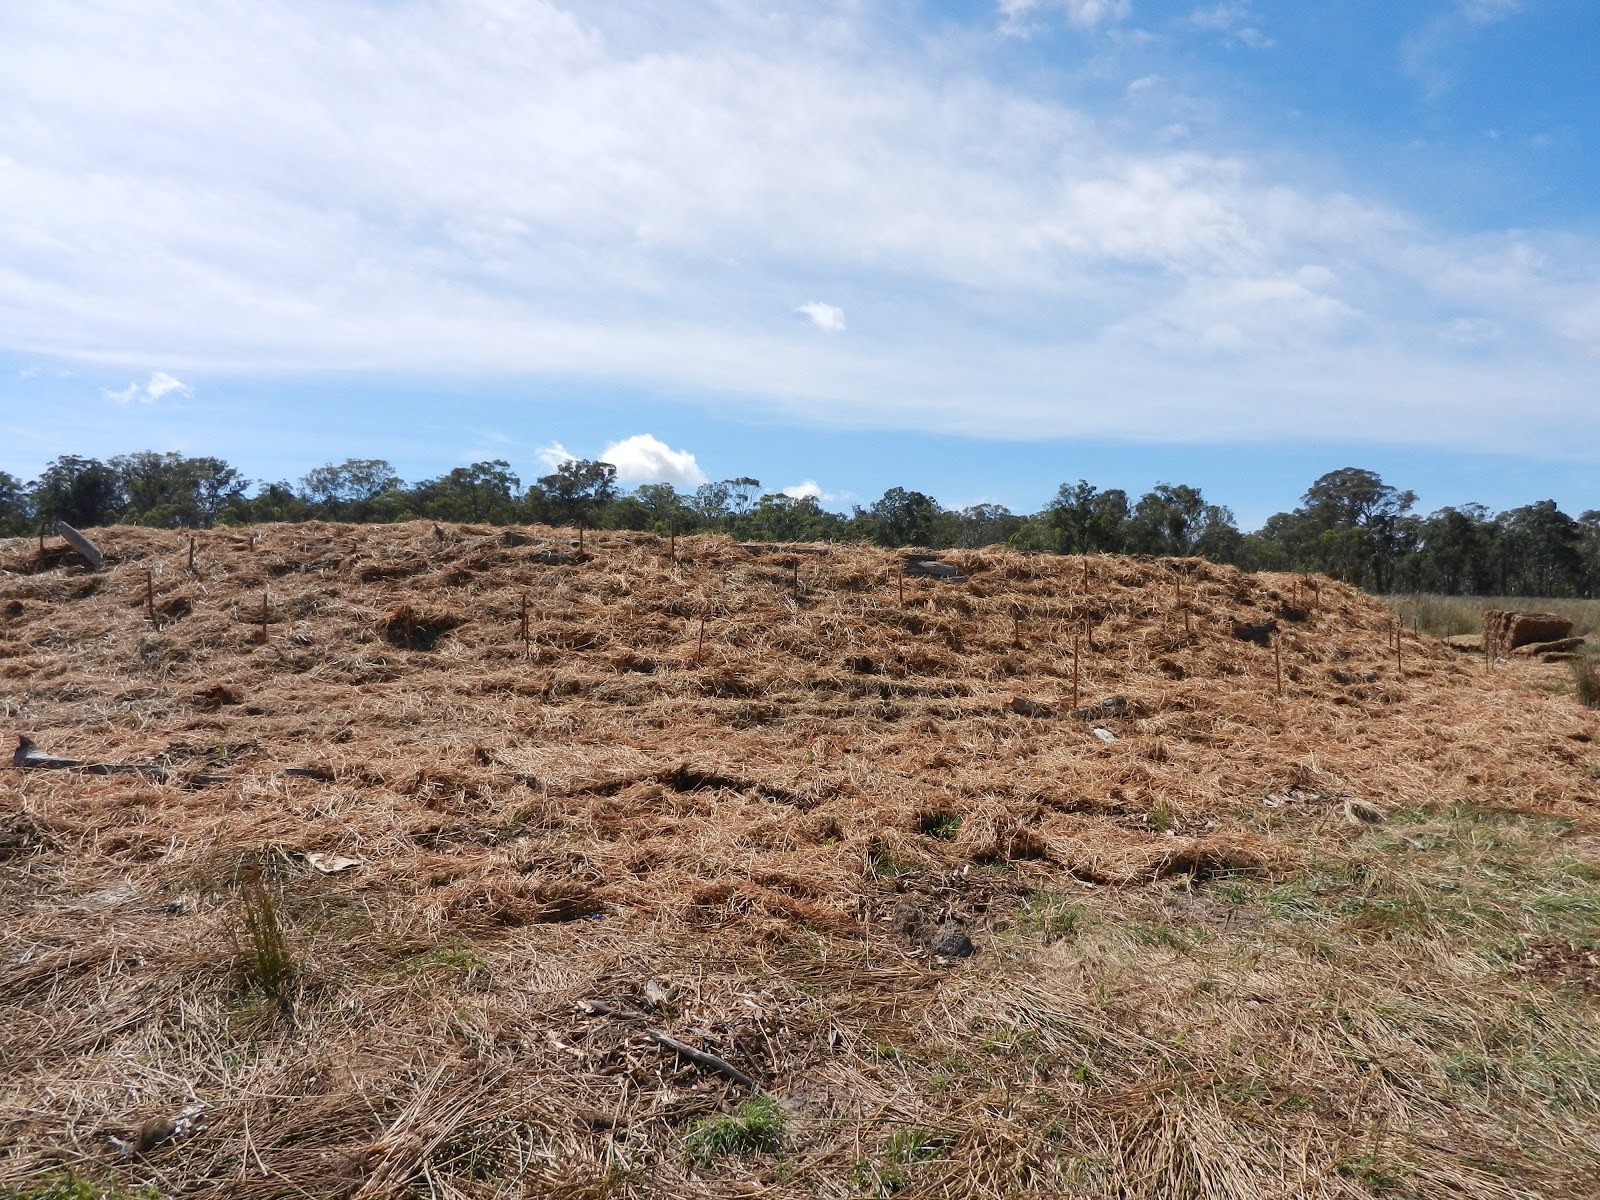
Harrowing hand planted seeding on the
contours.
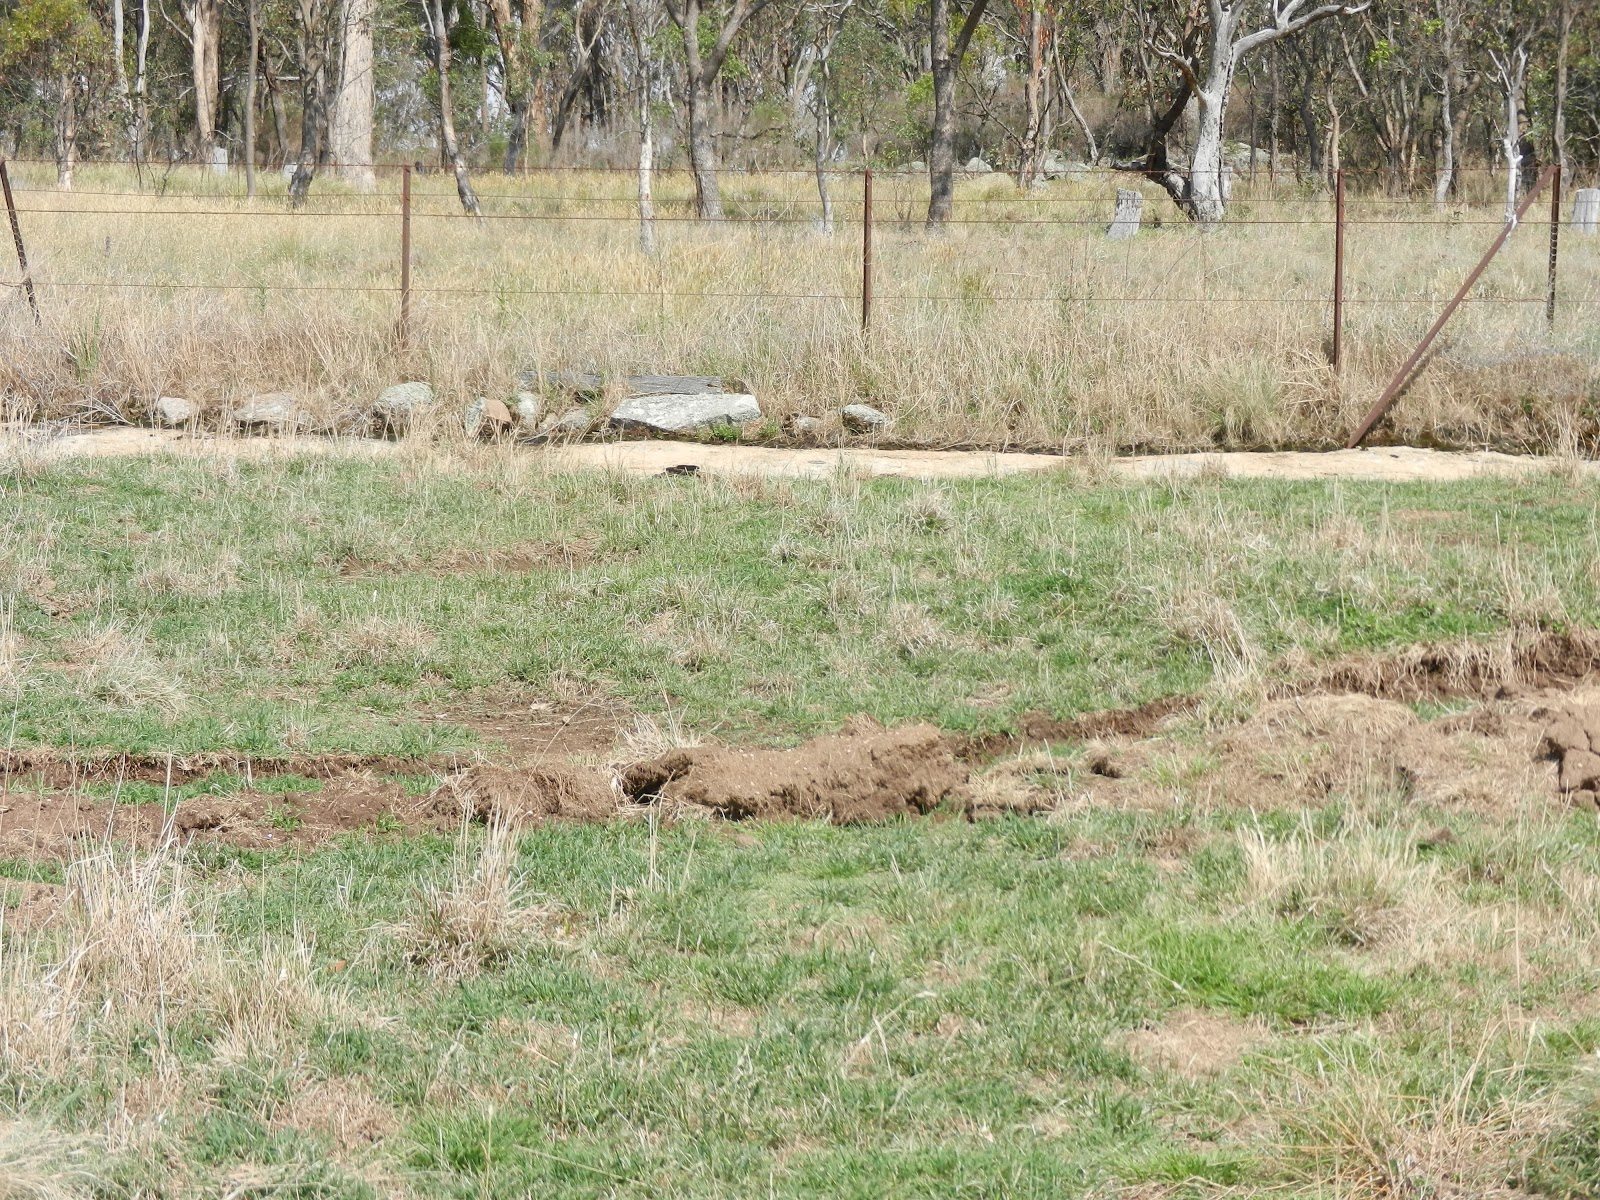
Contours at Site (Standbye Paddock):
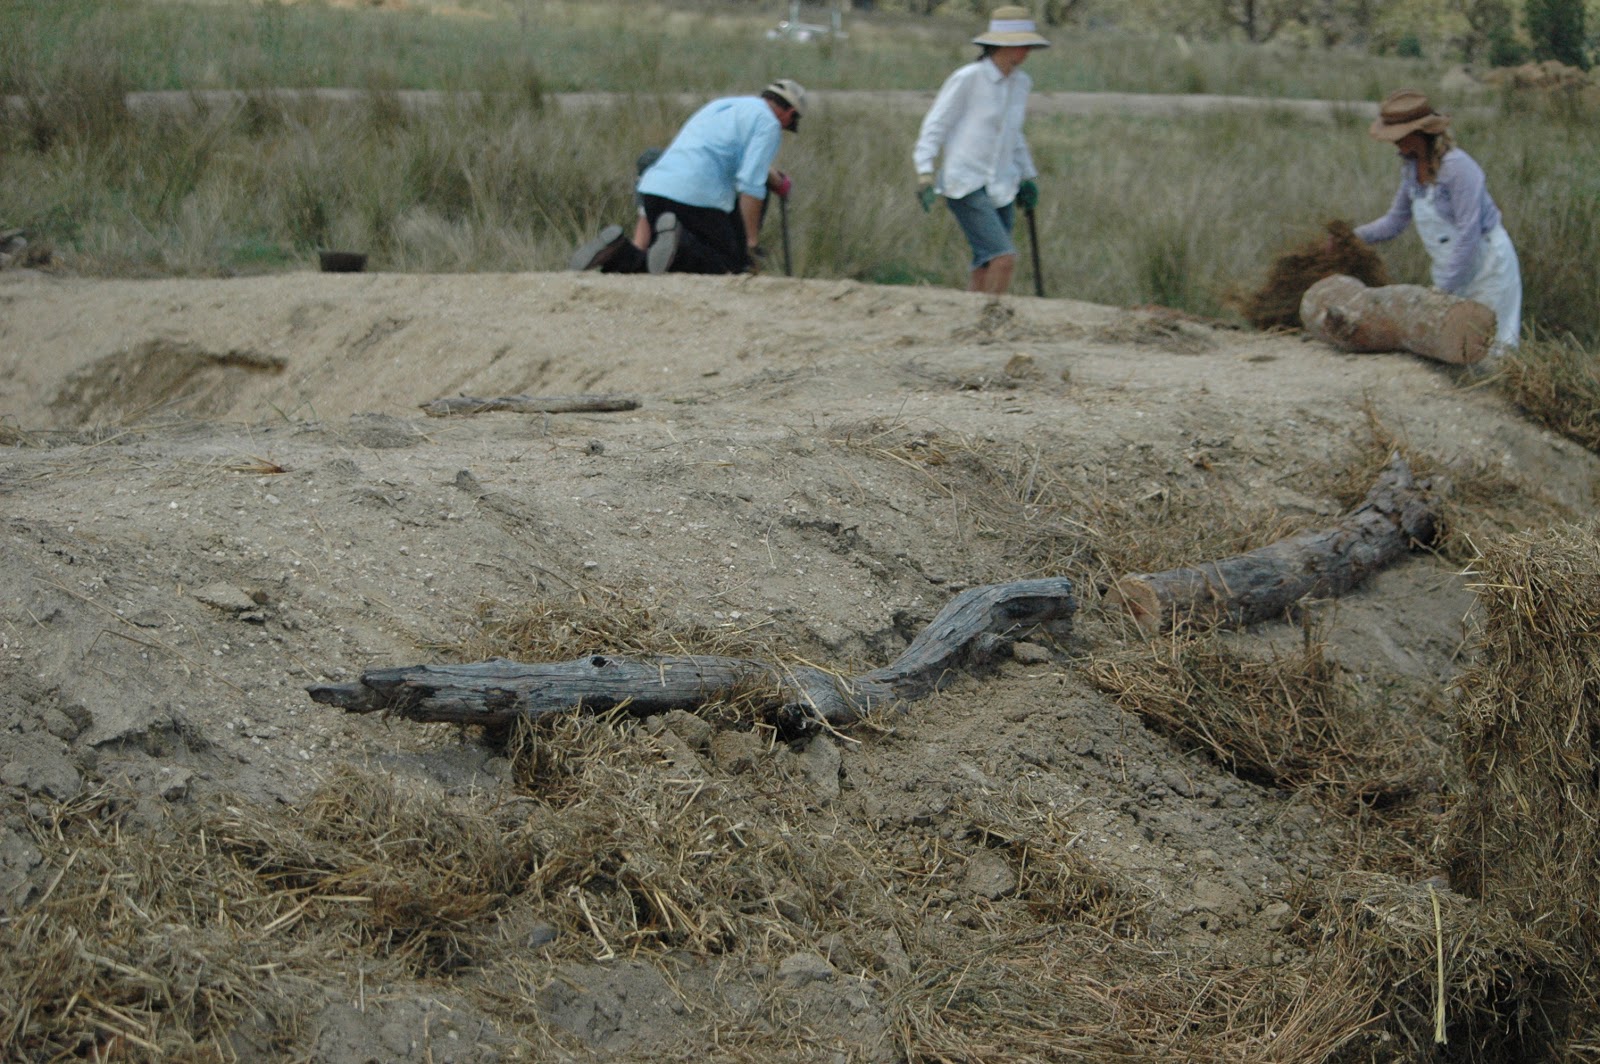
Digging the Fertility pits
Living Fertility System hole on a contour

The various materials and ‘food’ for the living fertility systems – use what you
have on hand and have an abundance of. We are wanting to create systems
that are self supporting and that can be done with low cost using what is
available.
Filling up the Fertility pit
Tractor moving ‘dead matter’ into place
An almost finished Living System – needs some more hay and
matter around the logs so they will break down faster and encourage life
to live there feeling protected and ‘safe’.
Fertility pit complete
Volunteers working at a Living System

Standbye paddock Site showing ponds:

Just dug pond
After a rain. The soil here as you can see in the background is prone to heavy
erosion after rain. The soil is light and fly-away- when exposed.
Working on the bank of one of the ponds. Creating a dam wall to prevent
erosion and cover as much bare soil as possible. (Begin from the bottom up
when creating a dam wall).
 Harrowing the dam wall
Adding sticks into erosion cracks and at overflow to manage and
slow down water.
Lomandra grasses planted either side of logs – logs
purpose to slow down water flow.
Dam bank complete
Other projects during the week consisted of tending to the swales planted out last year and filling them with gathered matter to transform them into living systems in order to create fertility and improve soil conditions.
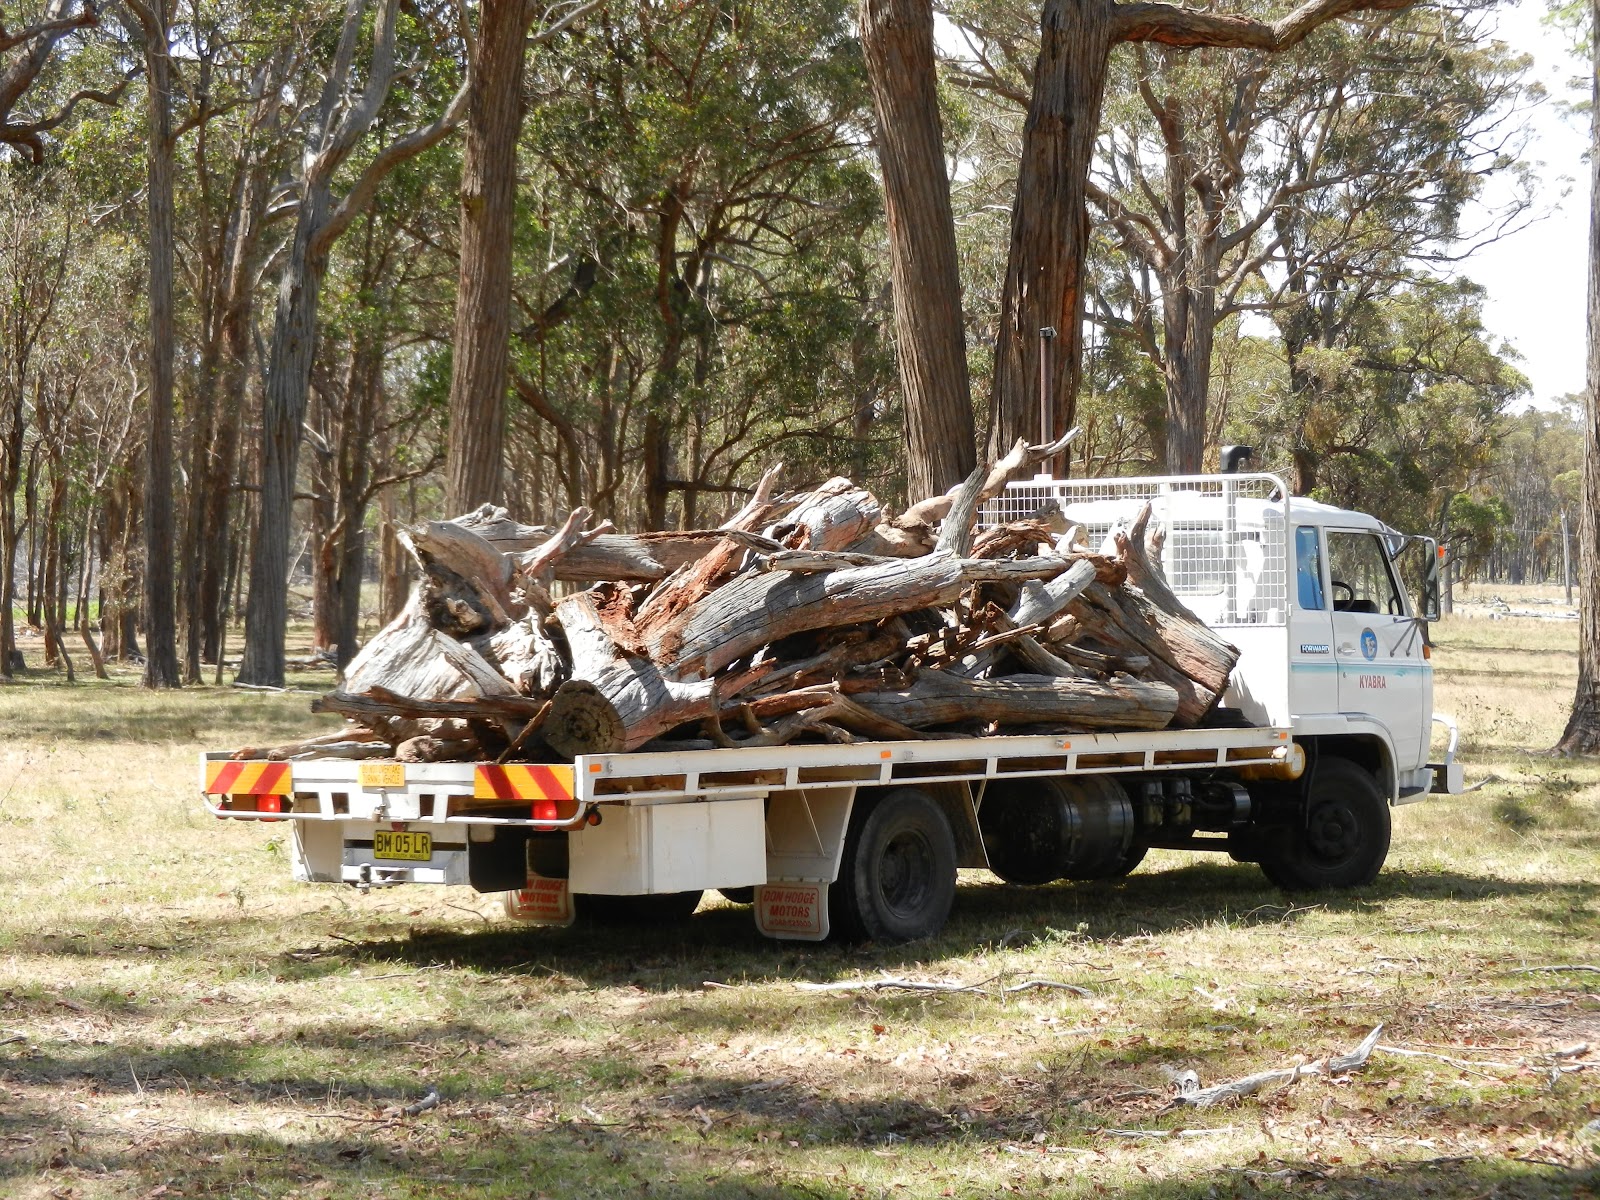
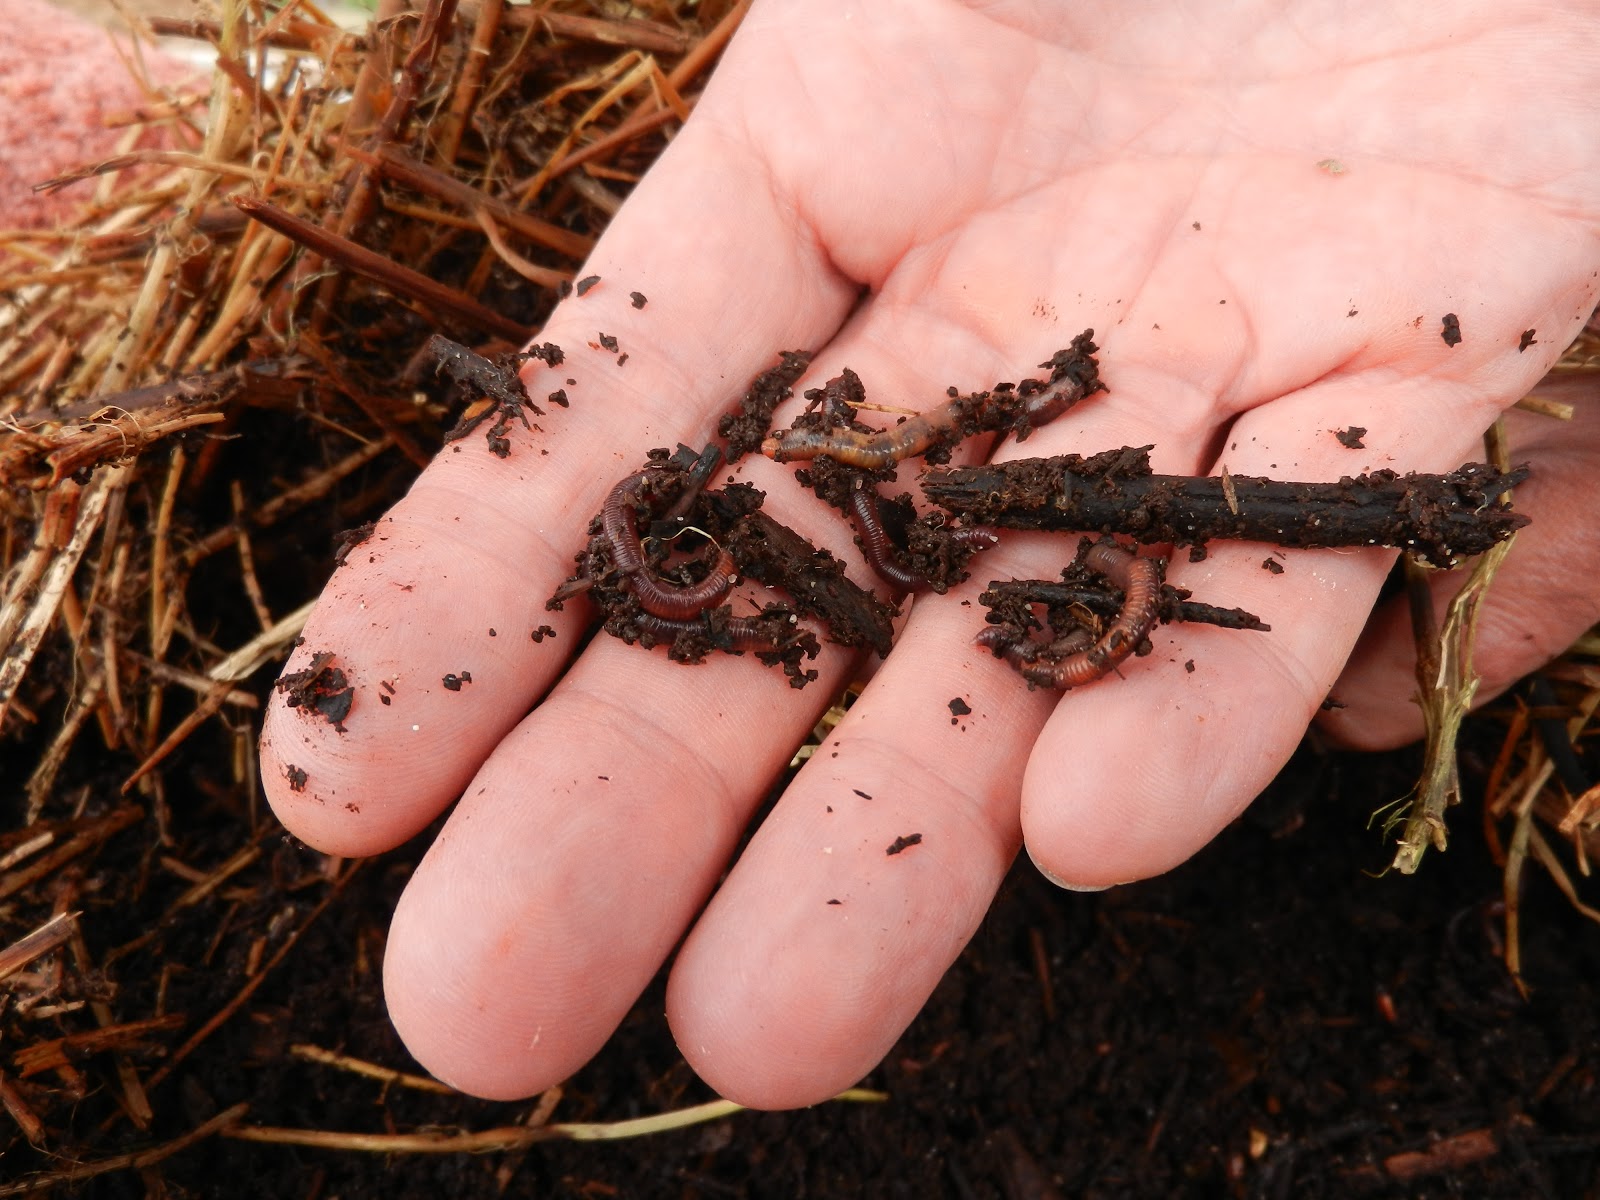
Our many thanks to everyone who was on the ‘food’ team for all the living systems spending your days carrying and carting dead wood matter and treading lightly to place it in an already re-generating area. Thank you for your time and care  to disturb as little as possible the new plants and creatures that have been moving in over the last year. Thanks also to our neighbors and Bunnings for supplying much of the ‘dead’matter used to feed the living systems.

‘Food’ for the Living Systems – Thanks Guys for your help pre – summerfest!
More ‘food’ for the systems
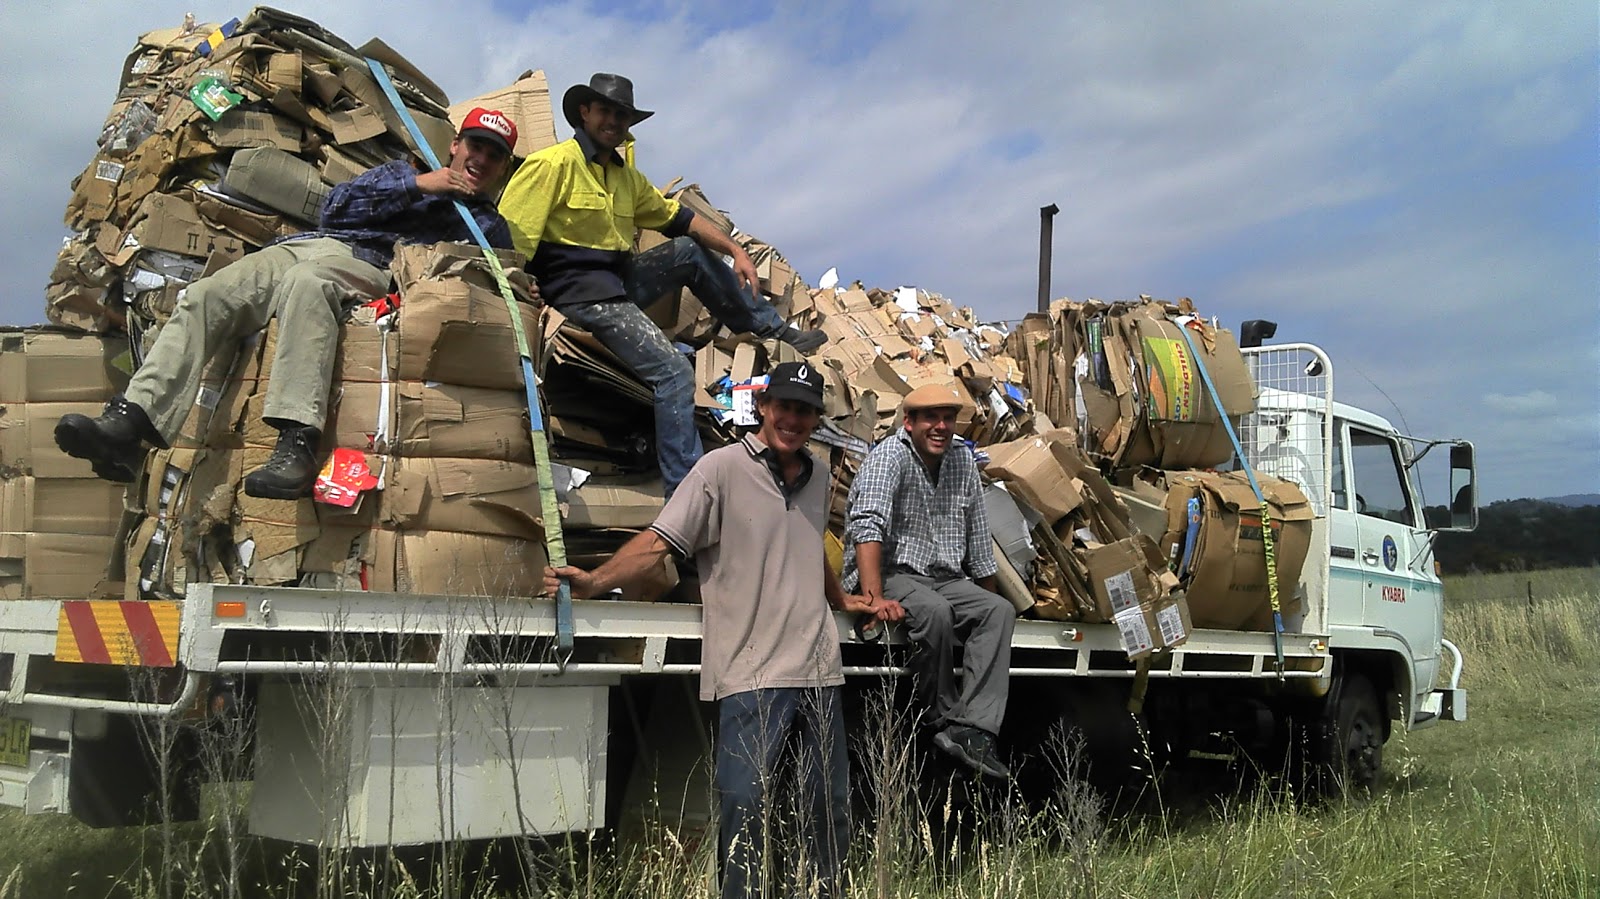
shredding paper for ‘food’ for the living systems and
getting the worms going.
shredded cardboard and paper
Other Projects:

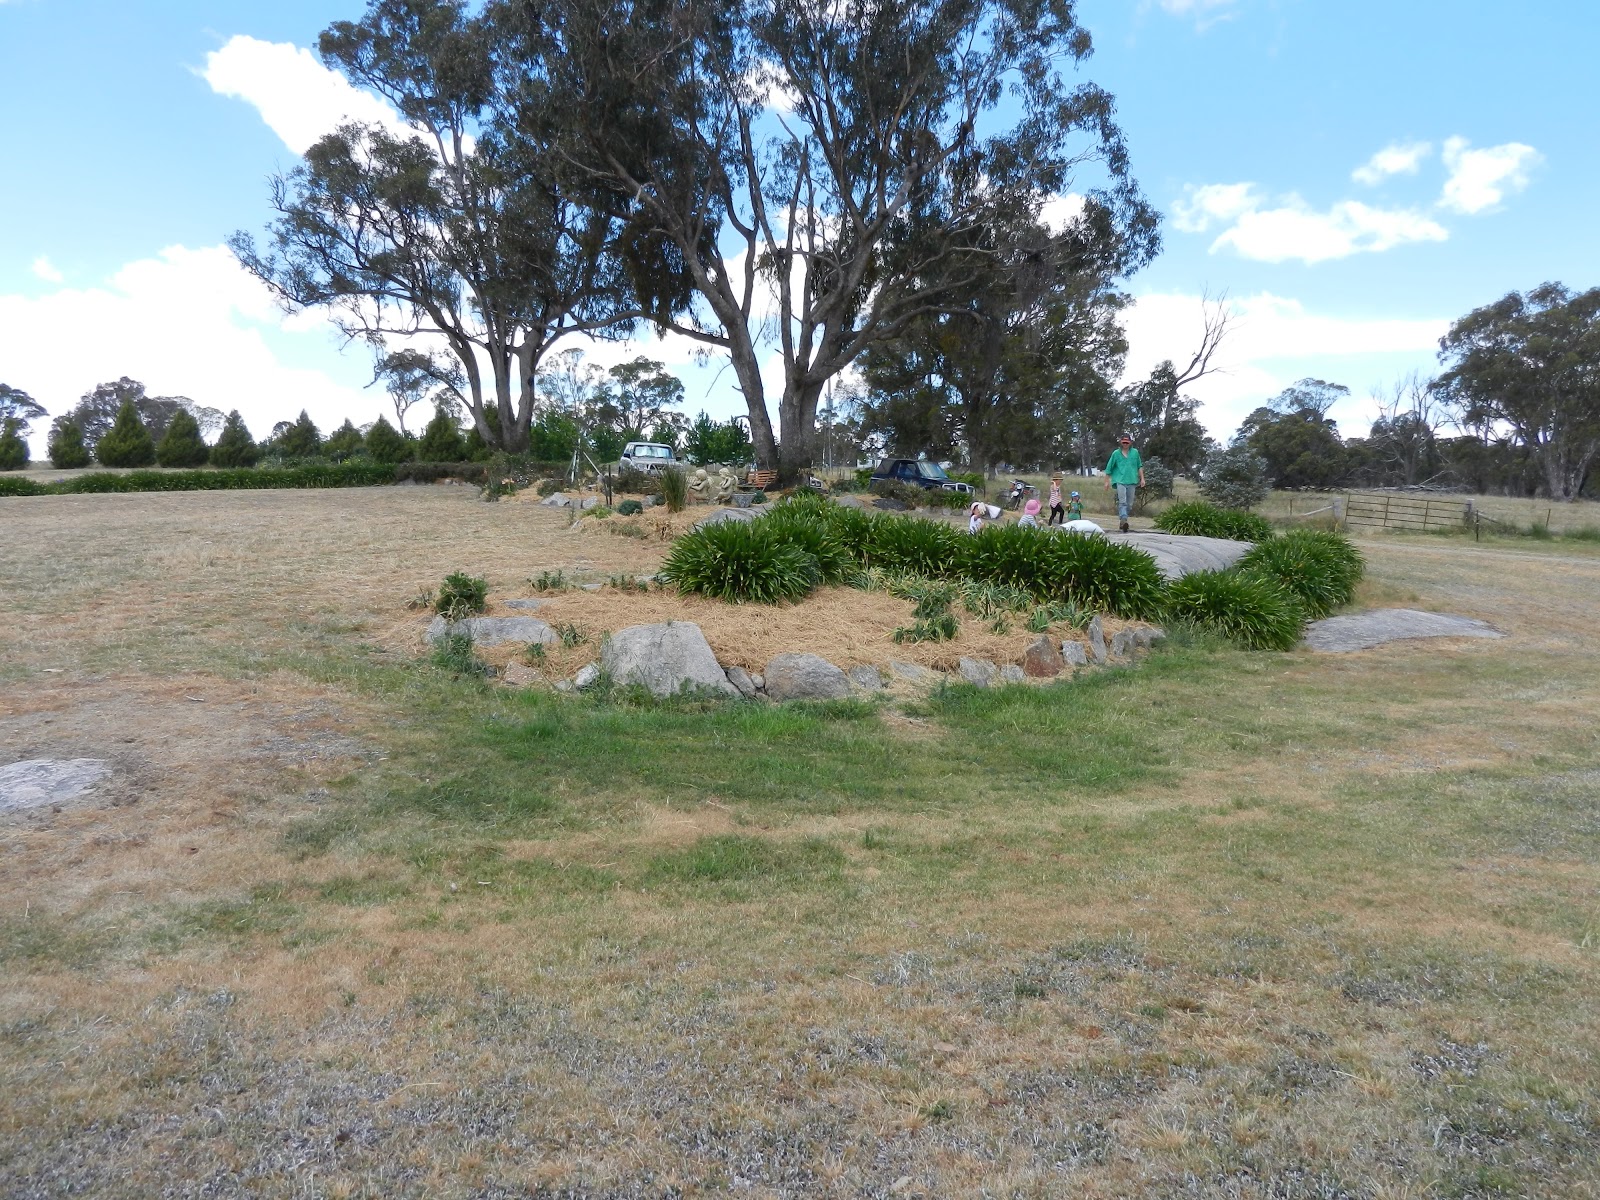
Waterless home Gardening project: demonstrating several techniques including fibonacci system to maximize sun and water usage of any area, designing water flow in your garden, techniques to minimize or completely remove the need for watering, mixed planting incorporating natives both flowering and mulching, fruit trees and vegetables. (More detailed information on the Waterless Garden can be found in the blog post titled the same).

Waterless garden before

fibonacci spiral marked out
volunteers creating various systems in the garden
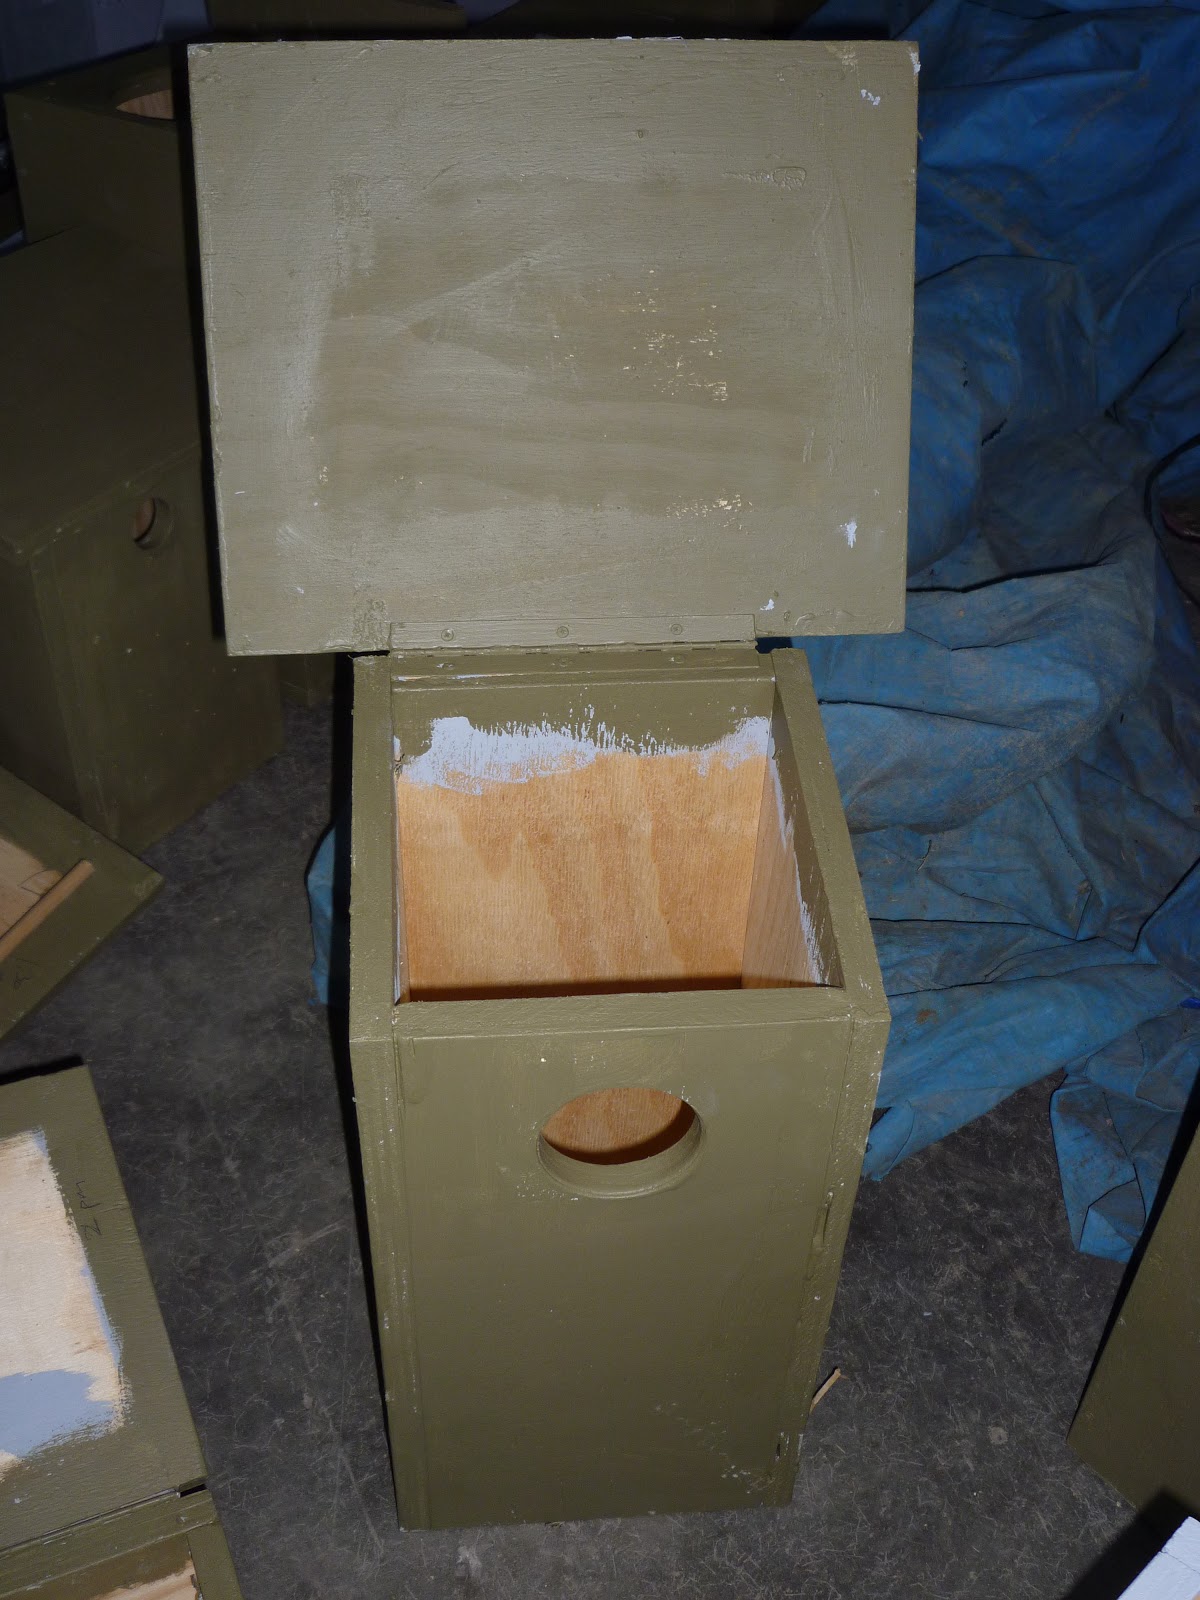
Nature box project: constructing from flat packed pre made kits, painting and positioning boxes for animals and birds according to their particular needs, providing shelter close to food and water. Scouting for suitable locations and some tree climbing to place boxes.

Pre packaged nature boxes, thank you to everyone who made these for us
in Queesland. We are so grateful for all your time and efforts!
Constructed from pre- packaging
eco painting in process


Nature box in place up a tree
‘Reptile Heaven project’: Reptiles are often forgotten or even shunned members of vital ecosystems. This activity focused on providing habitat for reptiles by placing shelter, food and water in close proximity, providing safe transit zones. We utilized above ground living systems to incorporate suitable living shelters and abundant insect life. We also planted various native shrubs, legumes and grasses for protection and mulching. There have already been an increase in numbers of lizards and frogs into the area. 

Reptile Heaven ‘before’ – looking up the hill
Reptile Heaven ‘after’ – looking up hill


Reptile Heaven ‘after’ looking down the hill
Reptile Heaven in progress

Some little frogs who have moved in near by


Worm nursery and breeding centre: Setting up optimal conditions for worm breeding farms and educating about lovingly caring for worms and soil creating creatures.

worms – we love worms!
Worm Breeding Centre under construction –
For more information see blog post on the same
subject.
Worm slurry in the field to add to the living systems to
get the worms started.
We had a marvelous time in the woolshed each evening learning new things in presentations from Jesus and Mary and reflecting on events during the day, as well as much fun dancing, singing and being entertained by wonderful musicians and singers. Our thanks to Jesus and local singer/song writer Fabio Tolli for the evening entertainment. Thank you so much for all the time and gifts to all who planned, prepared and attended these events! We hope you learned heaps and enjoyed it as much as we did!
 
We want to thank God’s Way of Love Organization (no longer in existence) for all the wonderful contributions they made, Jesus and Mary, the team leaders and supply teams and everyone who participated and volunteered giving their time, resources and efforts to helping us love the land some more. 
 
We would like to acknowledge the amount of time and effort that went into things such as organizing and pre making animal and bird boxes. We are grateful to everyone who came and made this event such fun and worthwhile this year. We look forward to seeing you again sometime in the near future.
 
Thanks again 
 
From the Lytton-Hitchins Family  
 
For more information or if anything in this takes your interest please feel free to contact us at eloisalh@gmail.com or phone 67787458 or check out www.divinetruth.com for more information on creating loving eco-systems.
 
* We found out how illogical some of us were or how we sacrificed logic for beauty or beauty for logic rather than having a beautiful balance of both. 

Creating Loving Worm Farms: For Optimum Breeding

Thank you to Paige Willoughby for creating this document and many thanks to Paige and Kerry for being the ‘keeper of the worms’, correcting and setting the worm farms up lovingly during ‘Summerfest 2012 Project’. Our many thanks for all your time and efforts!
 
This outline is designed to help you develop an appreciation for the worm and its role in land restoration and repair. It will step you through the process of creating a Loving environment for rapidly breeding worms, with the
view of recycling organic matter and incorporating these intelligent creatures into other Loving Eco-Systems, such as fertility holes, veggie gardens, food forests, native forests or planting beds- just to name a few.

Some Facts About Worms:
  • The worm is one of God’s “soil scientists” AND a fertiliser genius
  • Worms are integral in the restoration of damaged or degraded land, particularly as a result of mining, stock-carrying compaction, clear felling, and plantation agriculture
  • Through a life spent burrowing, eating, excreting, copulating and reproducing, worms fertilise the soil, increase nitrogen availability and microbial activity within the soil
  • The Worms burrowing action help to open the soil structure, therefore increase the amount of aeration and drainage in the soil, where water absorption and infiltration can be 4-10 times greater in paddocks with worms
  • Worms ingest half their body weight per day in organic matter – 1kg worms will consume 500g of food
  • Worms break down organic matter; food scraps, manure/excrement, leaves, lawn clippings, grass/hay, peat moss/coconut shavings, cardboard, paper, wood, ash/coals, even sand and clothes!
  • When the worm excretes the digested organic matter, in the form of casts, they significantly increase the amount of minerals available and accessible for uptake by plants and other intelligent creatures in the eco-system
  • These minerals include Nitrogen, Phosphorous, Potassium, Calcium, Magnesium and Zinc- creating ideal planting and recovery conditions

Creating The Worm Farm

Basic Materials Required:
  • Container  
  • Star droppers, bricks, rocks or crates to elevate container for clear drainage and worm liquid collection 
  • Bucket or Container for collection and storage of Worm Liquid Fertiliser 
  • Shade Cloth 
  • Rocks for drain hole  
  • “Bedding”- Peat Moss or Straw/Hay 
  • Starter worms, approx 1 kg (compost worms optional) 
  • Soaked Manure- sheep, horse, cow, human (vegetarian or vegan diet only) 
  • Moist Newspaper/paper, sheets or shredded
  • Soaked Cardboard 
  • Food Scraps (no citrus, pineapple, large seeds, or onion family
  • Covering- Carpet or cardboard blanket plus Hessian or Shade Cloth
Optional Extras:
  • Lawn Clippings, or finely chopped green waste 
  • Decomposed straw or hay- must be easily digestible, therefore easily broken or pulled apart by hands
  • Once well established, clothing made from organic matter may be digested by worm farm
Construction:
Thank you to the internet for this
image
Thanks to the internet for this
image


1. Choose a container, with adequate drainage: Bath Tub, Old Fridge (de-gassed), Wheelie Bin, 44-gal Drum, Wooden Box, Feed bin, plastic tub, old suit case, old eski/chillibin, car tyres or draw…be creative. As a guide, minimum dimensions to accomodate 1kg of worms: 30-60cm deep x 80cm long x 30cm wide

elevation & gradient – liquid collector
 
2. Elevation and Gradient: Allow enough clearance, and gradient for a bucket or water container to collect the liquid that drains from the farm
– Worm Liquid Fertiliser is fabulous for giving new plants and gardens a nutrient boost
 
Drainage

3. Drainage:                                                                                                                             
 Place rocks over and around drain hole to prevent weight of worm bed contents block in the drain                                                                                                                    
shade cloth lining
Line Container with shade cloth which acts as a filter preventing worm bedding and castings from washing down the drain                                                                             
newspaper
Lay wet newspaper two sheets thick over the shade cloth- also a filter
peat moss
 4. Bedding:                                                                                                                                 
One block of Peat Moss or Coco Peat when hydrated should expand and fill one entire Wheel barrow (approximately 90L)                                                                                  
Lay the moist peat moss over the newspaper to a depth of 4- 5 inches, or a hand span (finger tips to wrist)   

Options: Straw, hay or shredded newspaper may be used if peat moss is unavailable            **Worms may be left, covered, on top of peat moss without additional food for a couple of days to de-stress, acclimatise and develop an appetite          
                                                                                         
worms
worm layer
5. Worm Layer  
If possible spread 1kg of worms on top of peat moss                                 
** If intending to acclimatise worms for few days, cover with wet Cardboard Blanket, Carpet and Shade Cloth (Step 9&10)
 
manure layer (sheep manure in picture)
6. Manure layer                                                                                                                             
If fresh manure is used, mix with chopped up hay or chemical free sawdust                
If dried, soak in water before layering over worms                                                            
Use preferably aged manure
– depending on its source, it may need time to release any emotion stored in it from the associated animal or treatment the animal has received in its life. Allow it to rest in the weather for a month or so, and take note of any plants that seed from it. For Example, Stinging Nettle releases the emotion of rage. Allow the plants to cleanse the manure before feeding it to the worms- would you wanna eat angry food???                                                                                                                        –Human Faeces may be used, only in the circumstances of a vegetarian or vegan diet. Flesh eaters have many bacteria that are not safe or suitable for such a process.
food scraps
 
7. Food Scraps                                                                                                                         
Press the food down firmly, so it starts to decompose in contact with the manure                                               –Remember not to over feed                                                                                             
Store excess food scraps in a sealed container until needed
shredded paper with air pockets
8. Shredded Paper & Shredded Cardboard                                                                            
Soak the newspaper, paper and cardboard- particularly densely coloured pieces, weather them for a time if possible                                                                                  
Tear the paper and cardboard into strips that can be scrunched to create air pockets
cardboard blanket


carpet
9. Carpet or Cardboard Blanket
– Carpet and/or two-three layers of soaked flat cardboard will created a nice blanket. Keep an eye on its moisture during the warmer months
-Creates a dark, moist, cool, safe environment
-Worms are shy creatures, if threatened or stressed or starving, they will not reproduce
shade cloth
10. Shade Cloth or Hessian Cover
-Helps to reflect the heat, if no shade
-Prevents Birds eating the worms
 
Worm Care:

Living Conditions:
  • Happy worms live in a Cool, Dark, Moist environment
  • The worm farms should not be smelly, if anything they will emit a sweet smell similar to the decaying forest floor.
  • Worms are living intelligent creatures; they are okay sharing their home with other living intelligent organisms (as they do in nature). Insects, beetles, flies, maggots, fungus, moulds etc only feed on dead, decaying materials. In fact these organisms’ help to decompose harsher organic matter, as worms don’t have teeth!
  • Maintain air spaces in the bedding, scrunch the moist shredded paper
  • Keep bedding moist, but not wet- worms don’t like swimming
  • pH is important, worms prefer neutral conditions- avoid citrus, pineapple, onion, garlic, leek, spring onions in food scraps
  • If too acidic (sour smell), add a hand full of garden lime (calcium CaCO3), ash from fire place (Carbon), or cardboard THEN reduce food scraps for a couple of days
  • Crushed egg shells or sea shells are also a form of slow release calcium
Food Supply:
  • Only add enough food scraps that the worms can eat in a few days When there is evidence of worms eating the Cardboard Layer, it is an indicator that more food scraps can be given
  • Chop the food into finer pieces so it can be digested faster (optional)
  • Just like we may have tendencies to overindulge, thereby avoiding our emotions, so too can the worms in our care be overfed. Give them enough that they have a little more than they need, but don’t create “Food Coma” as they will not reproduce optimally in this state. Also look at why you feel you need to “Love” the worms with food
  • Worms tend to reside within the top 2-3 inches of the worm bed. Therefore ensure the depth of the food supply does not become too great. Worms will eat to the surface, in preference to deeper. Too much food supply may result in undigested food remaining in the middle layers of the worm bed- contributing to possible souring of the environment
Reproduction: 
Thanks to Wikipedia for this image
  • Worms are hermaphrodites, meaning each worm has both male and female sex organs, therefore are neither male nor female, but both. Another awesome example of God’s true nature in our environment.
  • When a worm is approximately 4-6 weeks old, a white band forms around their head called the Clitellum, which contains sex organs, sperm and ova (eggs)
  • Worms require a mate to reproduce, even though they have both sets of sex organs
  • Worms join head to head, where the sperm can pass from each worm to the other and is stored in sacs
  • Cocoon is then formed on each of the worms Clitellum. As the worm backs out of the developing cocoon, eggs and sperm are deposited within the cocoon, where fertilisation takes place.
  • The tiny yellow, lemon-shaped cocoons require the right conditions to hatch. If it is too dry, they lay dormant for years in the soil and hatch only when conditions improve- very cool!!
Thanks to kingstonwormfarm.com
for this image
  • Baby Worms are a whitish colour, about half an inch in length. They are independent of their parents and begin eating as soon as they hatch.
  • Fed optimally, within 21 days, each adult worm will lay an egg cocoon containing 17 worms, predominately within the superficial paper layer of the worm farm
Harvesting:

  • When it comes time to harvest castings, about a week before its needed, layer food only on one half of the Worm Bed. The worms will migrate to that side, leaving a worm free section of castings that can be removed and used in the garden as fertiliser.
* This is an on going project begun at ‘Summerfest’ Nov/Dev 2012